
Many beginner photography mistakes related to lighting are easy to fix today. First, avoid harsh midday sun by shooting during golden hour or finding shaded spots to create softer, more flattering light. Use your camera’s exposure controls to prevent over or underexposed images, and experiment with reflectors or natural light to fill shadows. Adjusting these simple techniques will instantly improve your photos. Keep exploring; there’s more you can do to master lighting for stunning shots.
Key Takeaways
- Avoid shooting in harsh midday sunlight; instead, shoot during golden hour for softer, more flattering light.
- Use the camera’s manual or exposure settings to prevent overexposed highlights and underexposed shadows.
- Incorporate reflectors or white surfaces to bounce light and reduce unwanted shadows on your subject.
- Check and adjust your camera’s white balance to ensure accurate color reproduction in different lighting conditions.
- Experiment with different angles and light sources to add depth, dimension, and visual interest to your photos.
Common Lighting Mistakes Beginners Make

Starting out in photography can be exciting, but it’s easy to fall into common mistakes that hinder your progress. One of the most frequent issues beginners face involves lighting challenges. Poor lighting can make even the best shot look dull or unprofessional. You might find yourself struggling with harsh sunlight causing overexposed highlights or underexposed shadows that hide details. To fix this, pay attention to the time of day—shoot during the golden hour for softer, more flattering light. Also, learn to use your camera’s exposure settings or shoot in manual mode when possible, so you control how much light hits the sensor. Using a reflector or even a simple piece of white paper can bounce light onto your subject, reducing shadows and balancing the scene. Understanding how light interacts with your subject is key to improving your images instantly. Additionally, experimenting with different light sources and angles can dramatically enhance the mood and depth of your photographs, especially when working with color accuracy to ensure your colors are true to life. Remember, mastering lighting techniques is fundamental to capturing compelling images from the start. Developing an understanding of light modifiers can also help you shape and control light more effectively. Gaining knowledge about artistic complexities can inspire you to experiment further and refine your skills. Furthermore, exploring proper exposure control will give you better command over your camera’s settings and improve your overall photography quality.
Frequently Asked Questions
How Can I Identify the Best Lighting for My Photos?
You can identify the best lighting for your photos by observing how natural light interacts with your subject, noting the time of day and weather conditions. Use lighting equipment like reflectors and diffusers to control light, and experiment with flash techniques to add fill or emphasize shadows. Pay attention to the direction and quality of light, adjusting your position until you achieve a balanced, flattering look that enhances your subject.
What Are Simple Ways to Improve Natural Light Usage?
Oh, sure, just stand in the direct sun and hope for a miracle—because who needs diffused sunlight or indoor lighting tricks? Instead, aim for soft, natural light by shooting during golden hour or near a window with sheer curtains. Use reflectors or white surfaces to bounce light gently. These simple tips make your photos glow naturally, without you having to become a lighting engineer overnight.
How Does Time of Day Affect Lighting Quality?
The time of day dramatically impacts your lighting quality. During golden hour, shortly after sunrise or before sunset, you get warm, soft light that enhances your photos and reduces harsh shadows. Midday sunlight, however, is intense and creates stark shadows and overexposure. To improve your shots, plan your shoots around golden hour for flattering light, and avoid midday sunlight when possible. This simple adjustment transforms your images instantly.
Can I Fix Bad Lighting in Post-Processing?
Yes, you can fix bad lighting in post-processing through photo editing. Use lighting correction tools in software like Adobe Lightroom or Photoshop to adjust brightness, contrast, and shadows. These adjustments help improve overall exposure and bring out details that were lost. Keep in mind, subtle edits work best—overdoing it can make your photo look unnatural. Practicing lighting correction enhances your images and saves shots that might otherwise be unusable.
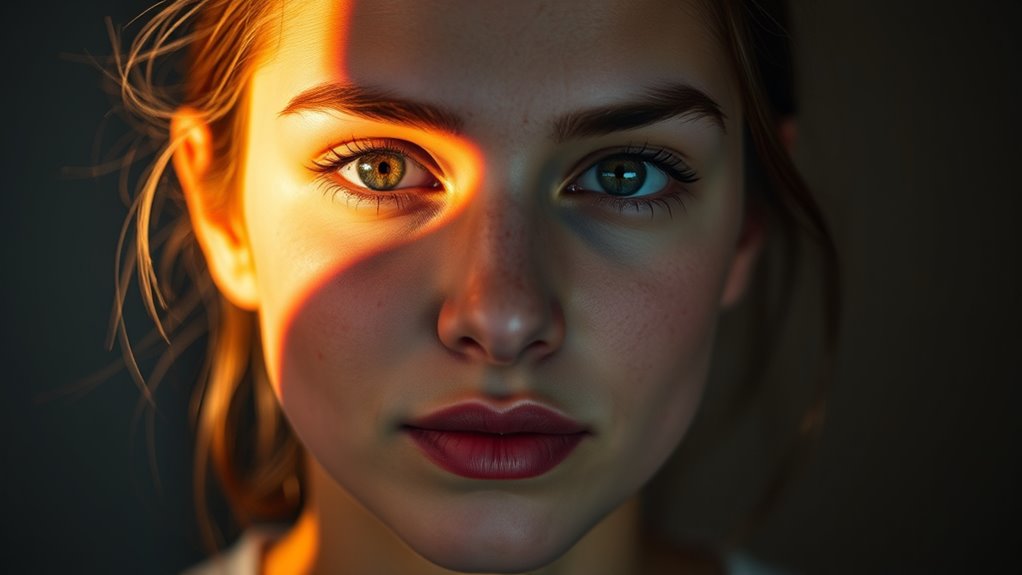
What’s the Difference Between Harsh and Soft Lighting?
Harsh lighting creates strong shadows and bright highlights, making your photos look dramatic or unflattering. Soft lighting, on the other hand, uses diffuse lighting to minimize harsh shadows, resulting in a gentle, even glow. You can achieve soft lighting by shooting on cloudy days or using diffusers. Understanding this difference helps you control the mood and quality of your images, creating a more polished and professional look.
Conclusion
By recognizing and fixing these common lighting mistakes, you’ll see immediate improvements in your photos. Remember, perfection isn’t the goal—progress is. Even if you think your lighting is still tricky, trust that small adjustments can make a big difference over time. With patience and practice, you’ll develop an eye for better light, elevating your photography skills beyond beginner mistakes. So, don’t be discouraged; every shot is a step toward capturing stunning images.