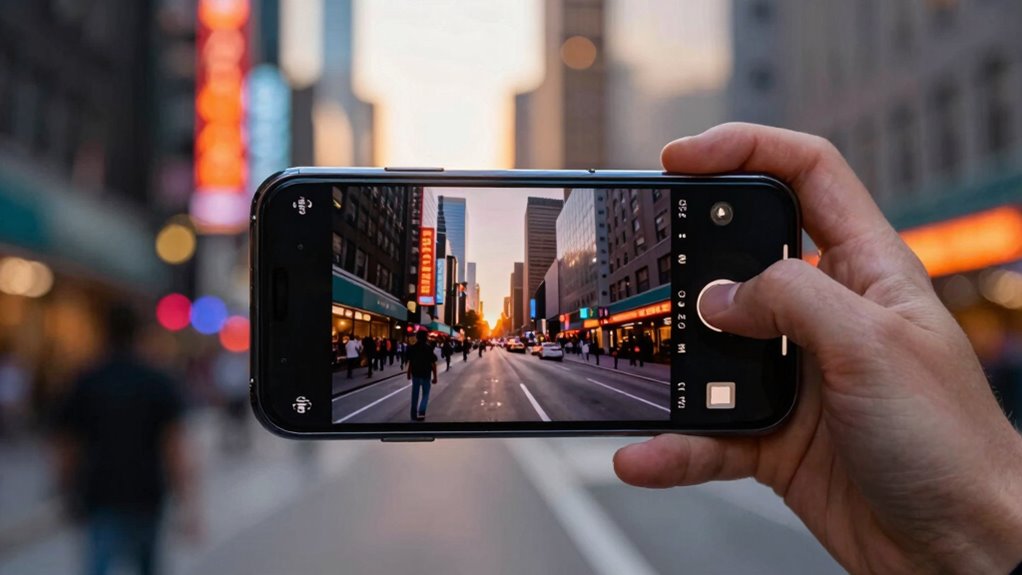

To shoot pro-quality cinematic videos on your phone, start by adjusting manual focus and setting your frame rate to 24fps for that filmic look. Use composition techniques like the rule of thirds, incorporate natural lighting during golden or blue hour, and control depth of field with focus and aperture. Keep your shots steady with a tripod or stabilization tools, add external lenses for variety, and capture clear audio with external mics. Want to know more? Keep exploring to access professional tips.
Key Takeaways
- Use manual focus and adjust focus points for sharp, cinematic images.
- Shoot during golden or blue hour to achieve optimal natural lighting.
- Stabilize your phone with a tripod or support to ensure steady footage.
- Control lighting and environment by choosing quiet, well-lit locations.
- Apply proper framing, composition, and depth of field techniques for professional look.
Choosing the Right Smartphone Settings for Cinematic Quality
To achieve cinematic quality in your smartphone videos, it’s essential to start with the right settings. First, set your camera to manual focus to control sharpness and avoid distracting autofocus shifts during your shot. Adjust the focus carefully on your subject to ensure clarity and depth. Next, choose the appropriate frame rate; for a cinematic look, 24 frames per second is ideal because it mimics traditional film. If you want smoother motion, consider 30fps or higher, but keep in mind that higher frame rates can reduce that filmic feel. Experiment with these settings to find what works best for your scene. Properly configuring manual focus and frame rate selection lays a strong foundation for creating professional-looking, cinematic smartphone videos.
Mastering Composition and Framing Techniques
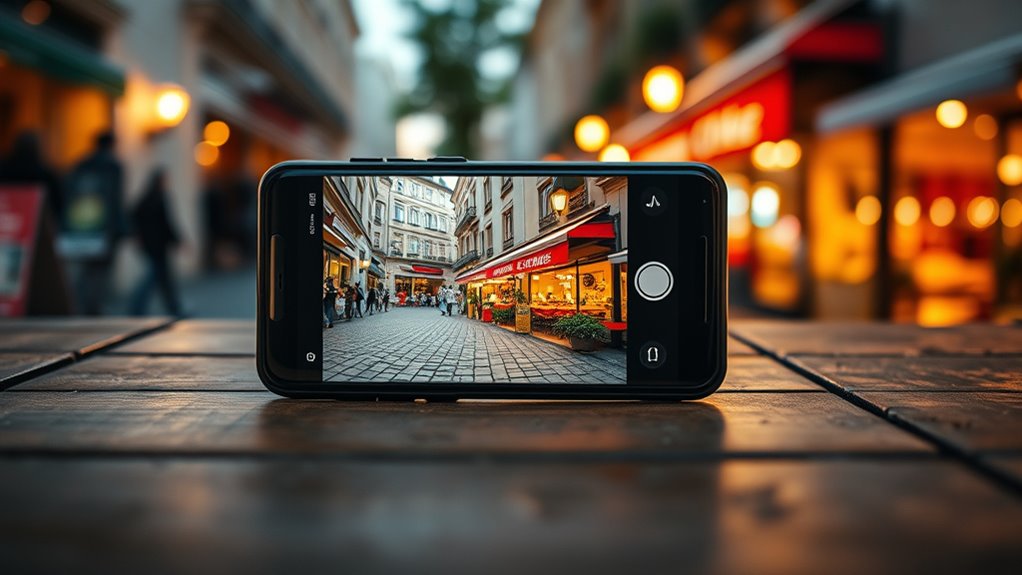
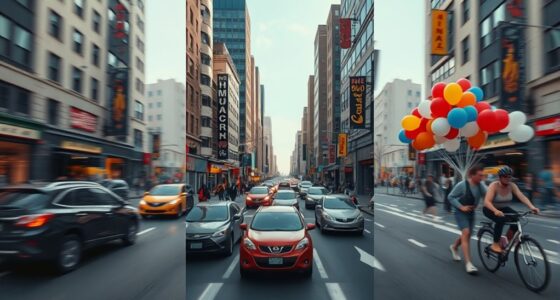
Mastering composition and framing is essential for transforming your smartphone videos into cinematic masterpieces. Start by applying the rule of thirds, placing your subject along the grid lines to create visual balance and interest. This technique guides the viewer’s eye naturally and makes your shot more engaging. Additionally, use leading lines—like roads, fences, or shadows—to draw attention toward your subject and add depth to your scene. Framing your shot thoughtfully helps emphasize key elements and enhances storytelling. Keep your horizon level and avoid cluttered backgrounds that distract from the main focus. Practicing these techniques guarantees your footage looks professional and intentional. Incorporating Free Floating elements in your scene can add a dynamic touch and create a sense of movement within the shot. Being aware of your camera positioning and how it influences the overall composition can further elevate your videos. Understanding how to protect your savings by choosing the right equipment and techniques can help you avoid costly mistakes and ensure your footage remains secure and of high quality. Additionally, being mindful of forage principles can inspire creative visuals, such as capturing natural water features or outdoor landscapes, to add authenticity to your scenes. With deliberate composition, your smartphone videos will stand out as polished, cinematic creations.
Utilizing Natural Lighting to Enhance Mood

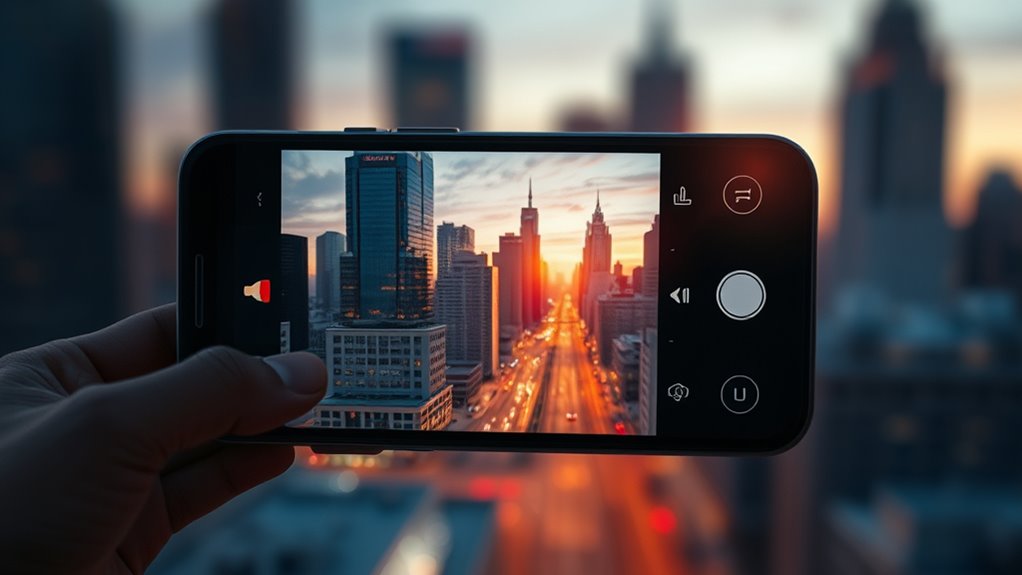
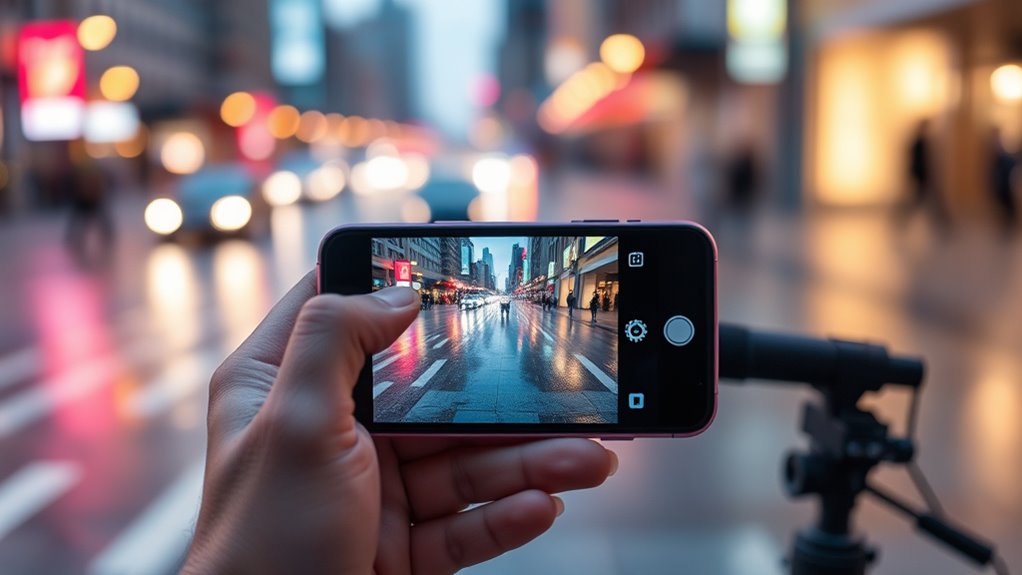
Choosing the right time to shoot can dramatically affect your video’s mood, whether it’s during golden hour or midday. Soft light creates a gentle, calming atmosphere, while harsh light adds drama and intensity. Understanding these lighting differences helps you evoke the exact feeling you want in your cinematic smartphone videos. Additionally, controlling lighting conditions ensures optimal image quality and accurate color reproduction. Being aware of natural lighting variations allows you to plan shoots more effectively and achieve professional-looking results. Recognizing time zone differences can also help coordinate shoots when working with teams across multiple locations, ensuring consistent lighting and scheduling. Moreover, being mindful of ambient light sources can help prevent unwanted color casts and shadows that may detract from your footage’s quality. Integrating knowledge of natural lighting patterns enables you to anticipate how light shifts throughout the day, further enhancing your planning and execution.
Optimal Shooting Times
Capturing stunning smartphone videos relies heavily on timing your shots during natural light changes. The best times are during the golden hour and blue hour, when lighting adds warmth and mood. Shooting during these periods enhances your footage’s cinematic quality. To maximize your results: 1. Plan your shoot around the golden hour, just after sunrise or before sunset, for soft, warm light. 2. Capture scenes during blue hour, the brief period after sunset or before sunrise, when the sky exhibits deep, cool tones. 3. Avoid shooting in harsh midday sunlight, which can create unflattering shadows and overexposed highlights. Natural lighting plays a crucial role in achieving professional-looking smartphone videos, especially when you understand how to manage light conditions effectively. Additionally, understanding how different lighting qualities affect mood can help you craft more compelling visual stories. Recognizing the importance of ethical considerations in video production can also ensure your content respects privacy and promotes trust with your audience. Being aware of content creation best practices ensures your videos remain engaging and responsible.
Soft vs. Harsh Light
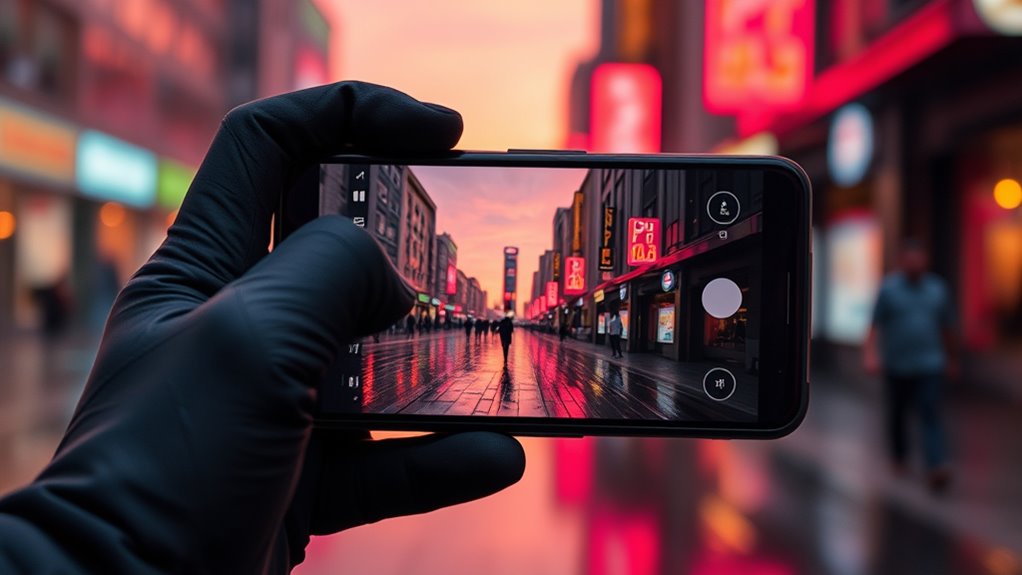
Natural lighting plays a crucial role in setting the mood of your smartphone videos; understanding how to utilize soft and harsh light can dramatically improve your footage. Soft light, like during overcast days or in shaded areas, creates gentle, even illumination that reduces harsh shadows and produces a flattering, cinematic look. Harsh light, such as direct midday sun, offers strong contrast and sharp shadow effects that can add drama and intensity. To optimize light quality, choose your shooting time and position carefully, leveraging the natural environment to craft the desired mood. Soft light emphasizes subtle details, while harsh light highlights textures and shapes. Mastering these differences allows you to manipulate shadow effects effectively, elevating your footage to a professional level. Additionally, understanding how to measure light quality can help you make better decisions about when and where to shoot. Recognizing the impact of natural light helps you anticipate how different conditions influence your video’s aesthetic. Being aware of lighting conditions can guide you in selecting the best moments for shooting to achieve cinematic results. Knowing how to adapt to various lighting setups ensures you can consistently create compelling visuals regardless of external factors.
Incorporating Depth of Field With Focus Techniques
To create cinematic smartphone videos, you need to master focus techniques that add depth and interest. Using selective focus strategies guides your viewers’ attention and highlights key subjects. Experimenting with your aperture allows you to control the background blur and achieve a professional look. Incorporating local traditions and cultural elements can also enhance the storytelling aspect of your videos, making them more engaging and authentic. Additionally, understanding essential oils for mood enhancement can help you create a calming environment during filming, reducing stress and improving your focus.
Selective Focus Strategies
Selective focus strategies allow you to create cinematic smartphone videos by controlling which parts of your scene are sharp and which are blurred. This technique enhances depth isolation, making your subject stand out vividly. To achieve this, consider these key methods:
- Use focus points strategically to emphasize your main subject.
- Employ focus stacking when shooting static scenes for maximum sharpness across different depths.
- Experiment with selective focus to create a sense of depth and dimension in your shots.
- Understanding the importance of depth of field helps you better manipulate focus to achieve a professional look.
- Familiarizing yourself with Rhythm Failure concepts can inspire creative focus techniques and shot composition.
- Utilizing these techniques can help you detect passive voice more easily in your narrative, ensuring your writing remains clear and engaging.
- Mastering focus control techniques, such as adjusting aperture and focus points, allows for more precise cinematic effects.
- Developing a good understanding of lens choices enables you to select the best focal lengths and apertures for your desired cinematic results.
Using Aperture Creatively
Using aperture creatively opens the full potential of your smartphone’s focus techniques by controlling the depth of field. By adjusting aperture effects, you can emphasize your subject or create a beautiful background blur. This enhances your scenes with creative depth, making them look more cinematic. To achieve this, experiment with different aperture settings to see how the background softens or sharpens. Keep in mind, smaller apertures (higher f-numbers) increase depth of field, while larger apertures (lower f-numbers) create a shallow focus. Use the table below to understand how aperture choices influence your footage:
| Aperture Setting | Effect on Creative Depth |
|---|---|
| Wide (f/1.8) | Shallow focus, background blur |
| Narrow (f/8) | Deep focus, everything sharp |
| Medium (f/4) | Balanced focus, moderate background separation |
Stabilizing Your Shots for Professional Results
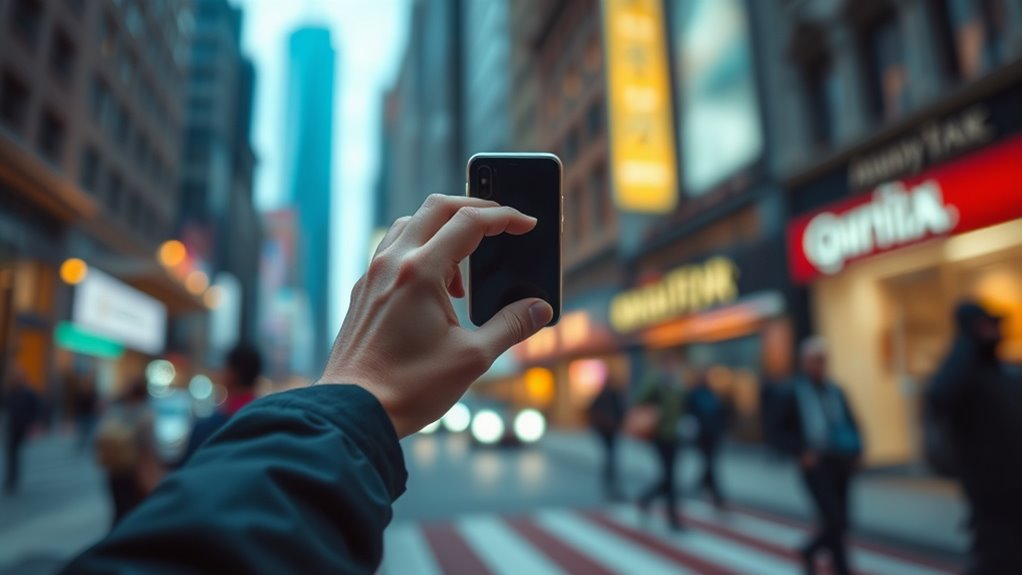
Even the steadiest hands can struggle to keep a shot smooth, but there are simple techniques and tools that can make a big difference. Using tripod stabilization provides a rock-solid base, eliminating shake and producing professional-looking footage. When shooting handheld, focus on steadying your body: keep your elbows close to your sides and use your core for support. Additionally, employing smooth, controlled movements helps prevent jerkiness. For more advanced support, consider exploring professional-grade archival storage solutions or consulting expert services to ensure your footage remains pristine over time. Here are three key tips: 1. Always use a tripod when possible for maximum stability. 2. Keep your movements slow and deliberate during handheld shooting. 3. Utilize built-in stabilization features on your phone or third-party gimbals for added support. Mastering these techniques guarantees your footage looks polished and professional.
Enhancing Videos With Color Grading and Filters

Color grading and filters are powerful tools that can dramatically elevate the look of your smartphone videos. They allow you to perform color correction, ensuring your footage has balanced exposure, accurate whites, and vibrant colors. Filter effects can add mood and style, transforming a simple shot into something cinematic. By adjusting contrast, saturation, and hue, you can create a consistent visual tone that matches your story. Many editing apps offer preset filters or customizable options, making it easy to experiment with different looks. Remember, subtle adjustments often have the most professional impact. Use color grading and filters thoughtfully to enhance your footage without overpowering the raw emotion of your scenes. Proper application elevates your videos from good to movie-quality.
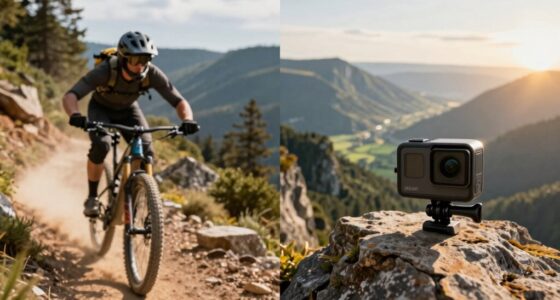
Using External Lenses and Accessories for Better Shots
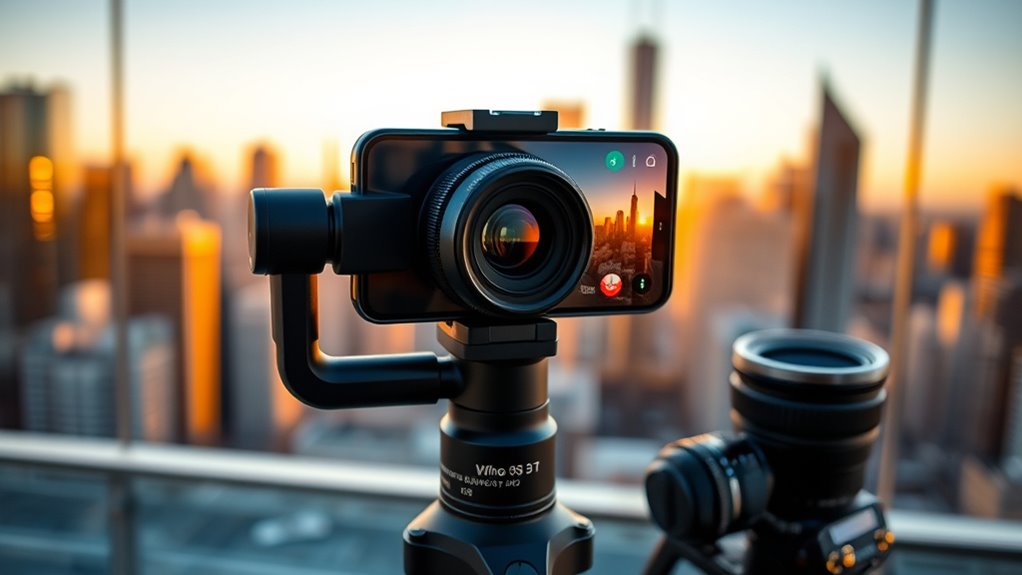
Enhancing your videos with color grading and filters can elevate their visual style, but adding external lenses and accessories takes your shots to the next level. Lens accessories like wide-angle or macro lenses expand your creative possibilities, allowing you to capture stunning, professional-looking footage. Investing in sturdy tripod options provides stability, resulting in smoother shots and better framing. Here are three key tips:
- Choose compatible lens accessories to suit your shooting style.
- Use tripod options that are lightweight yet stable for versatile mobility.
- Experiment with different lens attachments to add variety and depth to your scenes.
With the right external lenses and accessories, you’ll improve image quality and access new creative potential, bringing cinematic quality closer within your reach.
Planning and Storyboarding Your Scenes

Planning and storyboarding your scenes is a crucial step that sets the foundation for a successful shoot. By using effective storyboarding techniques, you can visualize each shot, ensuring your story flows smoothly. Focus on scene sequencing to organize your shots logically, which helps you identify necessary angles, transitions, and camera movements. This planning process minimizes surprises on set and keeps your filming efficient. Sketch simple storyboards or write detailed shot lists to clarify your vision. Think about framing, lighting, and movement in advance. When you have a clear plan, you’ll find it easier to capture professional-looking footage with your smartphone. Proper storyboarding turns your ideas into actionable steps, making your production more cohesive and polished.
Editing Your Footage for a Polished Look

Once you’ve gathered your footage, the next step is to refine it to achieve a polished, professional look. Focus on color correction to enhance consistency and mood across your clips, making your footage feel cohesive. Shift effects can smooth out scene changes, preventing abrupt jumps that distract viewers. To elevate your editing:
Refine your footage with color correction, smooth transitions, and strategic trimming for a polished, professional look.
- Use color correction to adjust exposure, saturation, and contrast for a vibrant, cinematic feel.
- Incorporate subtle transition effects like fades or wipes to create seamless scene changes.
- Trim unnecessary clips to maintain pacing and keep your story engaging.
Tips for Capturing Sound to Complement Your Visuals
To make your videos feel more professional, focus on capturing clear sound that matches your visuals. Using external microphones can substantially improve audio quality, even with a smartphone. Additionally, recording in quiet settings helps prevent unwanted background noise from distracting your viewers.
Use External Microphones
Using external microphones can substantially improve the audio quality of your smartphone videos, ensuring your sound matches the professionalism of your visuals. Consider using wireless microphones for freedom of movement and clearer audio, especially in dynamic settings. Always equip your mics with windshields for mics to reduce wind noise and unwanted ambient sounds. Here are some tips to maximize audio quality:
- Invest in reliable wireless microphones for mobility and convenience.
- Use windshields for mics to minimize wind and environmental noise.
- Test your audio setup in the environment beforehand to identify potential issues.
Record in Quiet Settings
Recording in quiet settings is vital for capturing clear, professional-quality audio that complements your visuals. Background noise can easily distract viewers and diminish the overall impact of your footage. To minimize unwanted sounds, choose a location with minimal ambient noise and avoid busy areas. Proper microphone placement also plays a key role; position your microphone close to the sound source to pick up clearer audio and reduce background noise. If you’re using an external mic, hold or mount it steadily to prevent handling noise. Keep in mind that even small sounds can be amplified in post-production, so aim for the quietest environment possible. By prioritizing quiet settings and mindful microphone placement, you’ll ensure your smartphone videos have crisp, immersive sound that enhances your storytelling.
Frequently Asked Questions
How Can I Improve Audio Quality With My Smartphone?
To improve your smartphone’s audio quality, focus on microphone placement—keep the mic close to the source for clearer sound. Use an external microphone if possible, as it often captures better audio. Reduce background noise by filming in quiet environments and consider using apps or settings that help with background noise reduction. These steps ensure your recordings sound professional and crisp, elevating your smartphone videos considerably.
What Apps Are Best for Mobile Video Editing?
You should try apps like Adobe Premiere Rush, iMovie, or LumaFusion, which offer great tools for mobile editing. These apps let you enhance your footage with video color grading and add transition effects seamlessly. They’re user-friendly and give you professional results, so you can easily refine your videos right on your phone. Immerse yourself in these options to elevate your editing game and produce cinematic-quality videos effortlessly.
How Do I Shoot in Low-Light Conditions Effectively?
To shoot effectively in low-light conditions, use low light techniques like stabilizing your phone to prevent blur and tapping to focus on your subject. Optimize your smartphone sensor by increasing exposure, but avoid overexposure that causes noise. Use a third-party app if needed to manually adjust ISO and shutter speed. Additionally, consider using a portable light or flashlight to enhance scene brightness and improve overall image quality.
Can I Shoot Cinematic Footage Without Professional Accessories?
Yes, you can shoot cinematic footage without professional accessories. Use DIY stabilizers like a homemade gimbal or steadying rig to keep your shots smooth. Take advantage of natural lighting; film during golden hour for warm, flattering light. Keep your movements steady and plan your shots carefully. With patience and creativity, you’ll achieve professional-looking results, even without costly equipment.
How Do I Add Cinematic Effects During Post-Production?
You can add cinematic effects during post-production by using color grading and cinematic filters. Experiment with adjusting contrast, saturation, and shadows to create mood and depth. Applying cinematic filters can instantly give your footage a professional look, while color grading refines the overall tone. These techniques can transform your smartphone videos into stunning, cinematic pieces—making your footage look like it was shot with a high-end camera.
Conclusion
Just like a director crafts a masterpiece, you hold the power to turn your smartphone into a cinematic tool. By mastering settings, lighting, and composition, you’ll transform everyday moments into stories worth sharing. Remember, every shot is a scene waiting to be brought to life—your phone is your camera, and your creativity is the script. So, go ahead, shoot your masterpiece and let your lens tell the story only you can tell.