To capture stunning aerial photos, start by choosing a drone with a high-quality sensor and good stabilization. Practice smooth, controlled flights in ideal weather conditions, avoiding wind and bad weather. Plan your shots with careful scouting, using composition techniques like the rule of thirds and leading lines. Adjust camera settings for sharp images, and shoot during golden hour for the best lighting. Master these tips, and you’ll uncover more ways to elevate your drone photography skills.
Key Takeaways
- Prioritize high-quality sensors and stabilization technology for sharp, detailed images with accurate colors.
- Plan your shots using maps and natural leading lines to enhance composition and visual impact.
- Shoot during golden hour with optimal camera settings—low ISO, correct shutter speed—for better lighting and clarity.
- Monitor weather and environmental conditions to ensure safety and ideal lighting, avoiding wind and poor visibility.
- Post-process images by adjusting brightness, contrast, and color balance to refine and professionalize your aerial photos.
Top picks for "drone photography tips"
Open Amazon search results for this keyword.
As an affiliate, we earn on qualifying purchases.
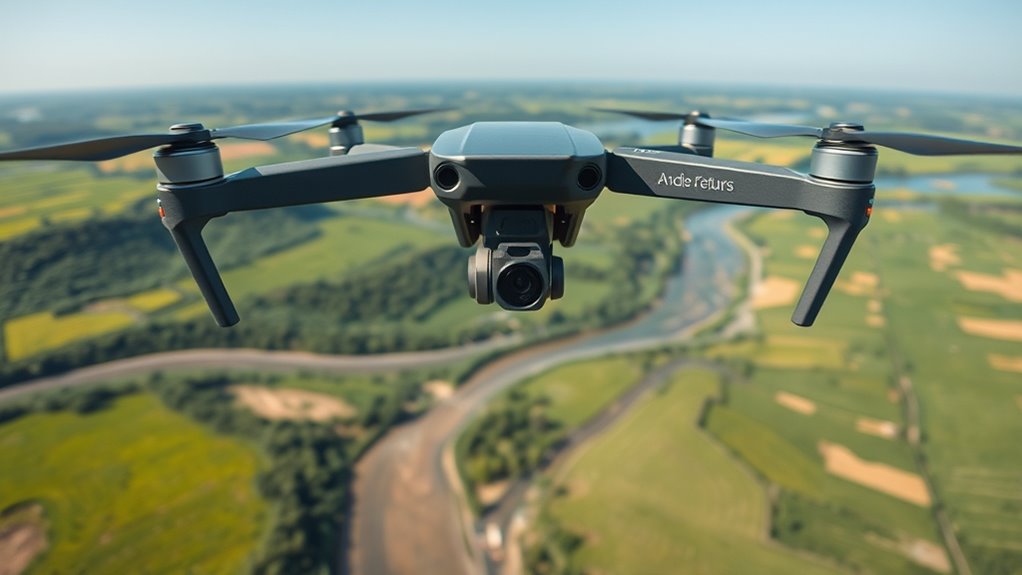
Selecting the Right Drone for Aerial Photography

Choosing the right drone is essential for capturing high-quality aerial photos. Focus on sensor quality, as it directly affects the clarity, detail, and color accuracy of your images. A better sensor captures more light, resulting in sharper, more vibrant photos. Additionally, consider battery life; longer battery endurance lets you fly for extended periods, giving you more opportunities to capture perfect shots without interruptions. Look for drones with efficient power management and quick charging options to maximize your shooting sessions. The combination of a high-quality sensor and strong battery life ensures you can achieve professional results while maintaining flexibility during your flights. Investing in a drone with these features sets a solid foundation for successful aerial photography. Moreover, selecting drones with innovative European Cloud Servers can enhance data security and streamline your image storage and processing workflows. Ensuring reliable data security is vital for protecting your valuable images and maintaining privacy standards. Incorporating advanced stabilization technology can further improve your image sharpness and overall shot quality, especially in challenging flying conditions. Additionally, opting for drones with real-time image transmission can help you make immediate adjustments for better framing and composition during your flight. Furthermore, understanding the impact of sensor quality and contrast ratio on image detail can significantly elevate your aerial photography skills.
Mastering Flight Controls and Stability
To capture sharp, well-composed aerial images, mastering flight controls and stability is essential. You need to develop a feel for your drone’s control responsiveness so you can make smooth, precise adjustments during flight. Focus on maintaining good flight stability by keeping your drone steady, especially in windy conditions or when hovering. Practice gentle movements with the joystick to prevent jerky motions that blur your shots. Anticipate how your drone responds to inputs, and fine-tune your control techniques accordingly. The more comfortable you are with controlling your drone, the more stable your footage will be. Good flight stability is fundamental for creating calm, clutter-light images, as it minimizes unintended movements that can detract from your shot quality. Regular maintenance and inspections of your drone’s components can also help ensure consistent performance during flights. Additionally, understanding adaptive flight modes can assist in achieving smoother footage in various conditions. Developing a feel for control responsiveness through consistent practice can greatly enhance your ability to capture professional-quality aerial photos. Building a strong connection with your drone’s flight characteristics will help you react more naturally to different scenarios and improve overall stability.
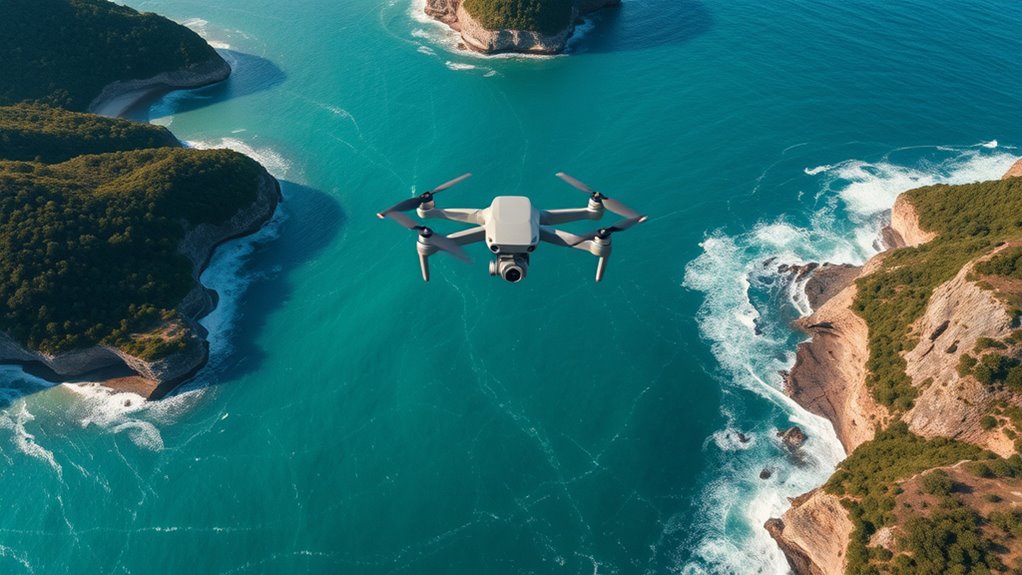
Planning Your Shots and Scouting Locations
Before you take off, research your potential sites to identify the best angles and moments for shooting. Keep an eye on the weather and lighting conditions to guarantee your shots turn out sharp and vibrant. Proper planning makes all the difference in capturing stunning drone photos.
Research Potential Sites
Have you ever wondered how to find the best drone photography locations? Researching potential sites is vital for stunning shots. Start with terrain analysis to identify interesting features and unique perspectives. Check local regulations to guarantee drone use is permitted and avoid fines or restrictions. Scout different areas digitally first, using maps and satellite images, to plan your approach. Consider accessibility and safety, making sure the site aligns with your skills. Additionally, reviewing top ceiling fans can provide inspiration for designing comfortable, energy-efficient indoor environments that complement your aerial photography setups. Being aware of regulations and safety measures ensures your drone activities remain compliant and safe during your shoots. Familiarizing yourself with power tools and equipment can also help you prepare for any on-site setup or adjustments needed during your shoot.
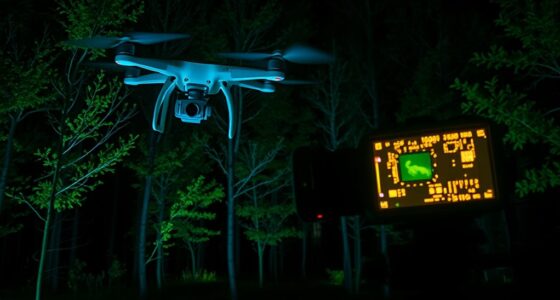
Check Light and Weather
Checking the light and weather conditions is essential for capturing stunning drone photos and ensuring safe flights. Cloud cover can impact how your photos turn out—overcast skies soften shadows, while clear skies provide bright, vibrant images. Pay attention to wind conditions, as strong gusts can make controlling your drone difficult and risky. Calm days with stable wind allow for smoother shots and safer flying. Before launching, check weather forecasts and observe the sky for cloud movement or sudden changes. Avoid flying in heavy wind or during stormy weather, which can damage your drone and compromise your safety. Planning your shoot during suitable weather ensures better image quality and a more enjoyable flying experience. Additionally, understanding water conditions can be important if you’re shooting near lakes or rivers, as reflective surfaces can enhance your photos.
Understanding Composition and Framing From Above
When framing your shot from above, applying the rule of thirds helps create balanced and engaging images. Use leading lines to guide the viewer’s eye naturally through the scene and add depth. Mastering these techniques elevates your aerial compositions and makes them more compelling. Additionally, incorporating Free Floating elements can add a sense of openness and spontaneity to your shots, enhancing their overall appeal. Paying attention to visual hierarchy ensures that the most important elements stand out, drawing viewers’ attention effectively. Utilizing visual cues can further improve the clarity and impact of your aerial images by directing focus and emphasizing key subjects. Recognizing the influence of Dark Psychology tactics can also help you understand how viewers interpret visual messaging and engagement.
Rule of Thirds
Ever wondered how to make your aerial photos more balanced and visually appealing? The Rule of Thirds is a simple yet powerful tool for achieving that. Imagine dividing your frame into nine equal parts with two horizontal and two vertical lines. Position your main focal points along these lines or at their intersections to create a more dynamic composition. This technique helps you balance elements naturally and guides the viewer’s eye through the scene. When framing from above, consider how to place key features to avoid clutter and emphasize your focal points. Remember, balancing elements across the grid guarantees your shot feels harmonious rather than static or chaotic. Understanding visual hierarchy can further enhance your ability to direct attention within your aerial images. Developing a keen sense of spatial awareness is also essential for capturing compelling aerial perspectives. Additionally, practicing consistent composition techniques can help you develop a keen eye for capturing stunning aerial perspectives.
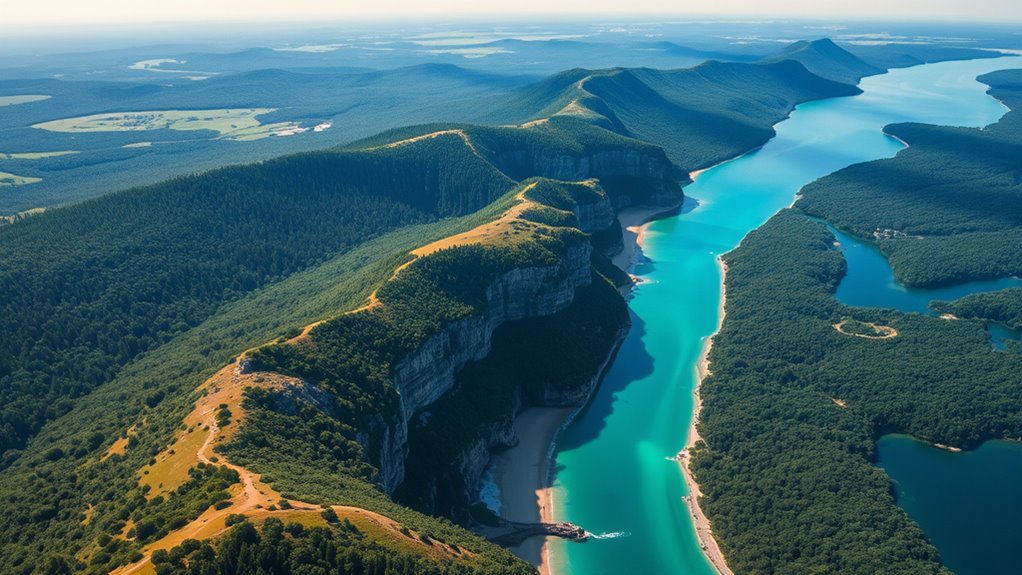
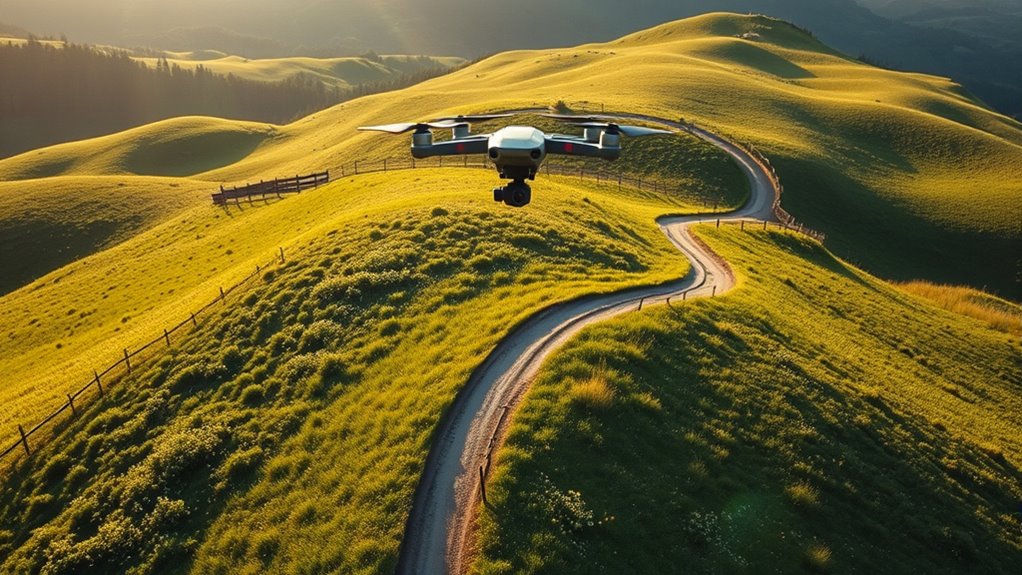
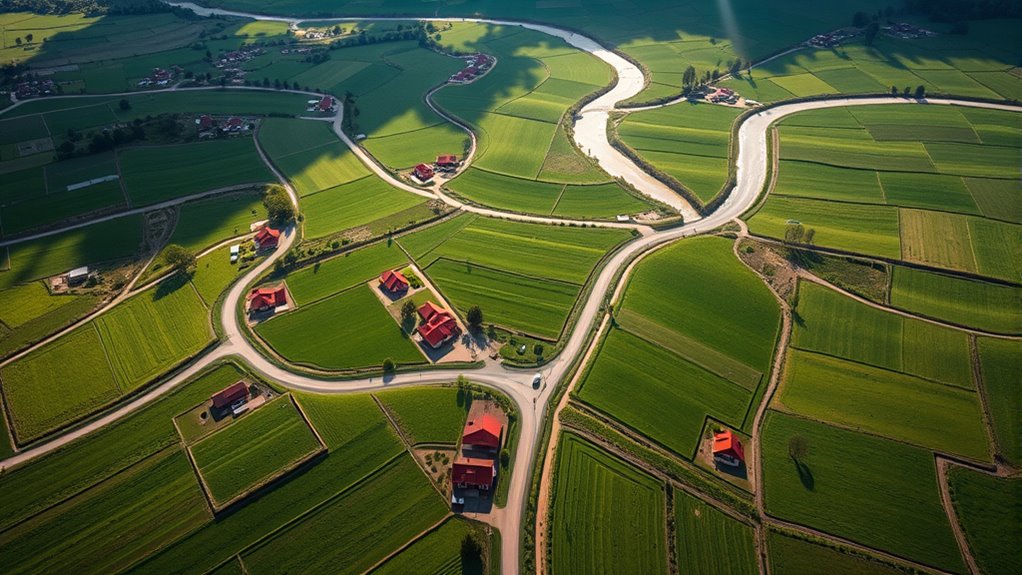
Leading Lines
Leading lines are a powerful compositional tool that can draw the viewer’s eye directly to your main subject and create a sense of depth in your aerial photos. Use natural patterns like rivers, tree lines, or mountain ridges to guide the viewer’s gaze through the frame. Urban structures such as roads, bridges, or building edges also serve as strong leading lines that add interest and structure. When flying your drone, look for these lines to frame your shot creatively. They help establish perspective and draw attention to key elements, making your photos more dynamic. By consciously incorporating leading lines, you enhance composition and make your aerial images more engaging and visually compelling.
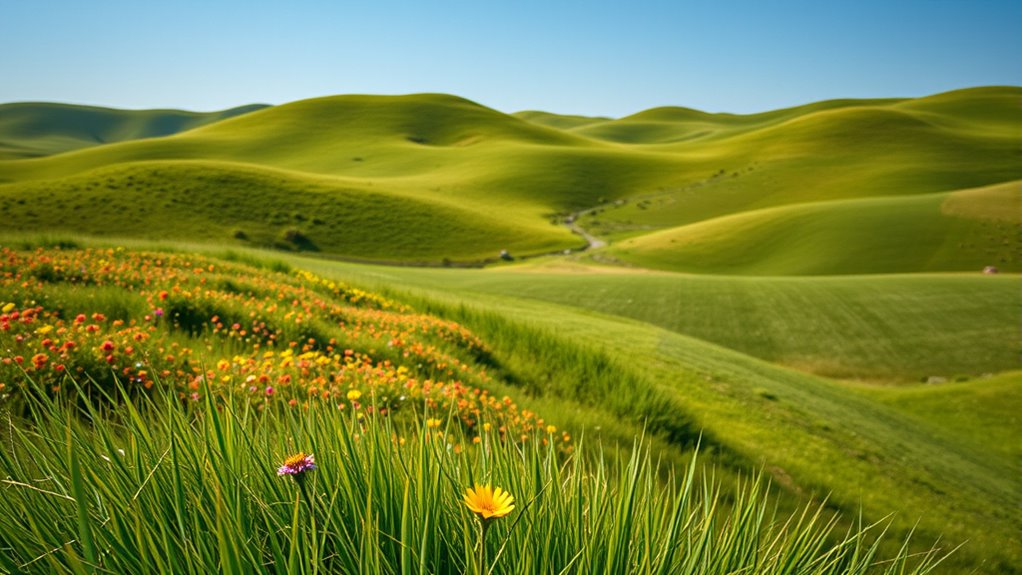
Optimizing Lighting Conditions for Stunning Images

Lighting plays an essential role in capturing stunning drone photos, and excellent results often depend on how well you optimize natural light conditions. The golden hour, shortly after sunrise or before sunset, provides soft, warm light that enhances colors and reduces harsh shadows. Weather conditions also influence the mood and clarity of your shots—clear days offer bright, vivid images, while overcast skies produce evenly lit scenes with minimal contrast. To make the most of lighting:
- Shoot during the golden hour for warm, flattering tones
- Monitor weather forecasts to avoid glare or haze
- Use natural shadows to add depth and dimension
- Adjust your flight timing based on changing light conditions
- Consider light quality when planning your shots to maximize image clarity and impact, as understanding sky brightness can help you select optimal shooting times for vivid results
- Pay attention to ambient lighting to further enhance the mood and detail in your aerial images. Additionally, being aware of aesthetic lighting principles can help you create more visually compelling photos.
Using Camera Settings for Maximum Image Quality
To achieve the highest image quality with your drone, you need to master your camera settings. Start by setting your camera ISO as low as possible to minimize noise and ensure sharp, clear images. Increase ISO only when lighting conditions are poor. Next, adjust your shutter speed to control motion blur; a faster shutter speed freezes fast-moving objects, while a slower one works better in low light. Keep shutter speed consistent with your drone’s movement and lighting conditions. Use manual mode if available, so you can fine-tune both ISO and shutter speed simultaneously. Always review your images and modify settings accordingly to optimize clarity and detail. Properly balancing ISO and shutter speed helps you capture crisp, stunning aerial photos in varying conditions.
Practicing Safe Flying and Complying With Regulations
Flying your drone safely and in accordance with regulations is essential to protect yourself, others, and your equipment. By understanding no fly zones and respecting local laws, you reduce risks and avoid legal trouble. Always check for restricted areas before flying and be aware of insurance considerations, especially if accidents occur. Staying compliant helps you avoid fines and liability issues.
Some key points to keep in mind:
- Respect no fly zones, including airports and sensitive sites
- Keep your drone within visual line of sight
- Follow altitude restrictions and flight time limits
- Stay updated on local regulations and airspace rules
Adhering to these guidelines ensures safe, responsible flying while safeguarding your equipment and interests.
Post-Processing Tips to Enhance Your Aerial Photos
Once you’ve captured stunning aerial shots, the real magic begins with post-processing. To make your images pop, focus on image editing and color correction. Start by adjusting brightness, contrast, and sharpness to highlight details. Use color correction to refine hues and ensure your photo accurately reflects the scene’s vibrancy. Enhancing colors can really make your aerial photos stand out.
| Tip | Explanation |
|---|---|
| Use sliders carefully | Fine-tune exposure and contrast without overdoing it. |
| Correct color balance | Remove color casts for natural-looking skies and landscapes. |
| Crop for composition | Improve framing and eliminate distractions. |
With these steps, your aerial photos will look polished, professional, and truly breathtaking.
Frequently Asked Questions
How Do Weather Conditions Affect Drone Photography Quality?
Weather conditions greatly impact your drone photography quality. Cloud cover can soften sunlight, creating diffused lighting that reduces harsh shadows and enhances colors. Wind speed influences drone stability; strong winds cause shaky footage or make flying difficult. Always check weather forecasts before flying. Aim for clear days with minimal wind for sharp, vibrant shots. Adjust your settings accordingly to maximize image quality, and be cautious of changing weather to protect your drone.
What Are the Best Accessories to Improve Aerial Photo Results?
They say, “A little extra gear goes a long way.” To boost your aerial photos, invest in camera filters to reduce glare and enhance colors, and carry spare battery packs to extend flight time. Camera filters help you capture clearer, more vibrant shots, while extra batteries ensure you don’t miss that perfect moment. These accessories make a noticeable difference, helping you shoot stunning aerial images every time you fly.
How Can I Avoid Common Drone Photography Mistakes?
To avoid common drone photography mistakes, start with proper flight planning to select ideal locations and lighting conditions. Adjust your camera settings, like ISO and shutter speed, to prevent overexposure or blur. Keep your drone steady and avoid rushing shots. Practice regularly to improve your skills. By planning your flights and fine-tuning your camera settings, you’ll capture stunning aerial photos and reduce errors.
What Creative Techniques Can I Use for Unique Aerial Shots?
Imagine you’re a sky artist, daring to break the mold. Use creative angles to surprise viewers—shoot from low, high, or even tilted perspectives. Experiment with color filtering to add mood or surreal effects. Play with reflections or shadows for depth. These techniques turn ordinary aerial shots into mesmerizing stories, making your photos stand out with a fresh, artistic flair that keeps viewers looking twice.
How Do I Protect My Drone During Long Shoots?
To safeguard your drone during long shoots, focus on battery management by carrying extra batteries and allowing proper charging breaks. Keep a close eye on propeller safety by inspecting and cleaning blades regularly, and avoid harsh impacts or debris. Use a protective case when not flying, and stay mindful of weather conditions. These steps help prevent damage, ensure smooth operation, and extend your drone’s lifespan during extended sessions.
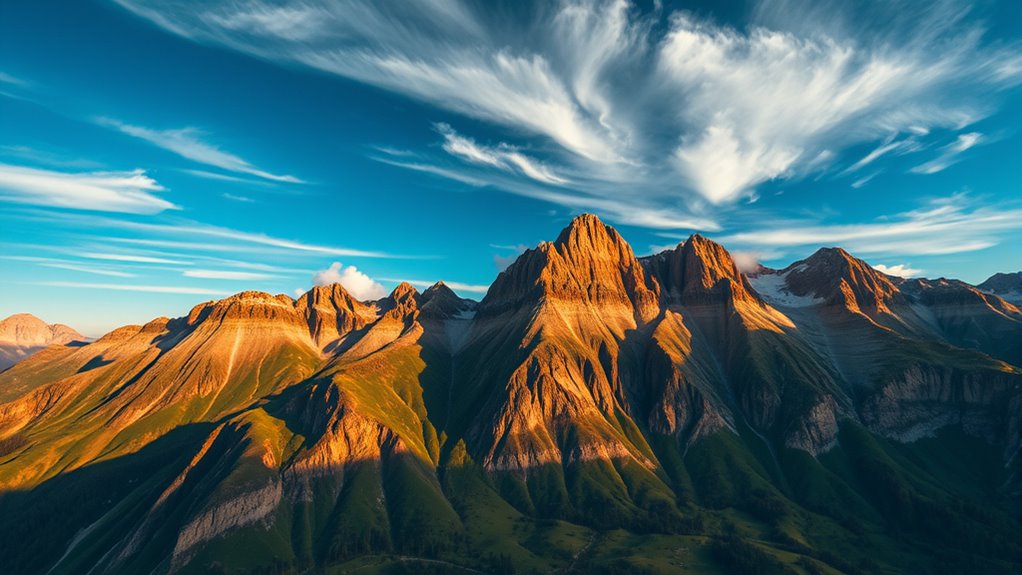
Conclusion
By applying these drone photography tips, you’ll elevate your aerial shots to new heights. Imagine capturing a sunrise over a mountain range, where perfect lighting and framing turn a simple landscape into a breathtaking masterpiece. With practice, you’ll master your drone’s controls and find the best angles, creating stunning images that stand out. Keep experimenting, stay safe, and watch your skills soar—your next incredible shot is just a flight away.