
To upgrade your laptop safely, start by preparing a clean, well-lit workspace with the necessary tools and static precautions. Back up all important data, then check compatibility for your new hardware, like RAM or SSD, using manufacturer guides. Carefully disassemble your laptop following step-by-step instructions, avoiding force or static damage. Install the new components securely, apply thermal paste if needed, and test thoroughly before reassembling. Keep watching to discover detailed tips for a smooth upgrade process.
Key Takeaways
- Gather all necessary tools, create an organized, static-safe workspace, and disconnect power before disassembly.
- Backup important data and verify hardware compatibility to prevent data loss and ensure new components fit.
- Follow the manufacturer’s disassembly instructions carefully, handling components gently to avoid damage.
- Apply thermal paste properly and secure new hardware firmly during installation for optimal performance.
- Test the system thoroughly after upgrading, checking device recognition, temperatures, and stability before finalizing.
Preparing Your Workspace and Tools

Have you organized all the necessary tools and workspace before starting your laptop upgrade? A well-prepared area makes the process smoother and reduces the risk of damaging components. Start by creating an ergonomic setup—use a comfortable, stable surface at eye level to prevent strain. Ensure your workspace is clean and well-lit, with plenty of space for tools and parts. Tool organization is key: gather screwdrivers, tweezers, and any specialty tools beforehand, and keep them within easy reach. Use small containers or magnetic mats to hold screws and tiny components to avoid losing them. A tidy, ergonomic workspace not only keeps you efficient but also protects your laptop’s delicate parts during the upgrade. Incorporating proper workspace setup can also help if you’re feeling overwhelmed or distracted during the process. Additionally, understanding Gold IRA markets can be a valuable aspect of financial planning, similar to preparing thoroughly for a tech upgrade. Ensuring your tools and workspace are organized is an essential part of efficient upgrade procedures, which can help prevent mistakes and damage.
Backing Up Important Data
Before you begin upgrading your laptop, it is vital to back up all important data. This step guarantees data security and prevents loss if something goes wrong. To effectively safeguard your files, consider these actions:
Backing up your data before upgrading ensures security and prevents loss.
- Create a full software backup using reliable backup software or cloud services.
- Save critical documents, photos, and videos on an external hard drive or USB drive.
- Export essential settings and application data to facilitate easy restoration. Additionally, review home data protection strategies to ensure comprehensive coverage.
- Consult reliable backup methods to ensure your data is protected with proven strategies. Exploring trusted data security practices can further enhance your backup plan.
Taking these precautions minimizes the risk of losing valuable information during the upgrade process. Remember, a secure data backup is your safety net, allowing you to restore everything quickly if needed. Prioritizing data security now helps avoid headaches later and keeps your digital life intact.
Identifying Upgrade Compatibility and Components
Before upgrading, you need to check if new components are compatible with your laptop’s model and specifications. Use online tools or consult your manufacturer’s documentation to confirm what upgrades are possible. Once you’ve identified compatible options, you can explore which components will give you the best performance boost. Ensuring your hardware compatibility is crucial to prevent potential damage and achieve optimal results. Additionally, understanding system requirements can help you determine if your existing setup can support the new hardware effectively. Being aware of European cloud innovation can also guide you in choosing upgrade paths that align with future-proofing and sustainability goals. Incorporating personal growth principles into your upgrade process can foster a mindful and deliberate approach to making technological improvements. Monitoring online communities and cryptocurrency trends can provide insights into emerging hardware needs driven by market shifts and technological advancements.
Compatibility Check Process
To make certain your upgrade goes smoothly, start by verifying that your laptop can support new components. First, check RAM compatibility by reviewing your laptop’s specifications or manual to ensure the type, speed, and capacity match what you plan to install. Second, see if your BIOS needs an update—this can improve hardware recognition and stability after upgrading. Third, confirm that the physical dimensions and connectors of the new parts fit your laptop’s existing hardware. Doing these checks prevents compatibility issues and reduces the risk of damaging your device. Remember, a BIOS update might be necessary before installing new RAM or other components, so consult your manufacturer’s website for guidance. Being thorough now saves headaches later. Additionally, understanding hardware compatibility can help you select components that work seamlessly with your system. Exploring sound wave science can also provide deeper insight into how certain upgrades may influence your device’s performance and health. For example, considering thermal management can ensure your laptop remains cool and performs optimally after upgrades. Moreover, evaluating the impact of power supply needs can prevent overloading your system’s electrical capacity during upgrades.
Component Upgrade Options
Once you’ve confirmed your laptop’s compatibility, it’s time to identify the specific components you want to upgrade. Focus on RAM compatibility to guarantee smooth multitasking and check your system’s maximum supported RAM. Upgrading to an SSD can dramatically boost performance, especially for faster boot times and data access. Use the table below to compare options:
| Component | Compatibility Tips | Benefits |
|---|---|---|
| RAM | Match speed, size, and type | Improves multitasking and responsiveness |
| SSD | Check interface (SATA or NVMe) | Faster boot and data transfer |
| RAM Modules | Confirm maximum supported size | Enhanced system performance |
| SSD Capacity | Choose based on storage needs | More space for files and apps |
| Upgrade Process | Follow manufacturer instructions | Safe, effective upgrades |
Additionally, understanding component compatibility is essential to ensure your upgrades work seamlessly and don’t cause system issues. Being aware of upgrade limitations helps prevent potential hardware conflicts and ensures optimal system performance.
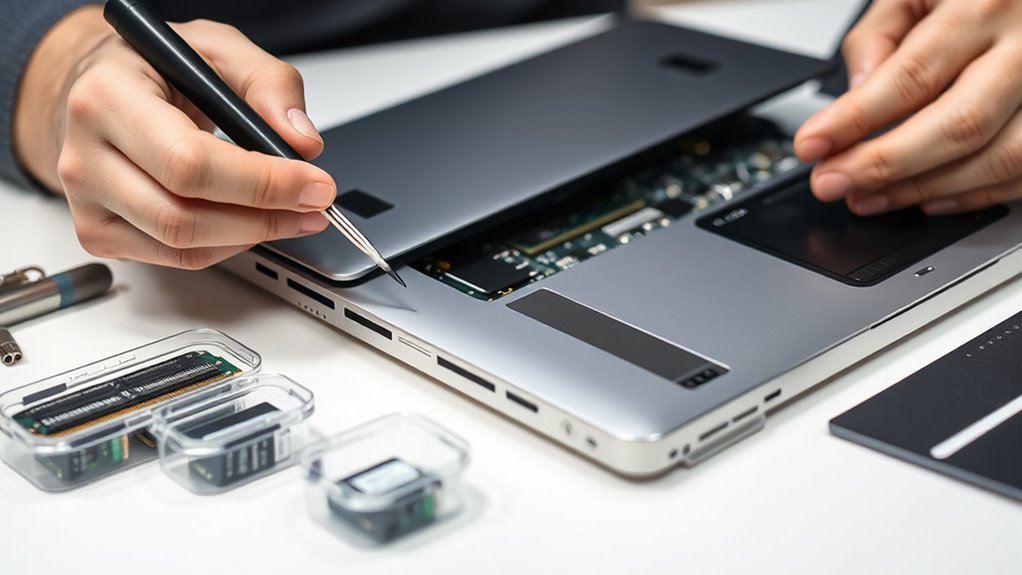
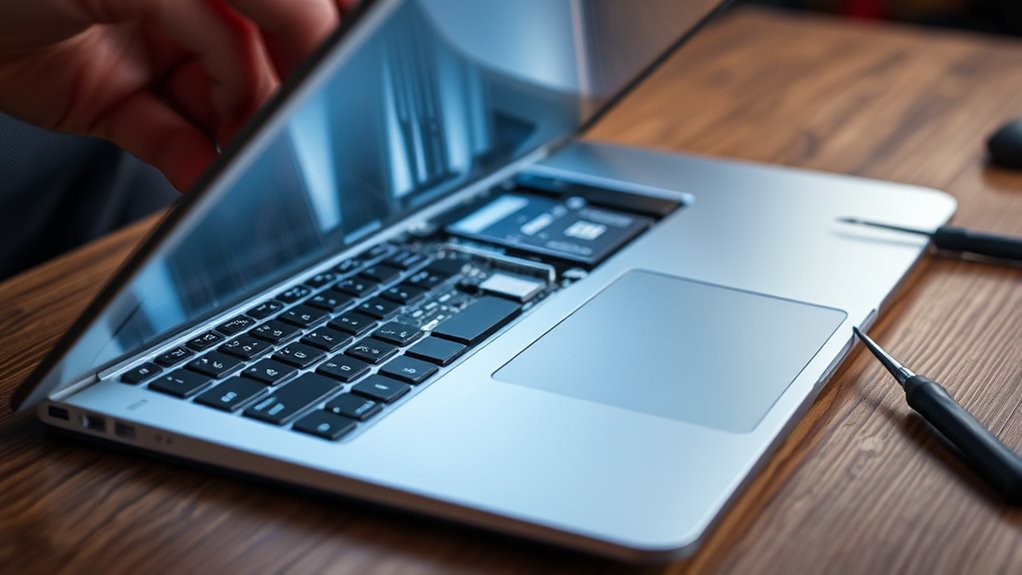
Disassembling Your Laptop Safely
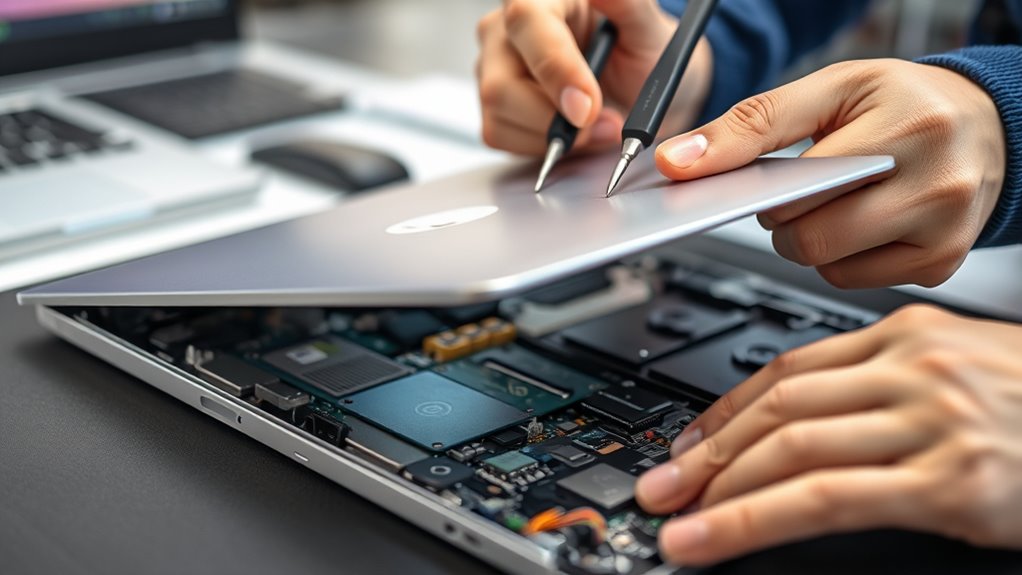
Disassembling your laptop requires careful attention to detail and proper preparation to avoid damaging delicate components. To guarantee electronic safety and protect your warranty, start by disconnecting the power and removing the battery if possible. Next, gather the right tools—precision screwdrivers and an anti-static wrist strap—to prevent static damage. Proper organization of screws and parts is crucial; keep track of all screws and parts, organizing them in labeled containers. Remember, mishandling internal components can void your warranty, so handle everything gently and avoid forcing connectors apart. Before proceeding, consult your laptop’s service manual for specific disassembly instructions. Being aware of vetted information and how they might influence content can help you make informed decisions. It’s also important to stay informed about the benefits of proper disassembly techniques to ensure a smoother upgrade process. Utilizing appropriate tools reduces the risk of accidental damage during disassembly. By following these steps, you minimize the risk of damage and set yourself up for a successful upgrade. Proper disassembly is key to a safe and effective upgrade process.
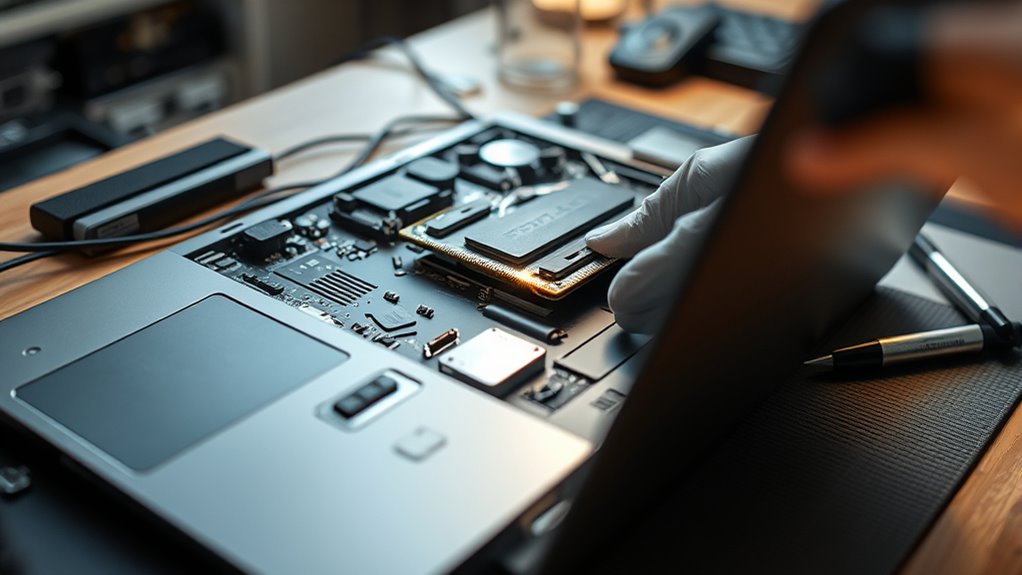
Installing New Hardware Components
Before installing new hardware components, make sure that your laptop is powered off and unplugged, and that you’ve discharged any static electricity by wearing an anti-static wrist strap. Carefully open your device and identify the upgrade area. When installing components like a CPU or GPU, apply a small amount of thermal paste to ensure proper heat transfer. Always follow static precautions to prevent damage. Use the table below to keep track of your steps:
| Step | Action | Tips |
|---|---|---|
| Remove old hardware | Detach carefully | Use appropriate tools |
| Clean surfaces | Remove old thermal paste | Use isopropyl alcohol |
| Apply thermal paste | Small pea-sized amount | Avoid over-application |
| Install new component | Secure firmly | Check connections |
| Final check | Ensure proper seating | Avoid static or forceful moves |
This approach helps prevent damage and guarantees a successful upgrade. Proper application of thermal paste is essential for maintaining optimal heat dissipation, especially when upgrading components like the CPU or GPU. Additionally, consulting inverter generator guidelines can help you understand power requirements during hardware upgrades if you need portable power during troubleshooting or testing.
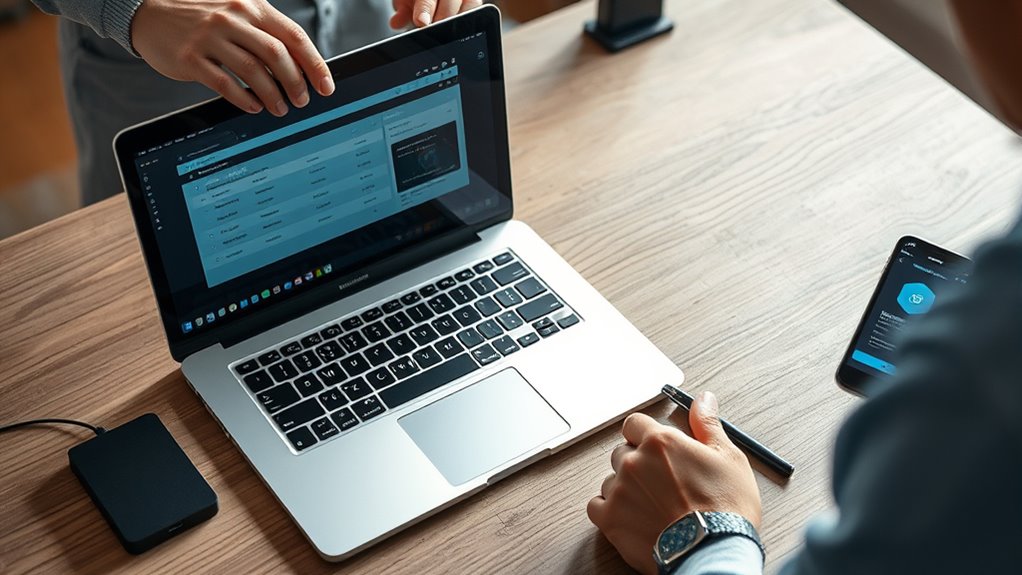
Testing and Finalizing Your Upgrade

After completing the hardware installation, it’s vital to thoroughly test your laptop to guarantee the upgrade was successful. Start by booting your system and checking device recognition. Next, monitor thermal management to ensure your laptop stays cool under load, preventing overheating. Updating firmware is crucial; install any available updates to optimize hardware compatibility and performance. Consider running stress tests or benchmarks to evaluate stability. Keep an eye on temperature readings and system logs for anomalies. Confirm that the new components operate correctly and that your laptop performs as expected. This final step helps identify issues early, ensuring your upgrade improves performance without compromising reliability. Proper testing guarantees your laptop runs smoothly, safely, and efficiently after the upgrade.
Frequently Asked Questions
Can I Upgrade My Laptop’s CPU or GPU Easily?
You can’t easily upgrade your laptop’s CPU or GPU because most laptops have soldered components, making CPU compatibility and GPU integration difficult to modify. Laptops are designed with limited upgrade options, so replacing these parts often requires professional help or isn’t possible at all. If you’re set on upgrading, check your model’s specifications and consult a technician to explore potential options or consider a new laptop better suited to your needs.
How Do I Avoid Voiding My Warranty During Upgrades?
Think of your warranty as a delicate glass sculpture—handling it carefully preserves its beauty. To avoid voiding your warranty during upgrades, always check your manufacturer’s warranty policy for upgrade legality. Use official parts and tools, and consider professional help for complex tasks. Keep records and receipts to prove you followed proper procedures. This way, you protect your warranty, ensuring your laptop stays safe and sound, ready for future adventures.
What Are Signs My Laptop Can’t Handle Upgrades?
You’ll notice your laptop struggles with upgrades if the hardware compatibility is limited, such as incompatible RAM or storage. Signs include overheating, slow performance after upgrades, or system errors. Check your device’s upgrade limitations in the user manual or manufacturer’s website, and verify hardware specifications before attempting upgrades. If your laptop’s components are tightly integrated or soldered, it’s a clear sign it can’t easily handle upgrades without risking damage.
How Long Does a Typical Laptop Upgrade Take?
A typical laptop upgrade takes about 30 minutes to a few hours, depending on hardware compatibility and the complexity of the components you’re upgrading. You’ll want to set aside ample time for installation and troubleshooting. Keep in mind that upgrade timelines vary based on your experience and the specific hardware involved. Planning ahead guarantees you don’t rush, and double-checking compatibility helps prevent delays or issues during the process.
Are There Risks of Damaging the Motherboard During Hardware Installation?
You’re risking a motherboard disaster every time you tamper with your laptop’s inner parts! Yes, there’s a real chance of damaging the motherboard during installation risks. A tiny static shock or a misplaced screw can cause irreparable motherboard damage. But don’t worry—if you handle components carefully, use anti-static tools, and follow proper procedures, you’ll minimize these risks and keep your upgrade smooth and safe.
Conclusion
By following these steps, you turn the formidable task of upgrading into a manageable journey. Remember, patience is your compass and caution your map—guiding you through potential pitfalls. With each successful upgrade, you’re not just enhancing your laptop; you’re forging a bond of confidence and mastery. So, embrace the challenge, for in the process, you transform a simple device into a personalized powerhouse—proof that with care, you can truly make technology work for you.