
To upgrade your PC’s RAM or SSD, first gather essential tools like a screwdriver, anti-static wrist strap, and prying tools. Make sure your hardware is compatible with your system, checking form factors and capacity limits. Power down, unplug, and discharge static before opening your case. Carefully install the new components, then verify that your system recognizes them through BIOS or the OS. Continue exploring the step-by-step details to complete your upgrade smoothly.
Key Takeaways
- Power down, unplug your PC, and discharge static using an anti-static wrist strap before opening the case.
- Locate RAM slots or SSD bays, then carefully remove existing components if needed.
- Install new RAM modules by aligning notches and pressing until they click; connect SSDs securely via SATA or NVMe.
- Update your BIOS firmware if necessary, then power on and verify hardware recognition in BIOS or OS.
- Close the case, reconnect peripherals, and confirm the new hardware is functioning properly after booting.
Preparing for the Upgrade: Tools, Compatibility, and Safety Tips
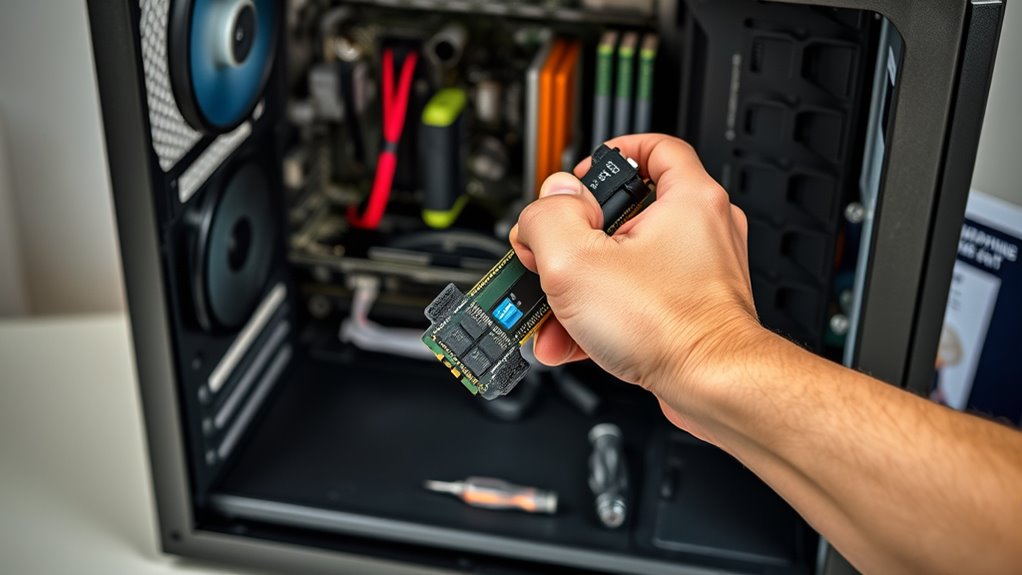
Before you begin upgrading your PC’s RAM or SSD, it is vital to gather the right tools, verify compatibility, and follow safety precautions. Start by collecting essential tools like a screwdriver, an anti-static wrist strap, and possibly plastic prying tools. Check your computer’s specifications to guarantee you have compatible hardware; not all RAM or SSDs fit every system. Confirm the form factor, interface, and maximum capacity supported. Always adhere to safety precautions—power down your PC, unplug it from the wall, and discharge static by wearing an anti-static wrist strap. Taking these steps prevents damage to your components and keeps you safe during the upgrade process. Proper preparation ensures a smooth, trouble-free upgrade experience. Additionally, understanding your system’s European cloud innovation can provide insights into optimal hardware configurations. Exploring sound healing science might also offer unique perspectives on creating a calming workspace that can enhance focus during your upgrade. Being aware of vetted safety practices ensures you minimize risks and protect your valuable hardware throughout the process.
Installing New RAM or SSD: A Step-by-Step Guide
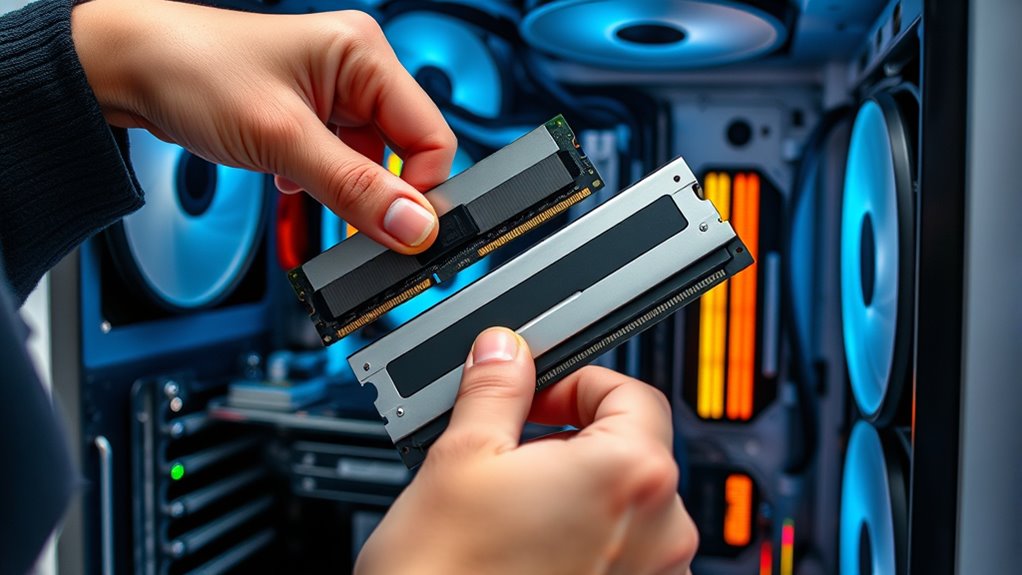
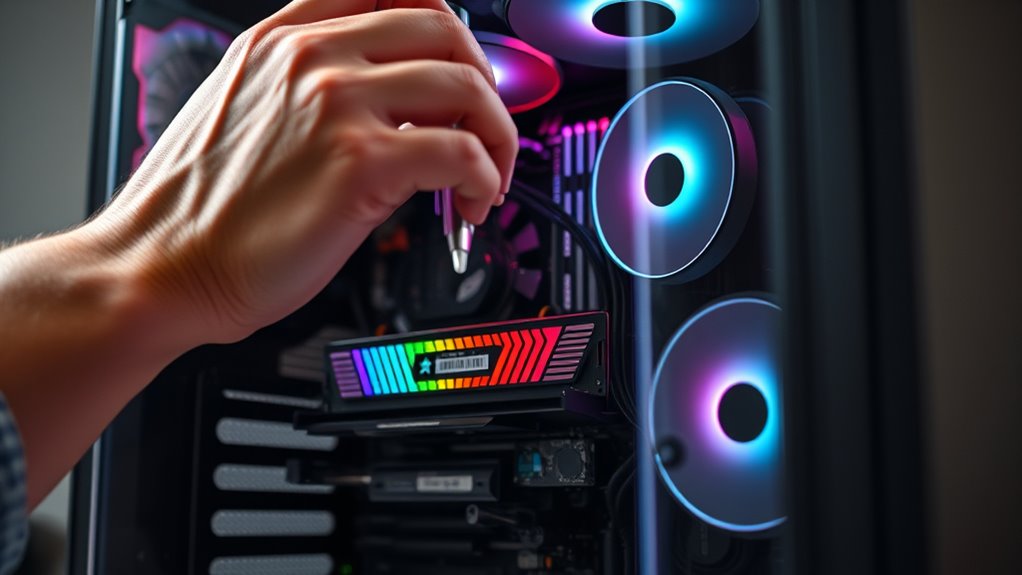
Installing your new RAM or SSD might seem intimidating, but with the right approach, it’s a straightforward process. First, shut down your PC, unplug it, and open the case. Carefully locate the RAM slots or drive bay. When installing RAM, align the notches and firmly press until it clicks into place. For SSDs, connect the SATA or NVMe connector securely. Before powering up, check your BIOS settings to ensure the new hardware is recognized; sometimes, firmware updates are necessary to improve compatibility. Ensuring hardware compatibility can help prevent potential issues during installation. If needed, update your BIOS firmware before installation. Once installed, boot up your PC and verify the hardware recognition in BIOS or your operating system. Proper case closure, along with reconnecting peripherals, completes the process efficiently. Additionally, consulting your motherboard or SSD manual can provide specific guidance tailored to your hardware. It’s also helpful to review your motherboard’s supported hardware specifications to ensure your upgrades are fully compatible.
Frequently Asked Questions
Can I Mix Different Brands of RAM or SSDS?
You can mix different brands of RAM or SSDs, but compatibility considerations are vital. Make sure the specifications match, like speed, size, and voltage, to avoid issues. Brand mixing risks include instability, reduced performance, or boot failures. For peak performance and stability, it’s best to use matching modules or drives from the same brand and model, but if you choose to mix, check compatibility carefully first.
How Do I Know if My Motherboard Supports the New RAM or SSD?
Imagine your motherboard as a busy highway connecting all parts of your PC. To check compatibility, look up your motherboard’s model online and review its hardware specifications. Confirm it supports the type, speed, and capacity of your new RAM or SSD. Compatibility depends on motherboard features like RAM slots, M.2 or SATA ports, and supported standards—so matching these details guarantees your upgrade runs smoothly.
Is It Necessary to Update My BIOS After Installing New Hardware?
Yes, it’s necessary to update your BIOS after installing new hardware, especially for hardware compatibility. A BIOS update can verify your motherboard recognizes and properly supports your new RAM or SSD, preventing issues like boot failures or hardware malfunctions. Check your motherboard manufacturer’s website for the latest BIOS version and instructions. Updating the BIOS is a simple step that helps maximize performance and stability with your upgraded components.
What Should I Do if My PC Doesn’T Boot After Upgrade?
Did you know that 40% of PC boot failures after upgrades are due to hardware compatibility issues? If your PC doesn’t boot after upgrading, first check all hardware connections and reseat components. Then, troubleshoot hardware compatibility by consulting your motherboard manual. If problems persist, reset BIOS settings or update the BIOS. These steps help resolve common issues and get your system up and running smoothly again.
How Much RAM or SSD Capacity Do I Actually Need?
You should choose RAM capacity based on your usage, typically 8GB for everyday tasks, 16GB for gaming or multitasking, and 32GB or more for heavy workloads. Guarantee RAM compatibility with your motherboard. When selecting an SSD, consider speed, as NVMe drives offer faster data transfer than SATA models. Match your SSD capacity to your storage needs, but don’t forget to balance speed and budget for best performance.
Conclusion
Upgrading your PC’s RAM or SSD might seem intimidating at first, but think of it like planting a seed—you just need the right tools and patience. I once helped a friend boost his laptop’s speed, and now it runs faster than ever, proving that small upgrades can lead to big results. Remember, safety first and take your time. With each upgrade, you’re nurturing your computer’s potential—just like tending a garden, patience yields the best growth.