To start with Home Assistant without risking your setup, focus on proper device integration first. Add devices gradually using the integrations menu, ensuring each one works reliably before creating automations. Begin with simple automations triggered by basic events like time or device status. Test everything thoroughly to prevent conflicts. As you become more comfortable, expand your automations step-by-step. Keep learning more tips and best practices for a smooth, reliable smart home experience.
Key Takeaways
- Begin with proper device integration using supported protocols like Zigbee, Z-Wave, or Wi-Fi before creating automations.
- Start with simple automations triggered by basic events to test system stability and understanding.
- Verify each device’s connection and functionality before adding more automations or devices.
- Use the Home Assistant UI for automation setup to minimize errors and improve control.
- Regularly review and test automations to prevent conflicts and ensure reliable operation.
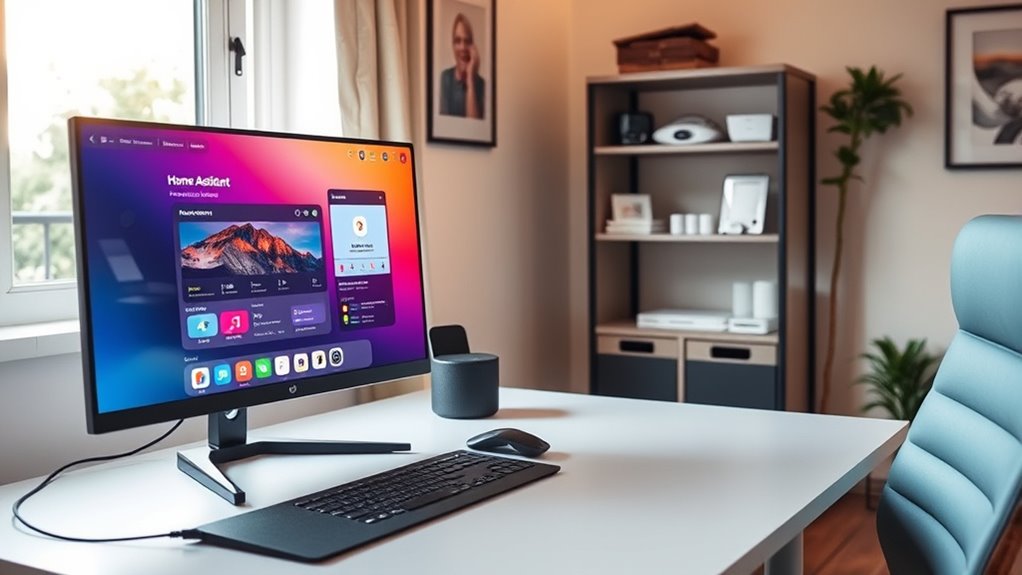
Are you curious about how to make your home smarter and more efficient? If so, diving into Home Assistant can seem overwhelming at first, but with a clear approach, you’ll find it’s quite manageable. The key to a smooth start is understanding device integration and automation setup. These are the building blocks that turn your simple devices into a cohesive, intelligent system.
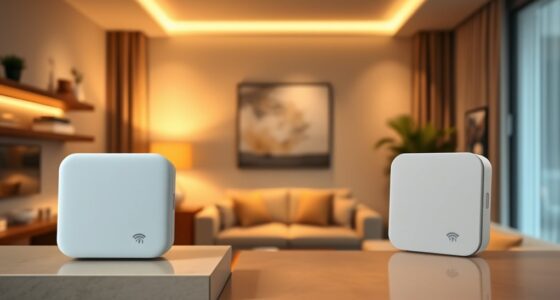
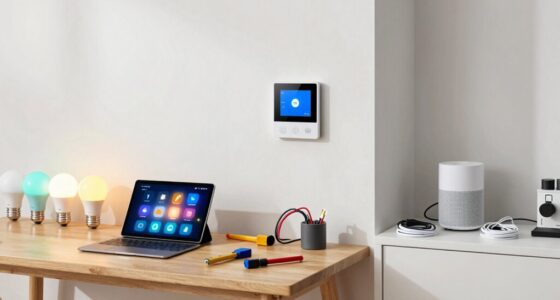
When you begin, focus on device integration. This means connecting your smart devices—like lights, thermostats, sensors, and switches—to Home Assistant. The process varies depending on the device, but most popular gadgets have straightforward integrations. Check if your device supports common protocols like Zigbee, Z-Wave, or Wi-Fi, and see if Home Assistant offers ready-made integrations for them. Using the integrations menu, you can easily add new devices by entering their details or scanning QR codes. This step is vital because it forms the foundation for everything else. Without proper device integration, your automation setup won’t work smoothly, and managing devices will be cumbersome.
Start by connecting your smart devices to Home Assistant using supported protocols like Zigbee, Z-Wave, or Wi-Fi for a solid foundation.
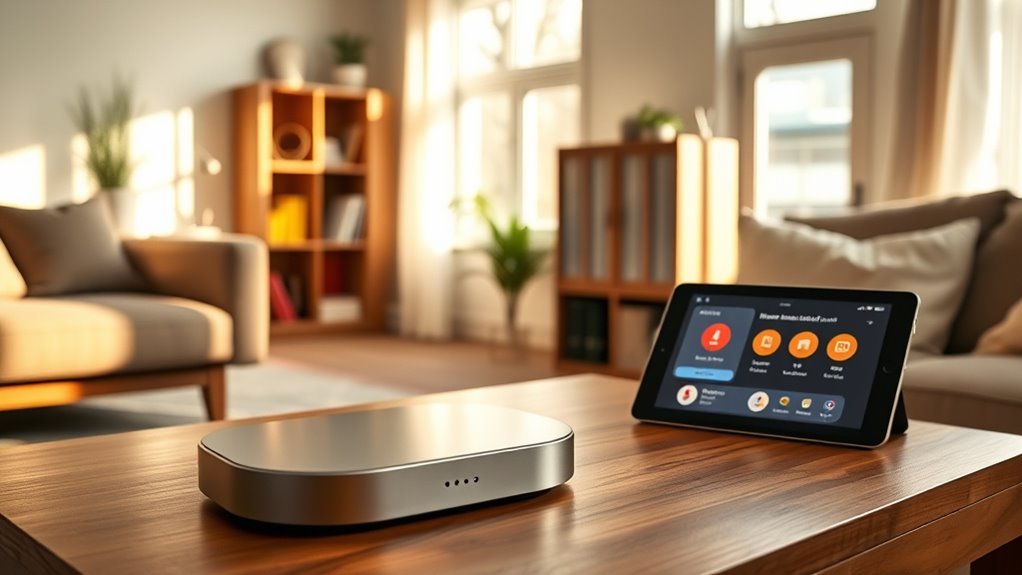
Once your devices are integrated, you can start setting up automations. Automation setup is where you make your home respond to specific triggers—like turning on lights at sunset or adjusting the thermostat when you leave home. Think of automations as simple if-then statements: “If this happens, then do that.” The user interface in Home Assistant makes creating automations straightforward. You can choose triggers such as time, device states, or even weather conditions. Then, specify actions, like turning on a switch or sending a notification. Start small: automate a single device or action first. This way, you can learn how different triggers and actions work together without risking your entire setup. Additionally, understanding the importance of contrast ratio can help you optimize your home theater setup, ensuring your displays look vibrant and detailed, which can be a fun project to enhance your entertainment area.
As you gain confidence, you’ll discover how powerful and flexible Home Assistant can be. You can create multiple automations that work in harmony, creating routines that save energy and improve comfort. Be cautious not to add too many automations at once; test each one thoroughly to avoid conflicts or unintended behavior. Remember, the key is to build gradually, ensuring each device integration is stable before expanding your automation setup.
Frequently Asked Questions
What Are the Best Starter Devices for Home Assistant?
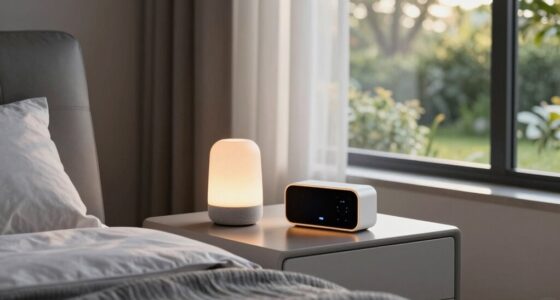
You should start with smart lightbulbs and motion sensors as they’re easy to set up and integrate seamlessly with Home Assistant. Smart lightbulbs allow you to control lighting remotely, set schedules, and create automations. Motion sensors help automate lighting and security. These devices are affordable, widely compatible, and perfect for beginners, giving you quick wins and confidence as you learn to customize your smart home without risking your existing setup.
How Do I Secure My Home Assistant Setup?
To secure your Home Assistant setup, start with strong network security by changing default passwords and enabling WPA3 encryption on your Wi-Fi. Use device authentication to control who can access your system, and consider setting up a separate network or VLAN for your smart devices. Keep your system updated regularly, and enable two-factor authentication to add an extra layer of protection. These steps help prevent unauthorized access and keep your smart home safe.
Can I Integrate Voice Control Easily?
Ah, a modern twist on “flying cars”! Yes, you can easily integrate voice control with your Home Assistant. Simply connect a compatible voice assistant like Google Assistant or Amazon Alexa to your setup, and then link a smart speaker. This allows you to control devices hands-free, set routines, and get updates effortlessly. The process is straightforward and enhances your smart home experience without risking your existing setup.
What Are Common Troubleshooting Steps for Errors?
When troubleshooting errors, start by checking device compatibility to make certain all your gadgets work with Home Assistant. Next, perform network troubleshooting by verifying your Wi-Fi or Ethernet connections are stable and that your devices are on the same network. Review logs for error messages, restart devices, and update firmware or software. These steps help identify issues quickly, keeping your setup smooth and reliable.
Is There a Community Support Forum for Beginners?
Yes, there are community support and beginner forums for Home Assistant. You can join platforms like the Home Assistant Community Forum or Reddit’s r/homeassistant to ask questions and share experiences. These forums are great for beginners because members are friendly and ready to help with troubleshooting, setup tips, and best practices. Engaging in these communities can boost your confidence and help you learn more quickly without risking your setup.
Conclusion
Getting started with Home Assistant might seem intimidating, but remember, every journey begins with a single step. As you learn the ropes and troubleshoot along the way, you’ll find that patience pays off. Don’t bite off more than you can chew—tackle one thing at a time. Soon enough, you’ll have your smart home running smoothly, proving that Rome wasn’t built in a day. Stick with it, and you’ll be a home automation pro before you know it.