To use your camera as a webcam, first check that it’s compatible and update all drivers and firmware. Choose a suitable connection method like USB, HDMI, or wireless, ensuring your equipment supports clean HDMI output or video streaming. Install the necessary software, such as OBS Studio, and adjust settings for ideal quality. Test your setup thoroughly before going live. If you keep exploring, you’ll find detailed steps to make your streaming professional and seamless.
Key Takeaways
- Verify your camera’s compatibility and support for clean HDMI output or USB streaming for use as a webcam.
- Install necessary drivers and firmware updates to ensure proper device communication and stability.
- Connect your camera to your computer via USB, HDMI, or wireless, using a capture card if required.
- Use streaming software like OBS Studio or Streamlabs to select your camera as a source and configure video settings.
- Test audio and video synchronization, lighting, and framing before going live to ensure professional-quality streaming or calls.
Top picks for "camera webcam live"
Open Amazon search results for this keyword.
As an affiliate, we earn on qualifying purchases.
Checking Your Camera Compatibility and Requirements
Before you begin using your camera as a webcam, it’s important to verify that your device is compatible. Start by checking lens compatibility; some cameras have lenses that aren’t suitable for continuous video use or require specific adapters. Additionally, review the power requirements to guarantee your camera can operate for extended periods without overheating or running out of battery. Many webcams are designed for plug-and-play use, but your DSLR or mirrorless camera might need an external power source or a dummy battery. Confirm that your camera supports clean HDMI output or USB streaming, depending on your setup. Ensuring these compatibility factors will save you time and prevent technical issues during your live streams or video calls. Also, consider the technology used in projectors for additional tips on maximizing your camera setup. For optimal performance, it’s helpful to understand the energy efficiency standards of your camera to avoid unnecessary power consumption during long sessions. Additionally, checking the smart home ecosystem compatibility can help integrate your camera seamlessly with other devices for enhanced automation.
Gathering the Necessary Hardware and Software Tools
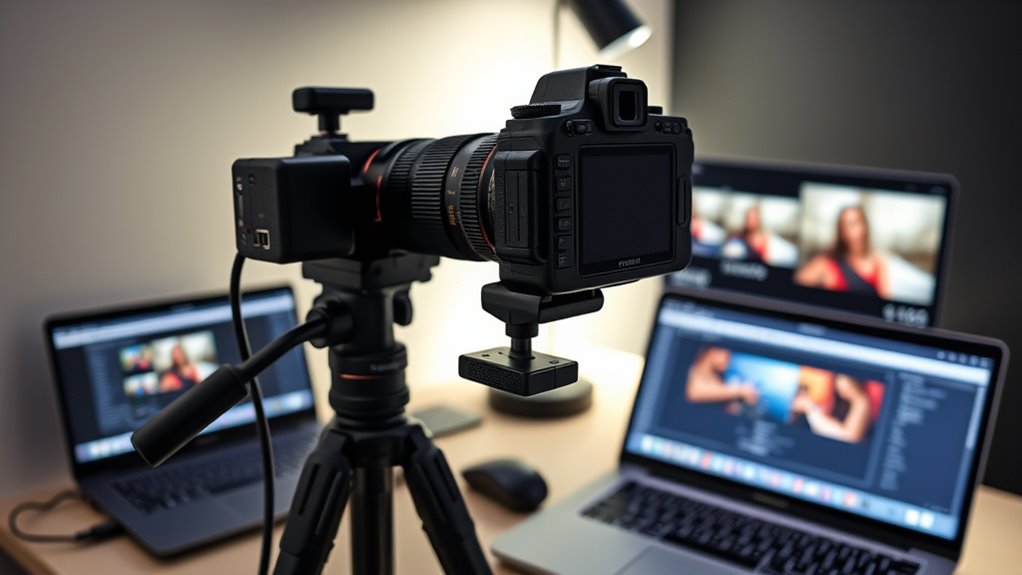
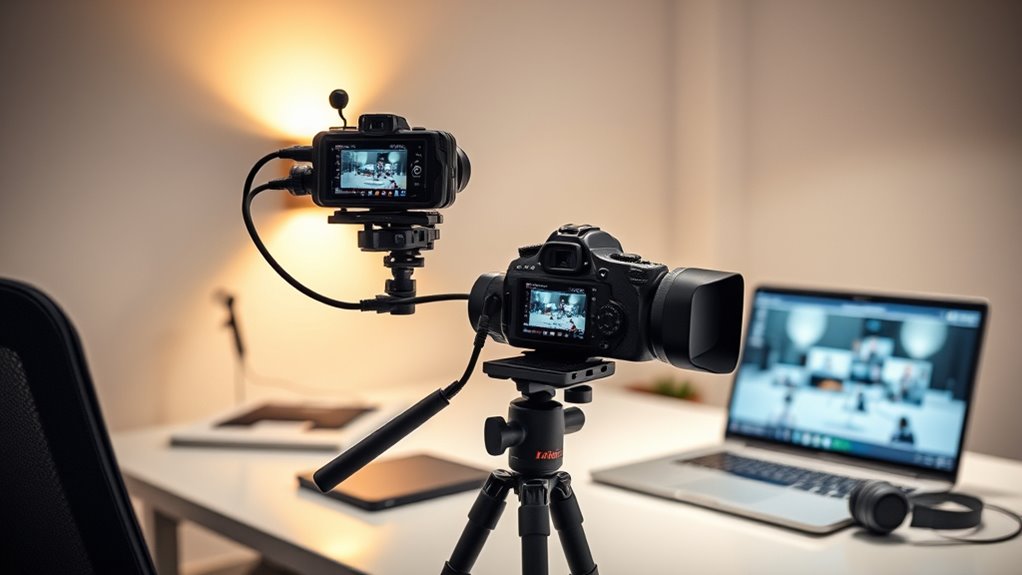
To turn your camera into a functioning webcam, you’ll need to gather the right hardware and software tools. Start with a compatible camera, a reliable capture card if necessary, and guarantee your device has sufficient processing power. Good lighting considerations are essential; proper illumination improves image clarity and reduces strain. Pay attention to camera ergonomics—position your camera for comfortable use and prime framing. Here’s a quick overview:
| Hardware | Software |
|---|---|
| Compatible camera | Streaming or conferencing apps |
| Capture card (if needed) | Camera control software |
| Tripod or mount | Driver and firmware updates |
| Lighting setup | Video editing tools (optional) |
Gathering these tools sets the foundation for a professional streaming or video call experience. Additionally, understanding modern kitchen technology can inspire innovative setups and smart integrations for your streaming environment, especially when considering ergonomic workspace design to improve comfort during long sessions. Being aware of auditory processing disorders can also help you optimize your audio setup for clearer sound quality and better listener engagement. Incorporating high-quality audio equipment ensures your sound is as clear and professional as your visuals.
Installing Camera Drivers and Software Updates

Once you’ve assembled your hardware and installed any necessary components, the next step is to verify your camera functions properly with your computer. Start by installing the latest drivers for your camera model; these guarantee your device communicates correctly with your system. During driver installation, follow the on-screen prompts carefully. Afterward, check for firmware updates from the manufacturer’s website—these updates can improve performance and fix bugs. Keeping your firmware current helps ensure compatibility and stability. You should also consider upgrading your software periodically to access new features and maintain security. Regularly checking for driver updates and firmware enhancements helps prevent potential issues before they arise. Once drivers and firmware are up to date, restart your computer to apply changes. This process minimizes connection issues and guarantees your camera is ready for use as a webcam. Device compatibility is crucial for a smooth live streaming or video call experience.
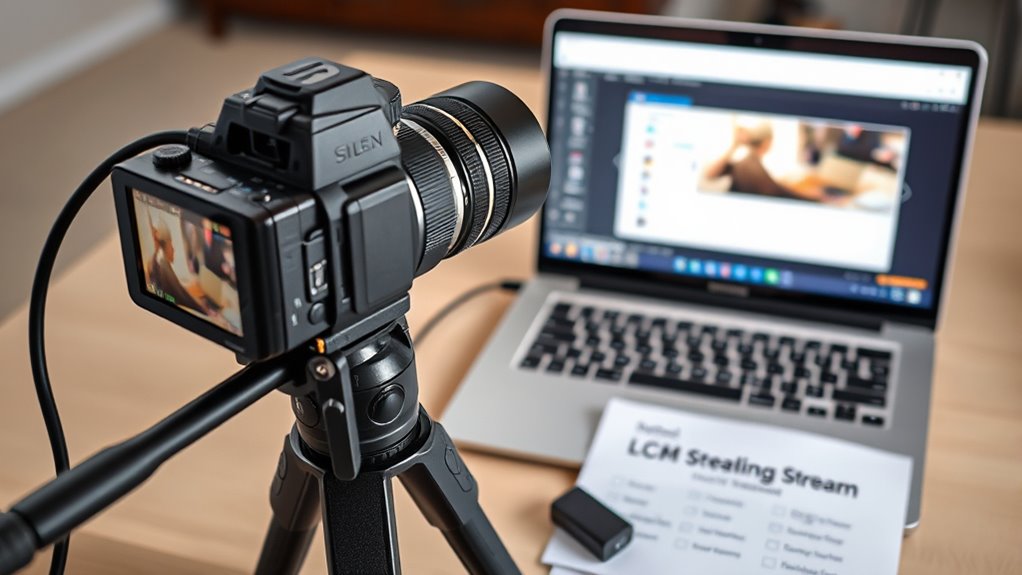
Choosing the Right Connection Method (USB, HDMI, or Wireless)
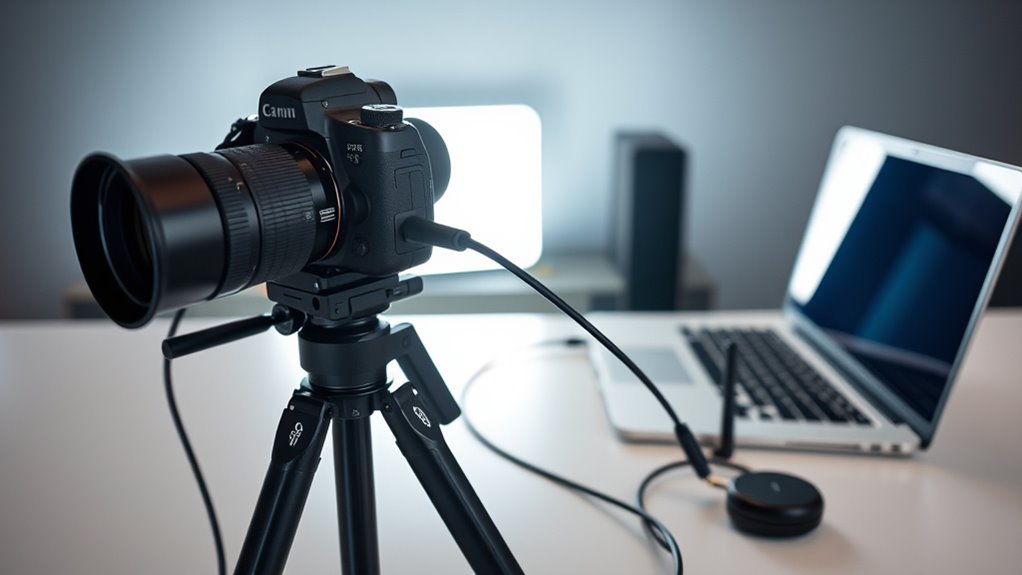
Are you unsure which connection method best suits your needs? Your choice between USB, HDMI, or wireless depends on factors like quality, setup, and mobility. Using a Free Floating camera for live streaming can offer unique angles and flexibility that traditional webcams may not provide.
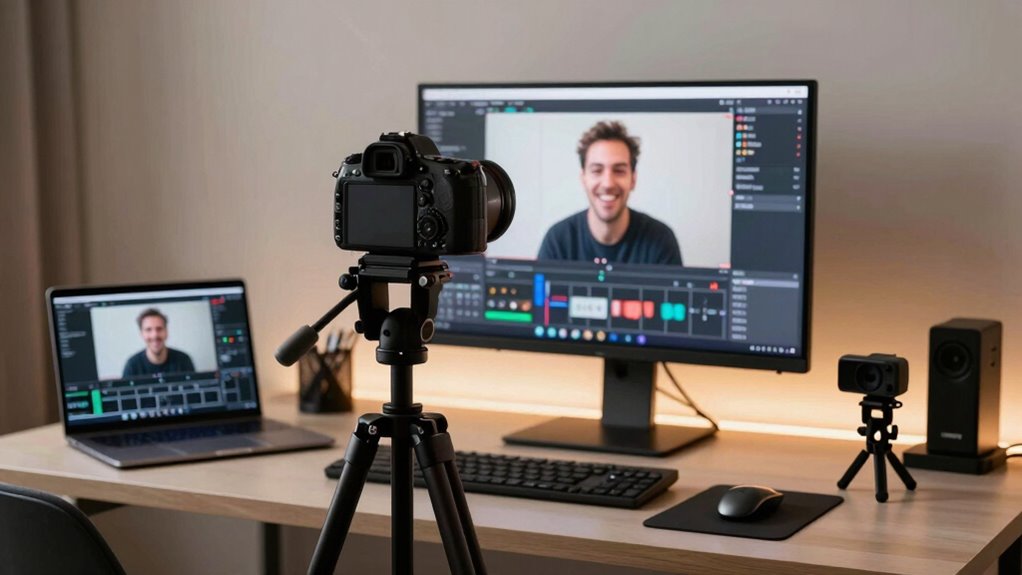
Setting Up Your Camera for Webcam Use

After choosing your connection method, the next step is to set up your camera so it functions seamlessly as a webcam. Start by adjusting your lighting setup to ensure your face is well-lit and clear, avoiding harsh shadows or overexposure. Proper lighting enhances video quality and makes your stream more professional. Next, focus on audio integration—use a good microphone or ensure your camera’s built-in mic is clear and free of background noise. Position your camera at eye level for natural framing, and double-check that settings like focus and exposure are optimized. Make sure all cables are secure, and test the setup before going live. This preparation guarantees your video looks sharp and your audio is crisp, providing a polished appearance for your audience. Additionally, reviewing your power tools and equipment setup can help ensure your workspace is safe and efficient during your streaming or recording sessions, especially when using reliable backup power to avoid interruptions. To further improve your setup, consider monitoring ambient lighting to prevent unwanted glare or shadows. Also, adjusting your camera settings can help enhance image quality and adapt to different lighting conditions, which is especially important to reduce potential distractions during your broadcast.
Using Streaming Software to Capture Your Camera Feed
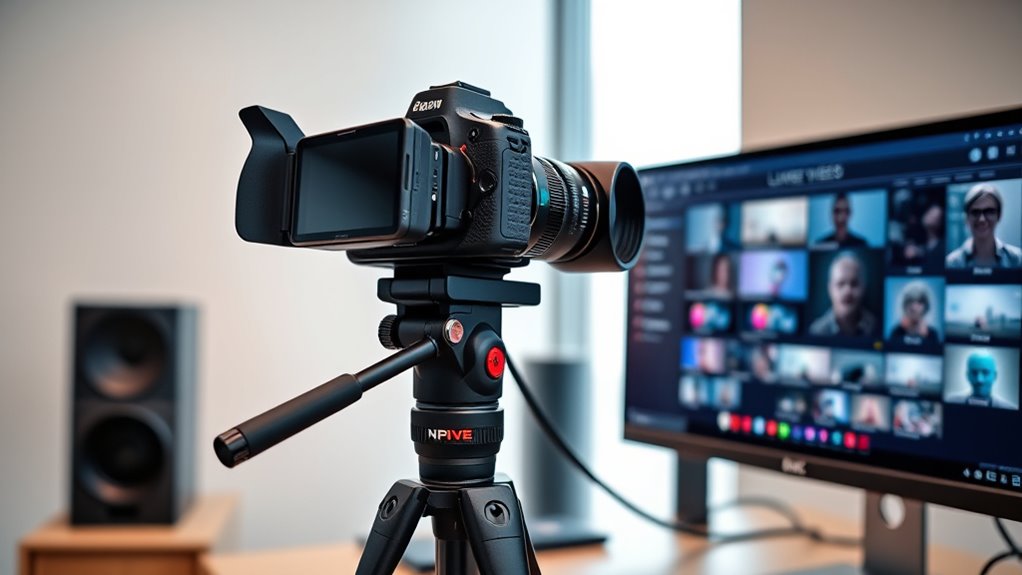
To effectively use your camera as a webcam, you need to capture its feed with streaming software. First, select compatible software like OBS Studio or Streamlabs, and add your camera as a source. Adjust the camera resolution within the software to match your desired video quality, balancing clarity with system performance. Higher resolution improves image detail but requires more processing power. Next, set the streaming bitrate to ensure smooth transmission without buffering; a higher bitrate enhances video quality but demands better internet speed. Keep in mind that if your camera resolution is high, you’ll want a corresponding streaming bitrate to maintain quality. Properly configuring these settings guarantees your live streams or video calls look professional and run smoothly.
Adjusting Video Settings for Optimal Quality
Once you’ve set your streaming software to display your camera feed, fine-tuning your video settings can make a noticeable difference in quality. Start by making lighting adjustments to ensure your face is well-lit without harsh shadows or overexposure. Proper lighting enhances clarity and color accuracy. Next, check your resolution settings—select the highest feasible resolution supported by your camera and bandwidth. Higher resolutions provide sharper, more detailed images, but require more processing power. Balance quality with smooth performance to avoid lag. Adjusting these settings ensures your video looks professional and engaging, whether for streaming or video calls. Investing time in proper lighting and resolution configuration will considerably improve your overall video quality and viewer experience. Additionally, understanding video quality fundamentals can help you make informed adjustments for optimal results. Learning about aperture and shutter speed can further refine your camera setup for better clarity and focus. Being aware of support breakfast options can also be helpful when planning content around dining or hospitality topics. Exploring camera sensor size can also provide insights into how your camera performs in different lighting conditions, leading to better quality footage. Moreover, optimizing your connected equipment settings ensures seamless integration and consistency in your live streams.
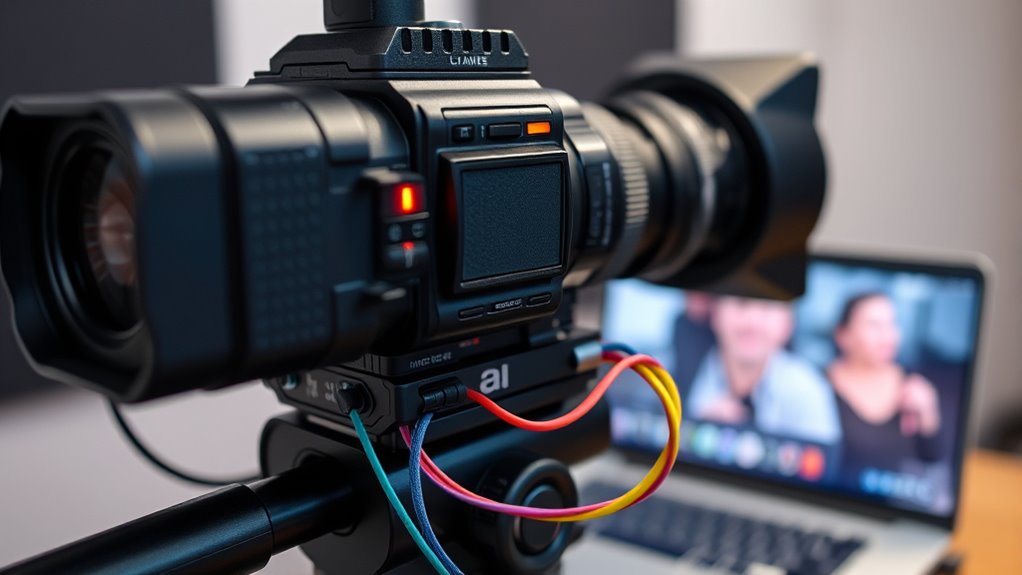
Testing Your Setup Before Going Live
Before going live, it’s essential to thoroughly test your setup to guarantee everything runs smoothly. Begin by checking your lighting adjustments to ensure your image isn’t too dark or washed out. Proper lighting makes a big difference in video quality. Next, test your audio synchronization by speaking naturally and watching the playback. Make sure your microphone and camera are in sync, so your voice matches your lip movements. Use a preview feature or record a short clip to identify any issues. Adjust lighting if needed and tweak audio settings for clarity. Running these tests beforehand saves you from surprises during your live session. Taking a few moments to verify your setup guarantees a professional, distraction-free streaming or video call experience. Additionally, reviewing your camera and audio settings ensures optimal performance during your broadcast. Remember that understanding audiovisual synchronization can help you troubleshoot technical issues more effectively if you encounter any during your setup.
Frequently Asked Questions
Can I Use Any DSLR or Mirrorless Camera as a Webcam?
You can use many DSLR or mirrorless cameras as webcams, but check camera compatibility first. Some models support live streaming directly, while others need additional software or hardware. Lens requirements vary; a clean HDMI output often works best for high-quality video. Make certain your camera’s firmware is up-to-date, and verify that your device can connect via HDMI or USB. With the right setup, turning your camera into a webcam is straightforward.
Is There a Latency Delay When Using a Camera as a Webcam?
You might notice some video delay or latency when using your camera as a webcam, but it’s usually minimal with good setup. Latency factors include your connection speed, the capture card, and your computer’s processing power. To reduce video delay, use a high-quality capture card and make certain your internet and hardware meet recommended specs. Keep your software updated for the best performance and lowest latency possible.
Do I Need Special Software for Mac or Linux Systems?
Did you know that over 60% of users find third-party applications essential for webcam setup on Mac and Linux? You don’t need special software if your camera supports UVC (USB Video Class) standards, but for broader system compatibility, third-party apps like OBS Studio or EpocCam can be helpful. These tools guarantee smooth integration, making it easier to use your camera as a webcam without compatibility issues on Mac or Linux systems.
How Do I Ensure Stable Wireless Camera Connections?
To guarantee a stable wireless camera connection, you should minimize Wi Fi interference by placing your router away from other electronics and thick walls. Use signal boosting options like Wi Fi extenders or mesh networks to strengthen the connection. Keep your camera within a good range of your router, and avoid congested networks. Regularly update your camera’s firmware for peak performance and reduced connection issues.
What Are Common Troubleshooting Steps if the Camera Isn’t Recognized?
When your camera isn’t recognized, think of it as a stubborn puzzle piece. First, check if your drivers are up to date—outdated drivers can block recognition. Next, reset your connection by unplugging and plugging back in or restarting your device. If it still doesn’t work, verify your camera’s firmware is current and try different ports or cables. Troubleshooting is about clearing obstacles to let your camera shine.
Conclusion
By following these steps, you can turn your camera into a high-quality webcam with ease. Whether you’re streaming, video chatting, or recording, your setup can deliver professional results. Think of it like a secret weapon — blending your camera’s power with the right tools unleashes endless possibilities. With a little experimentation, you’ll find that the theory of “quality upgrades” really does hold true. Now, go enjoy seamless, crisp video experiences!