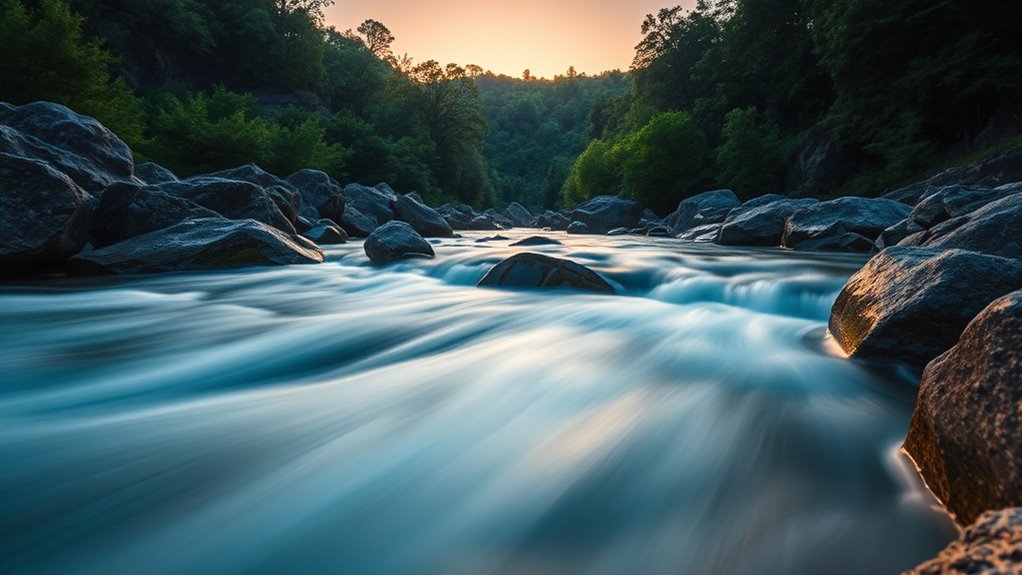

ND filters are your secret weapon for achieving smooth, cinematic videos. They reduce the amount of light entering your lens, allowing you to use slower shutter speeds that create natural motion blur. This helps your footage look professional and polished, even in bright conditions. Choosing the right filter and applying it correctly makes a big difference. Keep going, and you’ll discover how to use ND filters to elevate every shot with confidence.
Key Takeaways
- ND filters reduce overall light entering the lens, allowing for slower shutter speeds that create smooth motion in videos.
- Using ND filters prevents overexposure in bright conditions, maintaining proper exposure and motion blur quality.
- They enable wider apertures, resulting in a shallow depth of field and a cinematic, professional look.
- ND filters help maintain consistent exposure across shots, ensuring smooth transitions during filming.
- Combining ND filters with proper camera settings minimizes flickering and jarring changes, enhancing video stability and fluidity.
What Are ND Filters and How Do They Work?
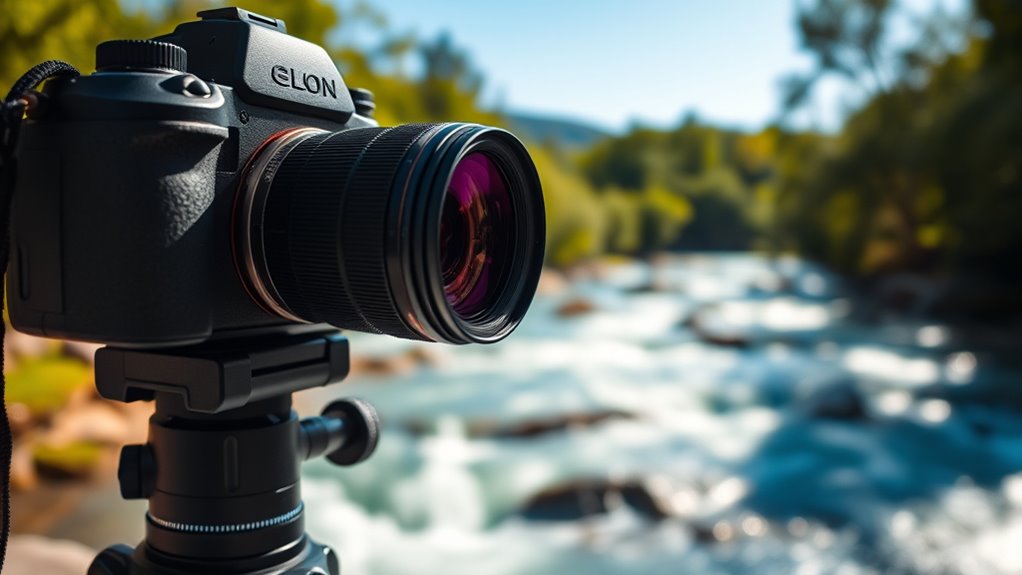
Have you ever wondered how photographers achieve smooth motion blur or control the brightness in bright conditions? ND filters are essential tools that reduce the amount of light entering your camera lens, allowing you to use slower shutter speeds or wider apertures. They work by absorbing or blocking light, often through multiple layers, which can sometimes cause polarization effects that slightly alter colors or reflections. To maximize their effect, you might use filter stacking—combining multiple ND filters—to achieve the desired exposure without overexposing your shot. These filters don’t affect the color balance but give you more creative control over your images. Additionally, understanding how ND filters work can help you optimize your contrast ratio and improve overall image quality. Understanding the light filtration process is key to mastering exposure settings and achieving the desired visual effects. By understanding how ND filters work, you can better plan your shots and reveal stunning visual effects. Moreover, selecting high-quality, energy-efficient ND filters can contribute to more sustainable photography practices by reducing waste and promoting long-term durability. Knowing the material composition of your filters can also influence their performance and longevity, ensuring your investment lasts over time. For example, higher-quality materials often lead to clearer images with less color distortion, making your photos look more natural.
Types of ND Filters and Their Uses

When choosing ND filters, you’ll notice options like variable and fixed types, each offering different control over exposure. Graduated filters are great for balancing bright skies with darker foregrounds, while solid filters provide uniform reduction for long exposures. Understanding these differences helps you select the right filter for your specific shooting needs. Additionally, selecting filters made from high-quality materials like titanium or surgical steel can improve durability and safety during handling. It is also important to consider light transmission characteristics, which influence the filter’s effect on image quality and color accuracy. Being aware of filter coatings can further enhance resistance to reflections and scratches, ensuring your gear remains reliable during outdoor shoots. Proper understanding of sustainable foraging practices can aid in evaluating how to minimize environmental impact during photography excursions in natural habitats.
Variable vs. Fixed ND
Choosing between variable and fixed ND filters depends on your shooting needs and preferences. Fixed ND filters have a set density, offering consistent results and better image quality with minimal polarizer effects. They’re ideal when you know the exact light reduction you need. Variable ND filters, on the other hand, let you adjust the density on the fly, providing versatility in changing lighting conditions. They’re convenient but can sometimes introduce filter materials issues like cross-polarization or unevenness, especially at extreme settings. Understanding filter limitations can help you make a more informed decision to achieve the desired video smoothness. Additionally, considering the build quality and compatibility of your filters can ensure longevity and optimal performance over time. The choice also affects your use of polarizer effects; fixed filters maintain consistent polarization, while variable filters may intensify these effects unpredictably. When selecting filters, factoring in filter material quality can help prevent common issues and ensure clearer results. Furthermore, being aware of light control techniques can enhance your ability to produce smooth footage under various conditions. Researching different filter options and their specifications can aid in choosing the best fit for your camera setup and shooting environment. Consider your shooting style, desired image quality, and budget to determine which type suits your workflow best.
Graduated vs. Solid Filters
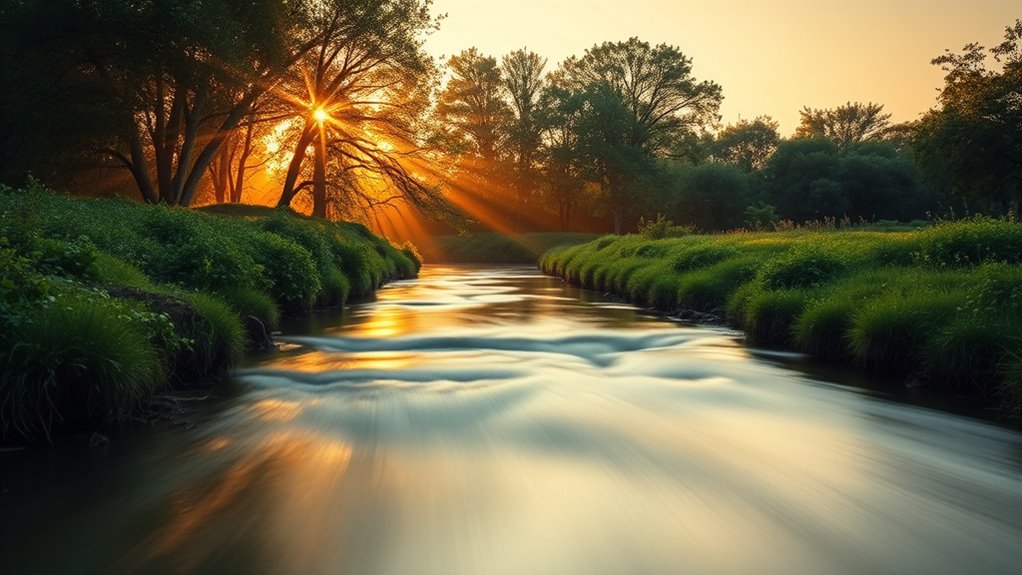
Graduated and solid ND filters serve different purposes depending on your shooting situation. Graduated filters are ideal when you need to balance exposure between bright skies and darker foregrounds, gradually shifting from dark to clear. Solid filters, on the other hand, provide consistent light reduction across the entire frame, perfect for scenes with uniform brightness or long exposures. Use graduated filters for landscape photography to prevent overexposed skies, and solid filters for smooth water effects or to control overall exposure. Here’s a quick comparison:
| Filter Type | Best Use | Effect |
|---|---|---|
| Graduated filters | Skies, horizon scenes | Balance exposure |
| Solid filters | Entire scene, long exposures | Reduce light evenly |
| Graduated filters | Bright skies with dark foregrounds | Minimize sky blowout |
| Solid filters | Night scenes or very bright conditions | Complete light control |
| Both | Versatile, depending on scene | Achieve desired exposure |
Choose based on your scene’s lighting needs. Additionally, understanding how filter types can complement your imaging setup can help optimize your results across different conditions. For example, many photographers also consider credit card insights when managing expenses for their photography gear, ensuring they select the best filters within their budget. To maximize their effectiveness, it’s also helpful to familiarize yourself with filter accessories like holder systems and filters’ stacking capabilities.
How to Choose the Right ND Filter for Your Camera
Selecting the right ND filter for your camera involves understanding the various factors that influence its performance and how they match your shooting needs. First, consider the filter material—opt for high-quality glass or resin for durability and optical clarity. Glass filters tend to be more scratch-resistant and offer better image quality, but resin options are lighter and more affordable. Next, evaluate brand reputation; trusted brands often provide consistent quality, reliable coatings, and better construction, which can prevent issues like color cast or uneven filtration. Think about the density of the filter—lighter ND filters are suitable for subtle adjustments, while darker ones are ideal for extreme light conditions. Ultimately, choosing a reputable brand with the right filter material ensures longevity and superior performance for your specific shooting scenarios. Additionally, understanding filter coating quality can help you select filters that resist scratches and reduce unwanted reflections. Moreover, optical clarity plays a crucial role in maintaining sharpness and image fidelity through the filter. To ensure your filter lasts and performs well, consider also filter durability, which depends on the quality of materials and construction. It’s also beneficial to consider filter compatibility with your camera and lens to avoid vignetting or mounting issues.
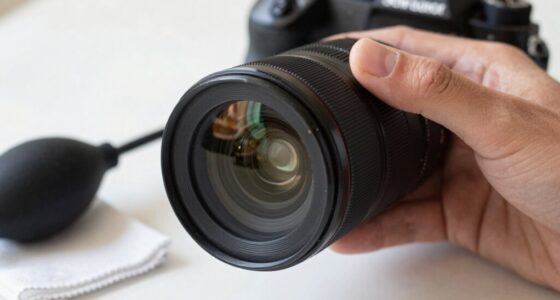
Installing and Using ND Filters Effectively
To get the best results, make sure you mount your ND filter securely on your camera. Adjust the filter to match the brightness of your scene, ensuring it’s neither too dark nor too light. Proper installation and adjustments help you achieve smooth, professional-looking shots without unwanted glare or exposure issues. Incorporating data analytics can help you monitor and optimize your filming conditions for consistently better results.
Proper Filter Mounting
Properly mounting your ND filter is essential for achieving sharp, correctly exposed images. Use the right mounting techniques to guarantee the filter sits flush against your lens or filter holder. Carefully align the filter to prevent vignetting or uneven exposure. Pay close attention to filter alignment, making sure it’s straight and free of dust or fingerprints that could affect image quality. If your filter has a threaded mount, gently screw it onto the lens without over-tightening, which could damage the filter or lens. For square or rectangular filters, slide them into the filter holder, ensuring they’re securely in place and properly aligned. Proper mounting minimizes the risk of light leaks and maintains image sharpness, giving you consistent, professional results.
Adjusting for Brightness
Once your ND filter is securely mounted, you can begin adjusting for brightness to achieve the desired exposure. Start by checking your camera’s sensor calibration to ensure accurate readings. Use your camera’s exposure settings to fine-tune the exposure level, making sure the image isn’t overexposed or underexposed. ND filters reduce light entering the lens, so you might need to increase your ISO or adjust aperture accordingly. Remember, consistent exposure helps with smoother footage and easier color grading later. When shooting in bright conditions, adjusting for brightness with an ND filter prevents blown-out highlights and maintains detail. Proper brightness control during filming makes post-production color grading more straightforward, ensuring your final video looks professional and visually balanced.
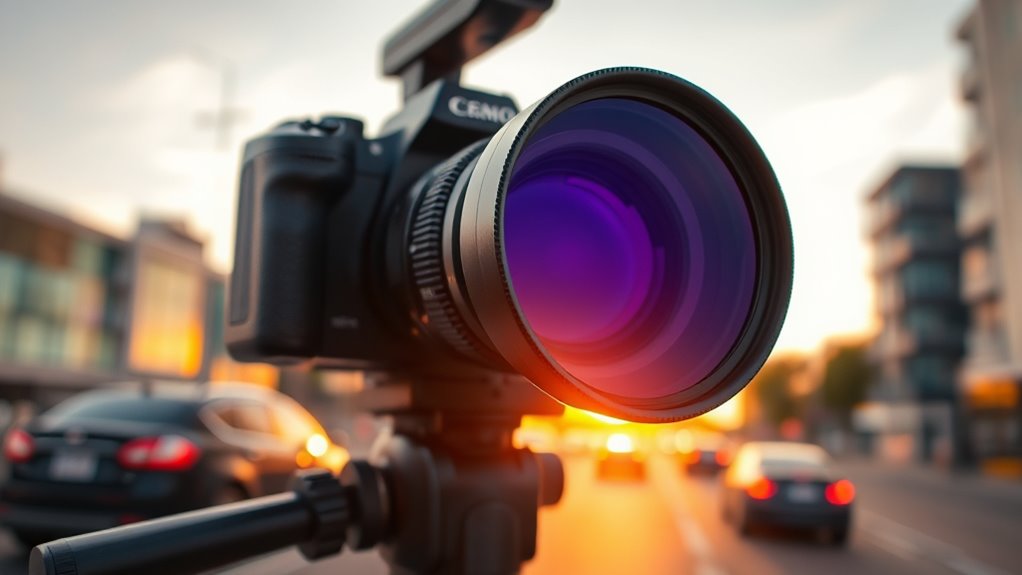
Benefits of Using ND Filters in Video Production
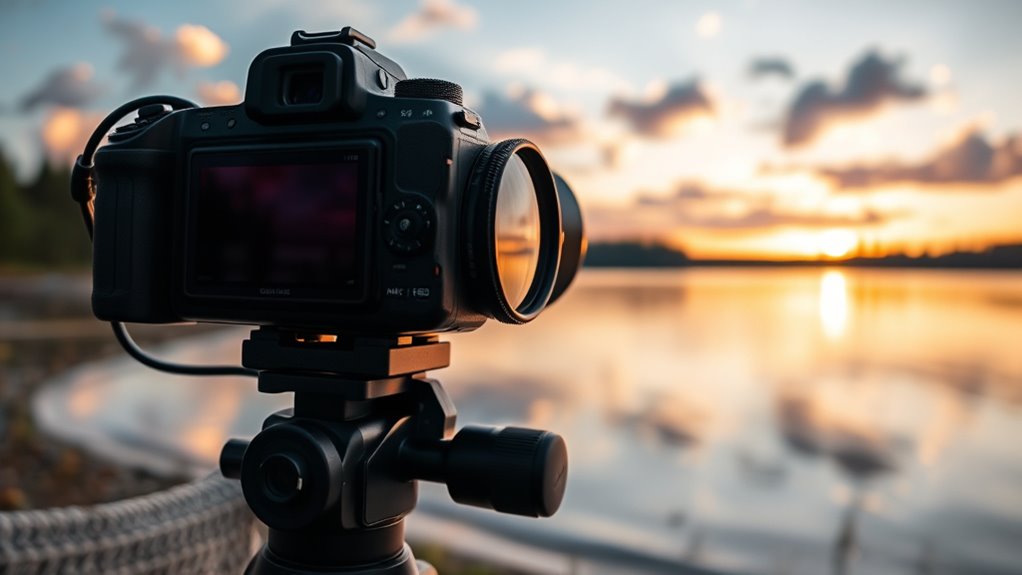
Using ND filters in video production offers several key benefits that can substantially enhance your footage. They allow you to control exposure levels, giving you more creative freedom with aperture settings to achieve the desired depth of field. This control also improves your ability to maintain consistent color grading across shots, ensuring a cohesive look. ND filters are compatible with a wide range of lenses, making them versatile tools regardless of your camera setup. By reducing light without affecting color accuracy, they enable smoother motion and more cinematic results. Additionally, they help prevent overexposure in bright conditions, allowing you to shoot at lower ISO settings and maintain image quality. Overall, ND filters are essential for elevating your video quality and creative control.
Common Mistakes to Avoid With ND Filters
One common mistake to avoid with ND filters is selecting the wrong strength for your shooting conditions, which can lead to under- or overexposure. Using too strong a filter in bright light can dull your footage, while too weak a filter in low light may not achieve the desired effect. Be cautious of filter stacking, as stacking multiple ND filters can increase the risk of vignetting and uneven exposure. Additionally, some filters may introduce a color cast, affecting color accuracy. To prevent these issues, always test your setup before shooting, choose the appropriate filter strength, and avoid stacking unless necessary. Also, check for color cast issues and correct them during post-processing for ideal results.
Tips for Achieving Cinematic Shots With ND Filters

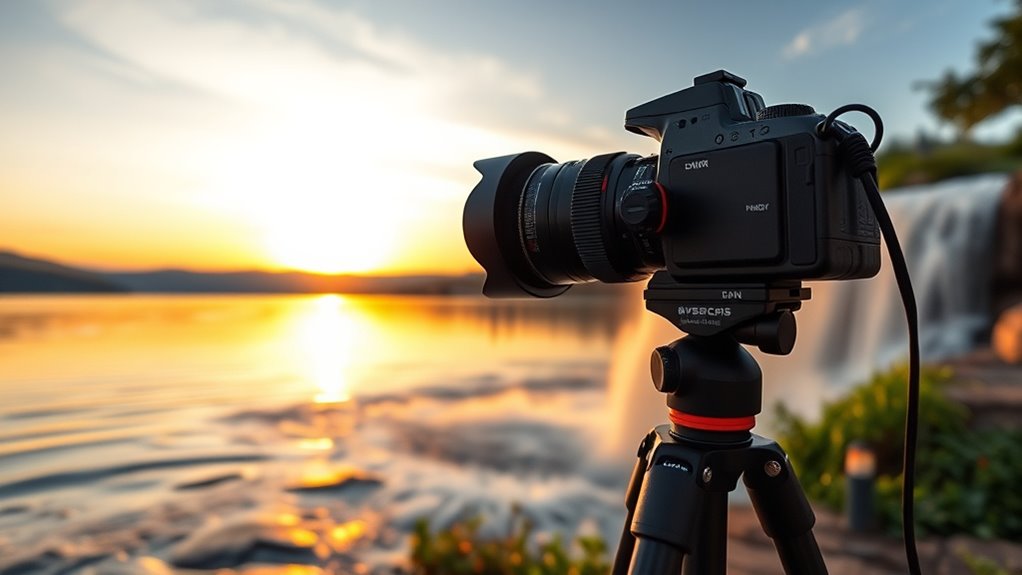
To achieve cinematic shots with ND filters, it’s essential to control motion and depth of field precisely. Use ND filters to create a shallow depth of field, making your subject stand out against a smooth, blurred background. This adds a professional, cinematic feel to your footage. When filming in bright conditions, adjust the filter strength to prevent overexposure while maintaining your desired aperture. Incorporate thoughtful film grading during post-production to enhance mood and color harmony. Be mindful of lens flare; a well-placed ND filter can sometimes introduce unwanted glare, so use lens hoods or position your shot carefully. Experiment with different filter densities and angles to achieve the perfect cinematic look, balancing natural motion with controlled depth of field.
Maintenance and Care for Your ND Filters
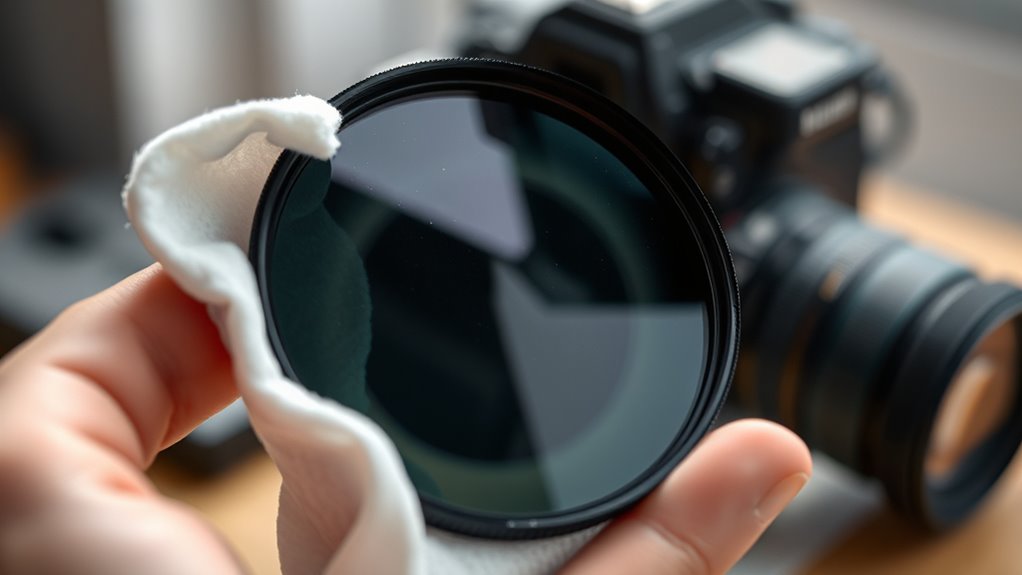
Proper maintenance and care of your ND filters guarantee they perform at their best and preserve your investment. Regular filter cleaning ensures dust, fingerprints, and smudges don’t affect image quality. Use a soft, lint-free cloth or a specialized lens cleaning solution for gentle cleaning. Store your filters in protective cases or dedicated storage solutions to prevent scratches and dust buildup. Handle filters by the edges to avoid fingerprints. Always keep them dry and avoid exposing them to extreme temperatures. When not in use, keep filters in a clean, dust-free environment. Periodic inspection helps spot any scratches or damage early. Proper care extends your filter’s lifespan and maintains excellent clarity, ensuring your footage remains smooth and professional.
Frequently Asked Questions
Can ND Filters Be Used With Smartphone Cameras?
Yes, you can use ND filters with your smartphone camera. Many ND filters are smartphone compatible and come with attachment options like clip-on or threaded mounts, making installation easy. You just need to choose the right filter size and attachment method for your device. Using ND filters on your smartphone helps control exposure and achieve smoother video, especially in bright conditions, giving you more professional-looking footage without needing extra equipment.
How Do ND Filters Affect Color Accuracy in Videos?
ND filters can cause a slight color shift in your videos, but you can manage this with proper calibration techniques. To maintain accurate colors, use color calibration tools or adjust your camera settings after filming. Keep in mind that quality ND filters minimize color distortion, so investing in good filters helps preserve your video’s true colors. Regular calibration guarantees your footage remains vibrant and true to life.
Are There Specific ND Filters for Different Filming Conditions?
Yes, there are specific ND filters for different filming conditions. You’ll find variable ND filters perfect for changing light levels and fixed ND filters tailored for bright sunlight or low-light situations. When choosing, consider the polarizing effects, which can reduce reflections, and confirm lens compatibility to avoid vignetting or damage. Picking the right filter guarantees ideal image quality and smooth footage, no matter the lighting conditions you encounter.
Can ND Filters Be Stacked for Higher Light Reduction?
Stacking ND filters is like adding layers to a cake—you can increase your maximum light reduction, but beware of potential issues. When you stack ND filters for higher light reduction, you can achieve the exposure control you need, especially in bright conditions. However, too many layers may cause vignetting or reduce image quality. Use stacking sparingly, and always check your shot to maintain clarity and smoothness.
What Are the Best Storage Practices for Maintaining Filter Quality?
To maintain filter quality and guarantee longevity, you should store your ND filters properly. Keep them in a protective case away from dust, moisture, and extreme temperatures. Use soft, lint-free cloths for cleaning and avoid touching the glass surfaces directly. Regularly inspect for scratches or damage, and store filters vertically to prevent warping. Proper storage practices help maintain peak performance and extend the lifespan of your filters.
Conclusion
By understanding how ND filters work, choosing the right type, and mastering their use, you can elevate your videos with smooth, cinematic shots. Keep practicing, maintain your filters well, and avoid common mistakes to reveal their full potential. Embrace the creative possibilities, harness their power for control, and let ND filters transform your footage into professional-quality productions. With these tips, you’ll capture stunning visuals every time.