
To connect your laptop to your TV, start by checking if your devices support the same connection type, like HDMI or wireless streaming protocols such as Miracast or AirPlay. For HDMI, plug in a compatible cable, select the correct input on your TV, and adjust display settings. For wireless, enable screen mirroring or use Chromecast. Ensuring both devices are on the same Wi-Fi improves stability. To discover tips for seamless setup, continue exploring the steps ahead.
Key Takeaways
- Check device compatibility and ensure both your laptop and TV support the desired connection method (HDMI or wireless).
- Connect via HDMI by plugging in the cable, selecting the correct input on your TV, and adjusting display settings on your laptop.
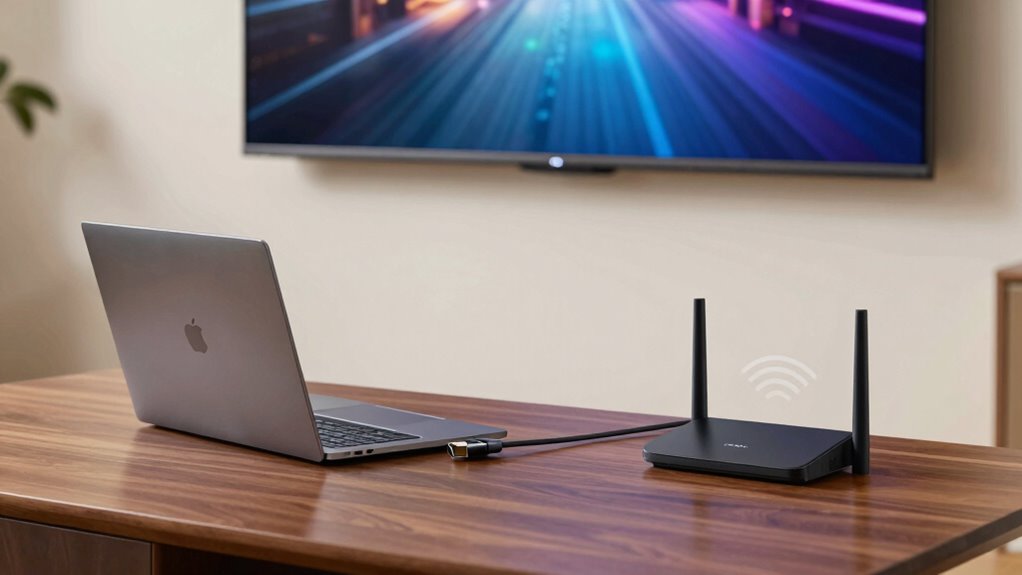
- Use wireless screen mirroring protocols like Miracast or AirPlay, ensuring both devices are on the same Wi-Fi network.
- For wireless streaming, consider using Chromecast, Apple TV, or similar devices, and enable the relevant streaming or mirroring options.
- Troubleshoot connection issues by verifying cables, updating drivers, and maintaining a stable Wi-Fi network for smooth streaming.
Checking Your Laptop and TV Compatibility
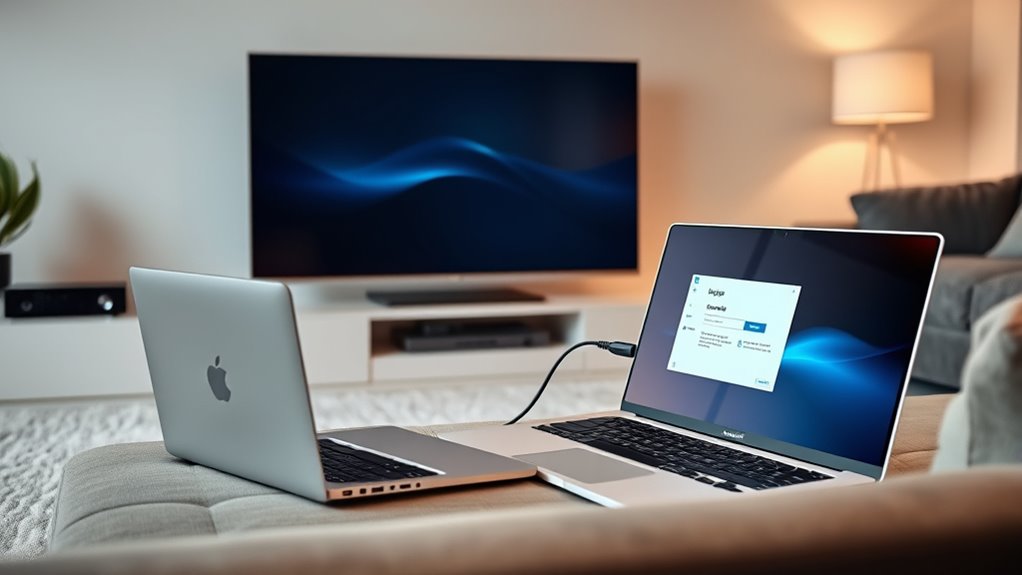
Before connecting your laptop to your TV, it’s important to verify if both devices are compatible. Start by examining your laptop’s display resolution and compare it with your TV’s maximum resolution. If your laptop has a lower resolution, images may appear pixelated or blurry on a larger screen. Make certain your laptop has the necessary ports or wireless capabilities to connect to your TV. Some laptops may lack the right video output or may require adapters to match your TV’s input. Device compatibility also includes checking if your TV supports the same connection standards, such as HDMI or wireless streaming options. Confirming these features beforehand helps prevent frustration and ensures a smooth setup process. Proper Device compatibility ensures clear visuals and seamless connectivity between your devices. Additionally, reviewing compatibility guidelines provided by manufacturers can help identify any potential issues before you attempt to connect. Ensuring that both devices meet technological standards can further streamline the process and improve overall performance.
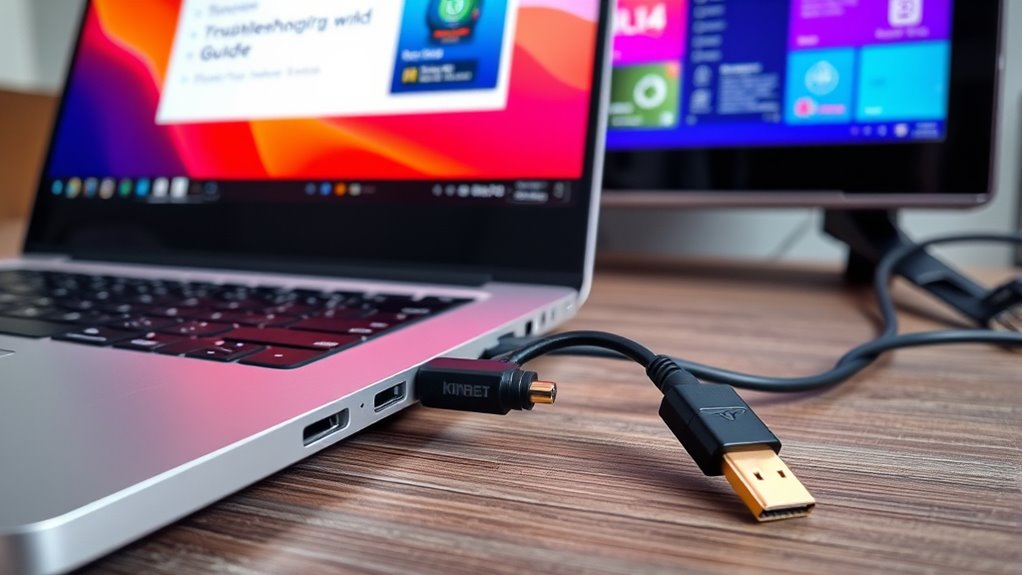
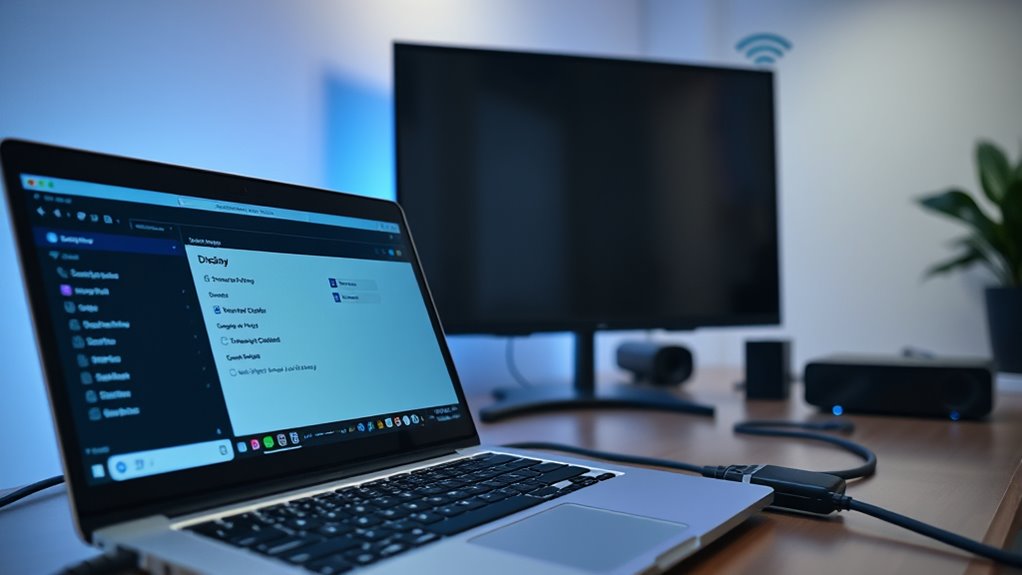
Connecting Using an HDMI Cable
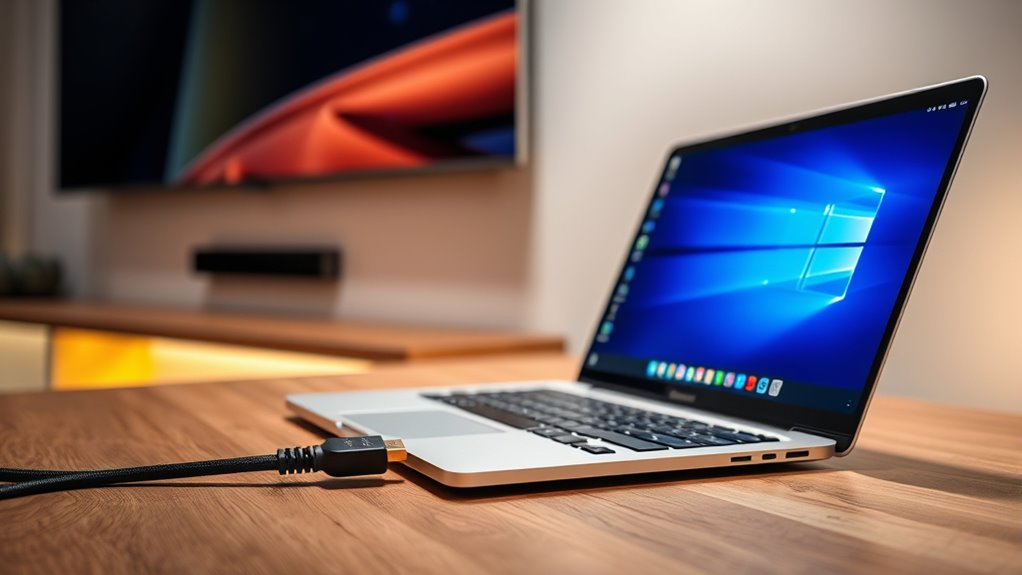
Connecting your laptop to your TV with an HDMI cable is a straightforward process that delivers high-quality video and audio. Choose the right cable type, such as Standard HDMI or High-Speed HDMI, to guarantee ideal connection speed and performance. Higher-quality cables support faster data transfer, reducing lag and providing sharper images. Before connecting, verify that both your laptop and TV have compatible HDMI ports. Once plugged in, switch your TV to the correct HDMI input. Your laptop should automatically detect the connection and display the screen. If not, you may need to adjust display settings on your laptop. Using the appropriate cable type ensures a smooth, high-resolution connection, making it simple to enjoy movies, games, or presentations on your larger screen.
Setting Up Your HDMI Connection
To set up your HDMI connection correctly, start by plugging one end of the HDMI cable into your laptop’s HDMI port and the other end into an available HDMI input on your TV. Once connected, turn on your TV and select the correct HDMI input. To guarantee a smooth setup, focus on cable management to prevent tangles and accidental disconnections. Adjust your laptop’s display settings to mirror or extend your screen as desired. Pay attention to audio synchronization; if sound is out of sync, check your audio output settings and try reconnecting the HDMI cable. Proper cable management can also help reduce signal interference and maintain connection quality. For added stability, consider using wireless options if your setup supports it, reducing physical cable clutter and enhancing flexibility. Additionally, ensuring your HDMI cable quality is good can significantly impact signal clarity and stability. Using high-quality cables designed for your setup can help prevent signal degradation over longer distances. Good cable organization not only improves safety but also makes future adjustments easier. Securing the cable to avoid tripping hazards – Use cable clips or ties for neatness – Test audio and video quality after setup
Troubleshooting HDMI Connection Issues
Are you experiencing issues with your HDMI connection not working properly? First, check your cable management; tangled or loose cables can cause signal interference, disrupting the connection. Confirm the HDMI cable is firmly plugged into both your laptop and TV, and try using a different port if available. Inspect the cable for damage or wear, as faulty cables often lead to signal issues. Keep electronic devices that may cause interference, like routers or speakers, away from your HDMI cables. Also, update your graphics drivers and ensure your TV input source matches the HDMI port you’re using. If problems persist, test the cable on another device to rule out hardware failure. Proper cable management and minimizing signal interference are key to resolving most HDMI connection issues. Additionally, understanding Feature Buddies can help you troubleshoot compatibility issues between devices more effectively, especially when dealing with electronic interference. Recognizing the importance of attention to detail in troubleshooting can significantly improve your chances of quickly identifying and resolving connection problems. To further improve your setup, consider reviewing wiring basics to ensure all connections are correctly configured for optimal performance. Furthermore, paying close attention to device specifications ensures compatibility and optimal performance in your setup.
Connecting Wirelessly With Miracast or Screen Mirroring
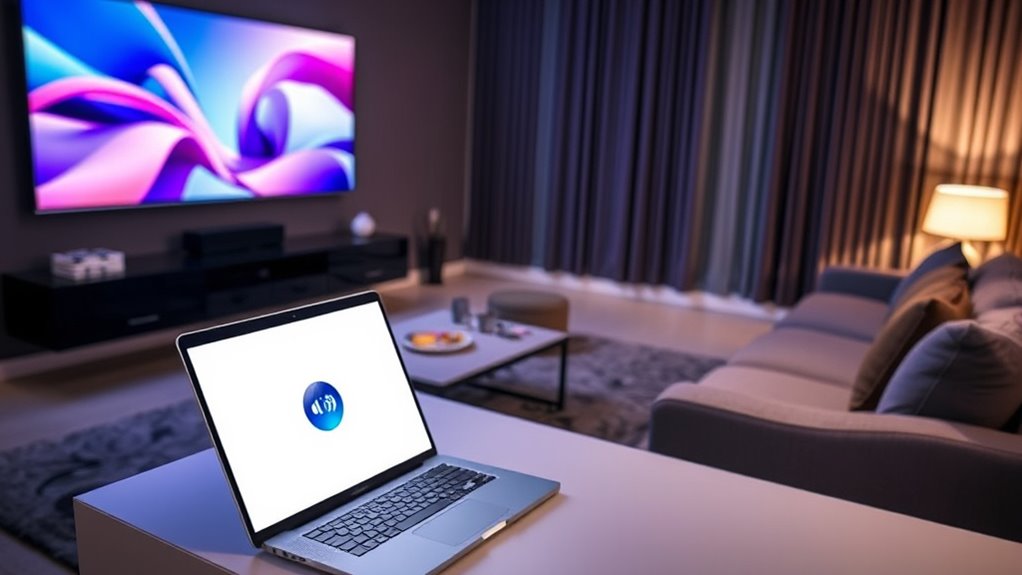
Wireless screen mirroring options like Miracast offer a convenient way to display your laptop’s screen on your TV without cables. Using a wireless display feature, you can easily share your screen through screen sharing technology, making streaming videos or presentations simple. To get started, verify your laptop and TV support Miracast or similar wireless display protocols. Then, connect your devices via your operating system’s screen mirroring options. You might need to enable screen sharing or wireless display on your TV’s settings. Once connected, your laptop’s screen appears on your TV, allowing seamless wireless display. Ensuring your devices are compatible with wireless display protocols can improve your experience.
Using Chromecast for Wireless Streaming
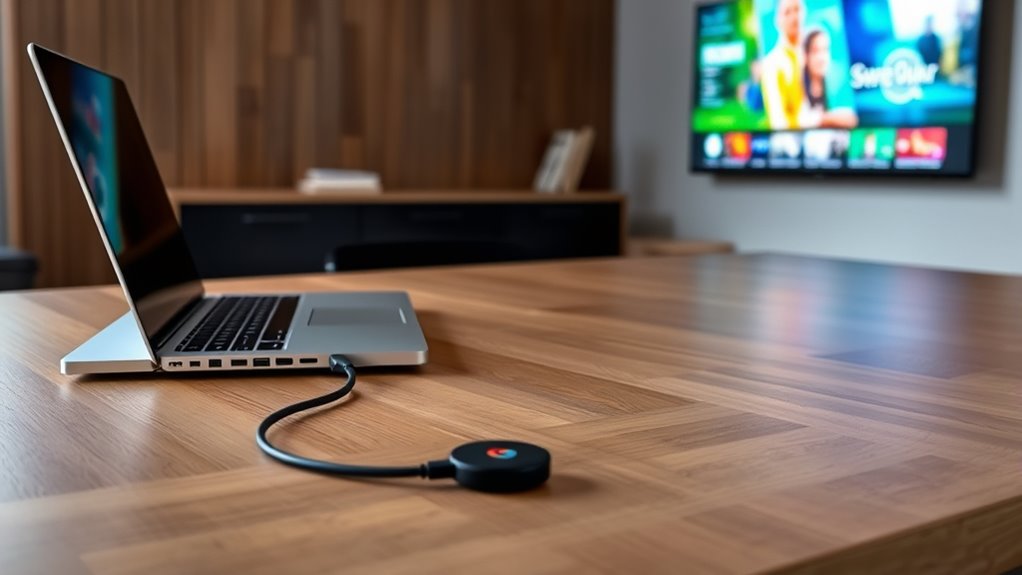
Setting up your Chromecast is quick and straightforward, but ensuring smooth streaming requires some optimization. You’ll want to check your Wi-Fi connection and adjust settings for the best quality. Consider network stability to prevent interruptions during streaming. Additionally, using a dedicated Wi-Fi network can help improve streaming performance and reduce buffering issues. For optimal results, ensure your device firmware and Chromecast software are up to date, as device compatibility can impact streaming quality. Remember to streaming bandwidth to make the most of your wireless connection. It’s also helpful to understand your router’s settings to optimize your network for streaming. Once everything is configured, you can enjoy seamless wireless streaming from your laptop to your TV.
Setting Up Chromecast
To start streaming your favorite content from your laptop to your TV, you’ll need to set up your Chromecast device properly. Begin with the chromecast setup by plugging it into your TV’s HDMI port and connecting it to your Wi-Fi network. Make sure your laptop and Chromecast are on the same network to avoid casting troubles. Once connected, download the Google Home app, which guides you through the setup process step-by-step.
Here are some key points:
- Confirm your Wi-Fi signal is strong and stable
- Keep your Chromecast and laptop updated with the latest software
- Restart devices if you encounter casting troubles
- Ensuring your Wi-Fi network is secure and reliable can help prevent many common streaming issues. Additionally, updating your network hardware can improve streaming performance. Understanding network stability is crucial for a consistent streaming experience. Being aware of bandwidth management can further optimize your streaming quality.
Following these steps ensures a smooth setup and seamless streaming experience. Understanding the importance of a stable Wi-Fi connection can help prevent many common streaming issues.
Optimizing Streaming Quality
For the best streaming experience, ensuring your Chromecast delivers high-quality video requires some simple optimizations. Start by upgrading your Wi-Fi network to a 5GHz band, which reduces streaming latency and improves connection stability. Make sure your wireless security settings are strong to prevent unauthorized access that could interfere with your stream. Keep your device and Chromecast firmware updated to fix bugs and enhance performance. Minimize network congestion by limiting other bandwidth-heavy activities during streaming. Position your router close to your TV for a stronger signal. Avoid interference from other electronics, like microwaves or cordless phones. These steps help maintain a secure connection and reduce latency, resulting in smoother, high-quality streaming on your Chromecast. Additionally, understanding network stability can help you identify and troubleshoot issues that may affect your streaming quality. Regularly monitoring your Wi-Fi performance ensures consistent streaming without interruptions. Being aware of signal interference sources can further optimize your setup for reliable streaming.
Connecting via Apple AirPlay (for Mac and Apple TV)
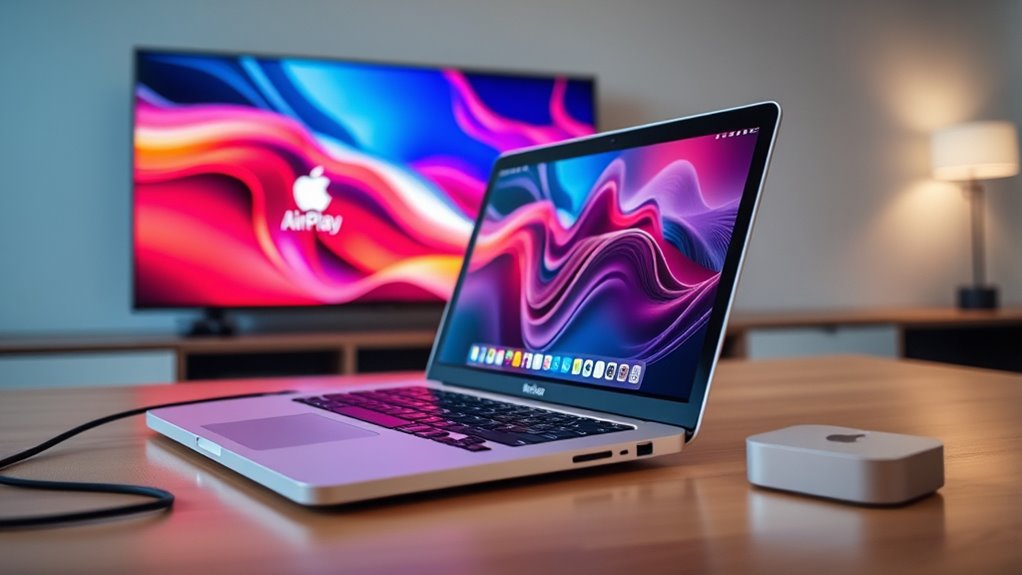
To connect your Mac to your Apple TV using AirPlay, you’ll need compatible devices—make sure your Mac and Apple TV are on the same Wi-Fi network. Once you’re set, follow the simple step-by-step process to enable AirPlay and mirror your screen. It’s an easy way to wirelessly display content from your laptop to your TV.
Compatible Devices Needed
Connecting your Mac to your Apple TV using AirPlay requires a few essential devices. First, verify your Mac is compatible with AirPlay; most recent models support it. Your Apple TV must also be compatible, ideally Apple TV 4K or later. Additionally, both devices need to be connected to the same Wi-Fi network for seamless streaming. Check device compatibility beforehand to avoid connection issues. Port requirements are minimal since AirPlay is wireless, but your Mac should have Wi-Fi capability. If you’re using an older Mac without built-in Wi-Fi, a compatible external Wi-Fi adapter is necessary. Here are the key devices you’ll need:
- Compatible Mac with Wi-Fi support
- Apple TV (4K or later)
- Stable Wi-Fi network connection
Step-by-Step Connection Process
Once your devices are ready, start by ensuring your Mac and Apple TV are connected to the same Wi-Fi network. Open the AirPlay menu on your Mac by clicking the AirPlay icon in the menu bar or via System Preferences. Select your Apple TV from the list of available devices. Your screen will mirror automatically, so you can focus on cable management to keep your workspace tidy. Use your remote control to adjust volume or switch inputs if needed. For a smoother experience, place your Mac close to your TV to reduce lag. Once connected, you can enjoy your content without fussing with cables. When you’re finished, simply select “Turn AirPlay Off” to disconnect. This method keeps setup simple and minimizes clutter.
Optimizing Display Settings for Clear Output
Achieving a clear and sharp image when displaying your laptop on your TV requires adjusting a few key settings. First, focus on display calibration to ensure colors and brightness look natural. Next, perform resolution adjustment so the image matches your TV’s native resolution, preventing blurriness or stretching. Proper calibration and resolution help you get the best picture quality.
- Use your laptop’s display settings to fine-tune brightness, contrast, and color balance.
- Set the resolution to match your TV’s native resolution for crisp images.
- Adjust scaling options if the image appears cut off or distorted.
Taking these steps improves clarity, making your viewing experience more enjoyable. Remember, small tweaks in display calibration and resolution adjustment make a significant difference in output quality.
Tips for a Smooth and Seamless Connection
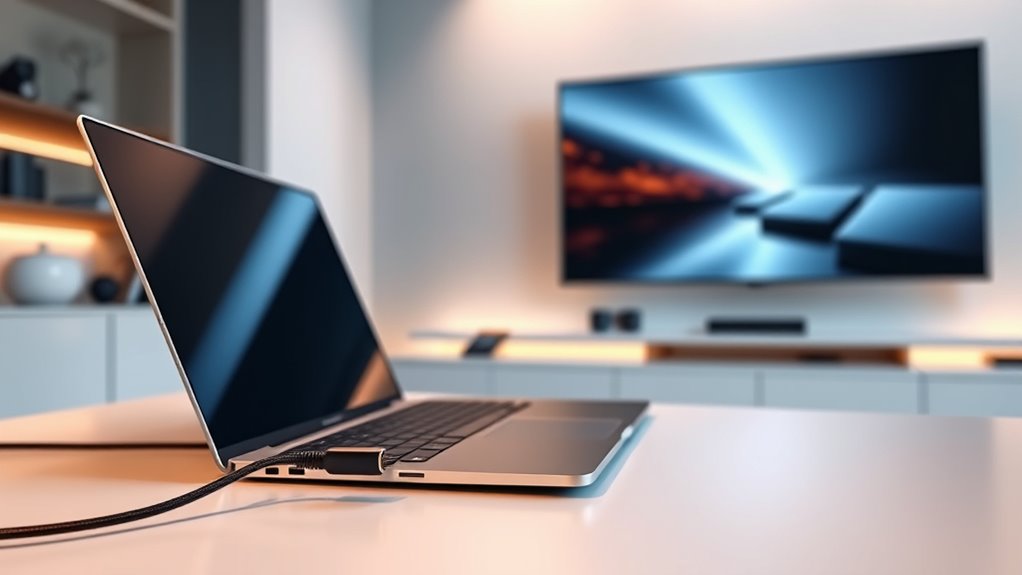
To guarantee a smooth and seamless connection between your laptop and TV, start by using high-quality cables or wireless options that are compatible with both devices. Check device compatibility beforehand to prevent issues like lag or poor picture quality. When connecting via HDMI or wireless methods, make sure your laptop and TV support the same standards for superior performance. Pay attention to audio synchronization; if sound and video are out of sync, adjust the settings on your TV or laptop to fix it. Updating your device drivers or firmware can also improve compatibility and reduce connectivity problems. Keep your cables well-maintained and avoid unnecessary movement during setup. These tips help prevent disruptions, ensuring your viewing experience remains smooth and enjoyable.
Frequently Asked Questions
Can I Connect My Laptop to a Smart TV Without Cables?
Yes, you can connect your laptop to a smart TV without cables using wireless streaming. Many smart TVs support options like Miracast, Chromecast, or AirPlay, which act as cable alternatives. Simply make sure your laptop and TV are on the same Wi-Fi network, then use the relevant app or built-in feature to mirror or cast your screen. This way, you enjoy a seamless, cable-free connection for your entertainment.
What Should I Do if My TV Doesn’t Detect My Laptop?
Did you know that 85% of TV connection issues are resolved with simple troubleshooting? If your TV doesn’t detect your laptop, start by checking your HDMI settings and make certain the cable is securely connected. Try switching the HDMI port or restarting both devices. Also, verify your laptop’s display settings to extend or duplicate your screen. These quick steps often fix detection problems and get your devices communicating again.
Are There Any Latency Issues With Wireless Connections?
Wireless connections can sometimes introduce latency, causing streaming delay or lag when you’re watching content. You might notice a slight delay between what you do on your laptop and what appears on the TV, especially with high-definition videos or fast-paced games. To minimize wireless latency, make certain your Wi-Fi signal is strong, use a 5GHz network if possible, and keep your devices close to the router.
Is It Possible to Connect Multiple Devices to My TV Simultaneously?
Did you know that many households now use over three devices simultaneously on their TV? Yes, you can connect multiple devices to your TV at once with a multi-device setup. An HDMI splitter allows you to send one source to several displays, making it easy to connect multiple devices. Just make certain your TV has enough ports or use a splitter to share one input among multiple devices effortlessly.
How Do I Improve Picture Quality During Wireless Streaming?
To improve picture quality during wireless streaming, you should prioritize a strong wireless bandwidth and minimize signal interference. Move your router closer to your streaming device, reduce the number of connected devices, and avoid physical obstructions. Use a dual-band Wi-Fi network, ideally on the 5GHz band, to reduce interference. Regularly update your device’s firmware and streaming app for peak performance, ensuring a smoother, clearer picture.
Conclusion
Think of connecting your laptop to your TV as planting a seed that blossoms into a vibrant display. With the right tools and a little patience, you’ll nurture a seamless connection that transforms your space into a dynamic entertainment garden. Whether wired or wireless, each step is like watering and caring for your plant—eventually, you’ll enjoy a lush, beautiful screen that’s easy to tend and perfect to share. Happy streaming!