
To shoot pro-quality videos on your smartphone, start by mastering your camera settings—adjust focus, exposure, and resolution for sharp, well-lit footage. Keep your shots steady using a tripod or gimbal, and use natural or creative lighting to add depth. Pay attention to composition and background, and record clear audio with external microphones when possible. Finally, enhance your footage through basic editing and color correction. If you keep exploring, you’ll discover even more ways to elevate your videos.
Key Takeaways
- Clean your lens, stabilize your shots with tripods or gimbals, and use manual focus and exposure adjustments for sharp, well-lit footage.
- Utilize natural or controlled lighting, frame your subject with proper composition, and avoid flat scenes for added depth.
- Record audio with external microphones, monitor levels, and minimize background noise to ensure clear sound quality.
- Keep your smartphone in a protective case, store it properly, and regularly clean the camera lens for optimal hardware performance.
- Edit footage with color correction, stabilization, and sound adjustments to create a polished, professional-looking final video.
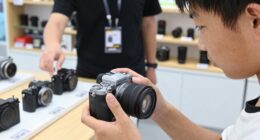
Master Your Smartphone’s Camera Settings
To capture professional-quality video with your smartphone, you need to understand its camera settings. Start by regularly performing lens maintenance; clean your lens with a microfiber cloth to prevent smudges and dirt that can ruin your shot quality. Proper storage solutions are also vital—keep your phone in a protective case and store it in a safe, dust-free environment to avoid scratches or damage that could affect the camera’s performance. Familiarize yourself with your phone’s camera app and its settings, like resolutions and frame rates, to optimize footage. Using these techniques, you guarantee your camera stays in top shape and produces sharp, clear videos. Maintaining your lens and storing your device correctly are simple but essential steps toward professional-looking results. Additionally, understanding Free Floating techniques can help stabilize your shots and improve overall video quality. Incorporating knowledge about projector calibration and how it affects image clarity can also be beneficial when preparing your filming environment. Moreover, paying attention to camera calibration settings can further enhance the accuracy and quality of your recordings. Regularly reviewing your camera’s sensor health ensures consistent performance and image quality over time. To further enhance your videos, explore image stabilization options available on your device or through editing software.
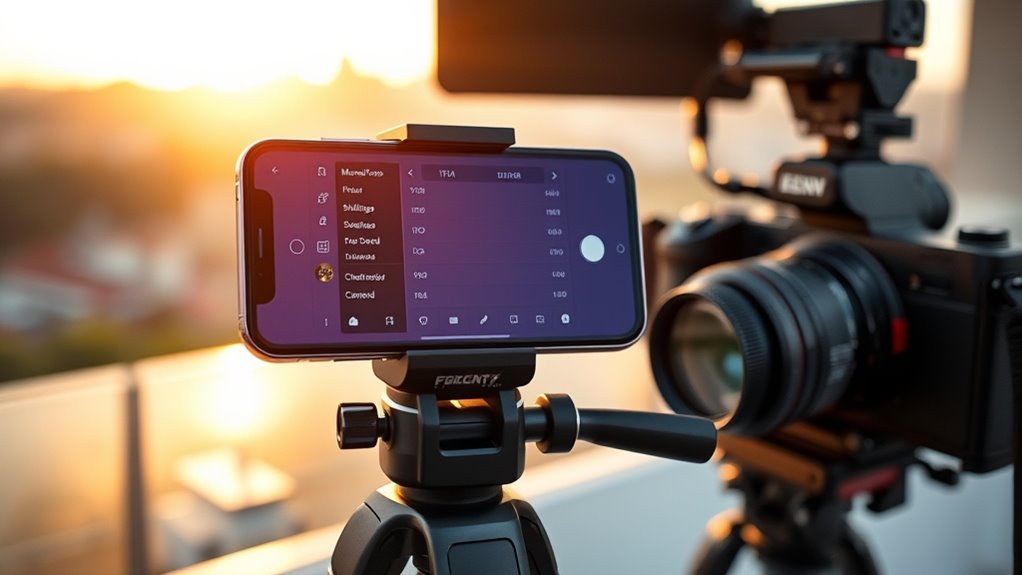
Focus and Exposure Control for Sharp, Well-Lit Shots
Ensuring your shots are sharp and well-lit requires mastering focus and exposure controls on your smartphone. Use manual focus to fine-tune clarity, especially for close-ups or detailed scenes. Adjust exposure settings to prevent overexposure or underexposure, making sure your images are balanced. Smartphones with good dynamic range help capture details in both shadows and highlights, making your footage look more professional. Leveraging European cloud innovation can also improve your editing workflow by providing fast, reliable cloud storage and processing options for your video projects. Being aware of passive voice detection tools can assist in refining your writing by highlighting passive constructions that may weaken your message. Additionally, understanding camera settings on your device allows for better control over video quality in varying lighting conditions. To optimize your footage further, familiarize yourself with manual controls, which give you greater flexibility to adapt to different shooting environments.
Use Stabilization Techniques to Avoid Shaky Footage
To keep your footage steady, use a tripod or gimbal whenever possible. If you’re moving around, keep your hands as still as you can or use stabilization tools. These techniques make your videos look professional and smooth. Incorporating high-heat outdoor cooking equipment like infrared thermometers or smart gadgets can also help you monitor your environment accurately, ensuring optimal conditions for your shoot. Additionally, understanding outdoor kitchen plans and the suitable materials can help you set up a stable filming environment outdoors, reducing vibrations and movement. Mastering stabilization techniques is essential for achieving professional-looking footage, especially when filming in dynamic outdoor settings. Moreover, practicing proper home environment control can further enhance your filming stability by minimizing external vibrations and disturbances, ensuring your shots remain steady throughout the shoot. Furthermore, understanding motorcycle maintenance techniques can help you keep your gear in top shape for outdoor filming sessions.
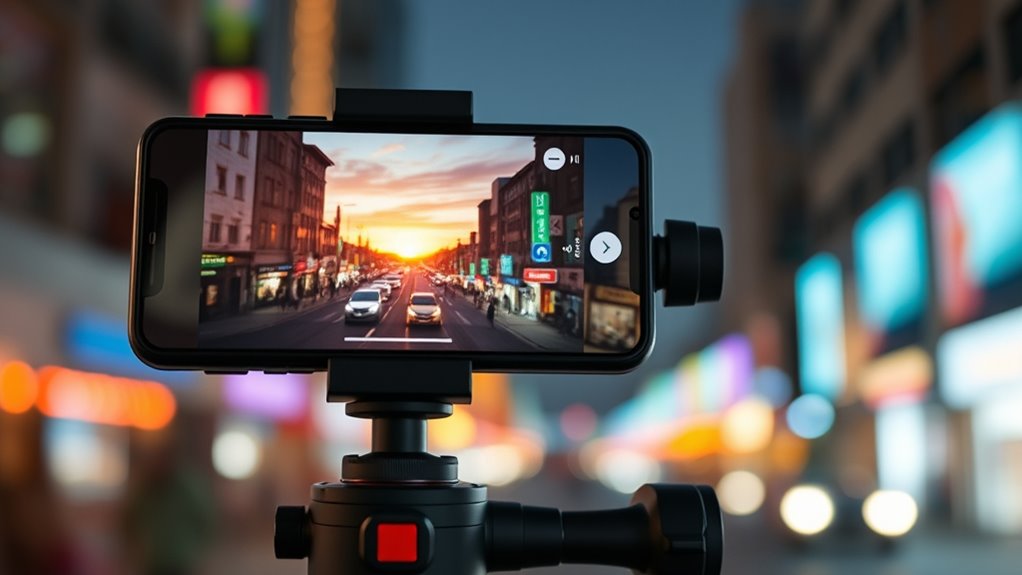
Use a Tripod or Gimbal
Using a tripod or gimbal is essential for capturing smooth, professional-looking footage. These tools improve your shot stability and gimbal smoothness, making your videos appear polished. Tripods offer sturdy support, preventing camera shake, especially during static shots. Gimbals provide dynamic stabilization, perfect for movement and tracking scenes. Choose a tripod when filming stationary scenes, and a gimbal for moving shots. Additionally, understanding navigation and mapping features can help optimize your camera angles and movement paths for more effective shots. Incorporating smart home automation concepts can also assist in planning camera movements, especially when coordinating multiple devices for complex shots. Mastering stabilization techniques ensures consistently smooth footage across various scenarios. Furthermore, integrating cybersecurity principles can help protect your footage from unauthorized access during storage and transfer.
Keep Hands Steady
Ever noticed how shaky footage can distract from an otherwise great shot? Hand tremor is often the culprit, but you can minimize it by using proper grip techniques. Keep your elbows close to your body to create a stable base, and hold your phone with both hands. Avoid gripping the device too tightly; a relaxed hold reduces tension and shake. Use your body as a natural stabilizer by slightly leaning into your shot or bracing against a solid surface. Practice breath control—inhale and exhale slowly to prevent sudden movements. If possible, rest your arms on your chest or thighs for extra stability. These simple techniques help keep your hands steady, ensuring smooth, professional-looking footage without the need for extra equipment. Additionally, being aware of muscle tension and consciously relaxing your muscles can further reduce shaky footage.
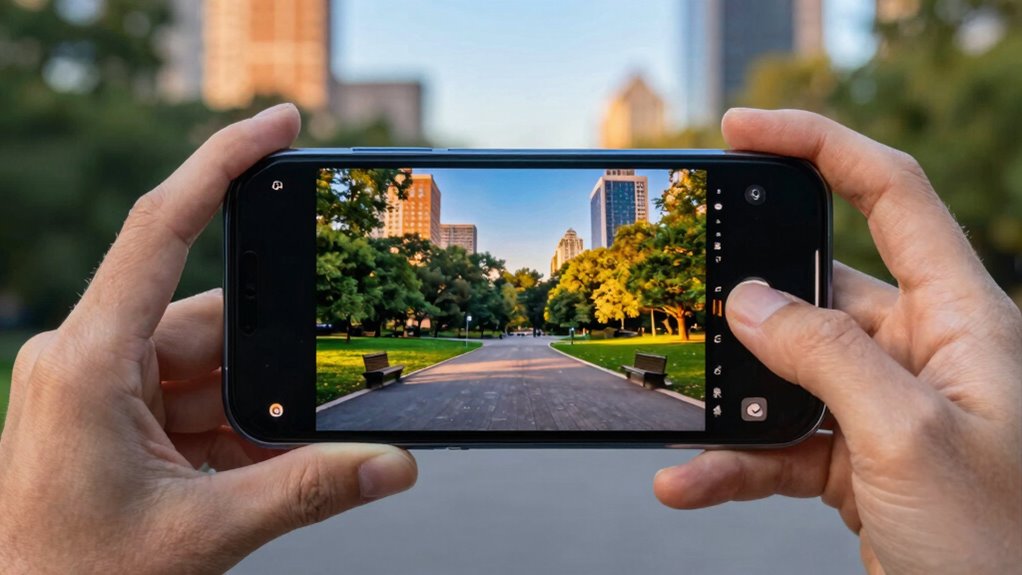
Compose Your Shots With Creative Framing and Lighting
Creative framing and lighting are essential tools for making your videos visually compelling. With creative framing, you direct your viewer’s attention and add depth to your shot by experimenting with angles, rule of thirds, and subject placement. Lighting techniques, like using natural light or positioning lights creatively, can dramatically enhance mood and clarity. Avoid flat, evenly lit scenes by adding shadows or highlighting key elements. Pay attention to background details and ensure your subject stands out. Use different framing styles to tell your story more effectively and evoke emotion. By combining thoughtful framing with strategic lighting, you create dynamic visuals that draw viewers in and elevate the quality of your smartphone videos. Remember, small adjustments can make a big difference in professional-looking footage. Incorporating proper lighting techniques can further improve the overall quality and professionalism of your videos, especially when aligned with spirituality insights that promote positive energy and intention in your creative process. Additionally, understanding passive voice detection can help ensure your instructions remain clear and engaging for viewers. Incorporating visual composition principles into your shots can help guide viewers’ focus and create more engaging narratives. To maximize impact, consider how energy flow and intention can influence your creative choices, fostering a more authentic connection with your audience.
Enhance Your Footage With Basic Editing and Color Correction
Once you’ve captured your footage, enhancing it through basic editing and color correction can make a significant difference in its overall quality. Start by applying simple edits like trimming unwanted sections and adjusting exposure. Use color grading to improve mood and consistency, giving your footage a professional look. Correct any color imbalances to make scenes appear natural and vibrant. Additionally, guarantee your footage is stabilized to eliminate shaky shots, creating a smoother viewing experience. Many editing apps offer straightforward tools for stabilization and color correction, so take advantage of them. Explore smart appliance features that can automate some of these adjustments, saving you time and effort. Incorporating automatic stabilization can further enhance your footage’s professionalism. Remember, subtle adjustments often have the biggest impact, so avoid overdoing it. Exploring advanced editing techniques can also help you achieve even more polished results. With these basic steps, your footage will look polished and more compelling, bringing your creative vision to life.
Tips for Sound Recording and Finalizing Your Video
Good sound quality makes a big difference in your final video, so use external microphones to capture clear audio. Keep an eye on your audio levels to prevent distortion and guarantee consistency. Once you’ve recorded, edit for clarity to make your message stand out and create a polished look.
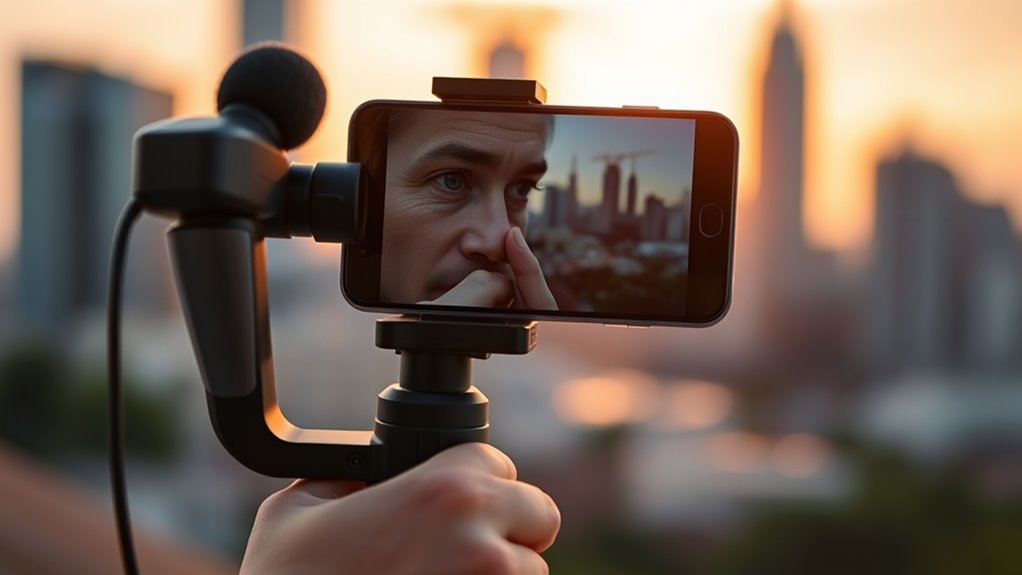
Use External Microphones
Using external microphones can dramatically improve the audio quality of your videos. Proper microphone placement is key; position the mic close to your subject to capture clear sound and reduce background noise. Keep the microphone steady and avoid handling noise that can distort audio. If you’re filming outdoors, wind noise can be a problem, so use a windscreen or dead cat to minimize it. This simple addition can make a huge difference in recording crisp, professional sound. Test different placements before shooting to find the best sound pickup. Remember, good audio is just as important as good visuals, so investing in an external microphone and paying attention to placement will greatly enhance your final video quality.
Monitor Audio Levels
How can you guarantee your audio sounds professional? Monitoring your audio levels is key. Properly checking sound levels ensures your audio quality remains clear and free of distortion. To do this effectively:
- Use your smartphone’s audio meters or a dedicated app to watch levels during recording.
- Keep audio levels within the ideal range, avoiding peaks that cause distortion.
- Listen through headphones frequently to catch any background noise or inconsistencies.
- Adjust microphone placement or gain settings as needed to maintain consistent sound quality.
Edit for Clarity
To guarantee your audio sounds professional, editing for clarity is essential during both the recording process and the final post-production stage. Pay attention to lighting techniques that enhance visibility and reduce distractions, ensuring your story remains clear to viewers. Use storytelling strategies to organize your footage logically, making edits seamless and engaging. Listen carefully to your audio, removing background noise and improving sound quality for better clarity. When finalizing your video, trim unnecessary scenes, adjust volume levels, and add subtle sound effects or music to support your message. Clear visuals combined with crisp audio create a more compelling narrative. Remember, effective editing helps your audience focus on the story, making your smartphone video look polished and professional.
Frequently Asked Questions
How Can I Improve Audio Quality on My Smartphone Videos?
To improve audio quality on your smartphone videos, start by using external microphone options like lapel or shotgun mics for clearer sound. Additionally, apply sound editing techniques afterward, such as noise reduction and equalization, to enhance clarity. Always record in a quiet environment, and consider using apps that offer real-time audio monitoring. These steps will help you achieve professional-sounding videos with better audio quality.
What Accessories Are Essential for Professional Smartphone Videography?
Did you know that using proper accessories can boost your video quality by up to 80%? For professional smartphone videography, essential accessories include a sturdy tripod for stability, which prevents shaky footage, and lens attachments like wide-angle or macro lenses to enhance your shots. These tools help you achieve smooth, cinematic footage and creative perspectives, making your videos stand out with clarity and precision.
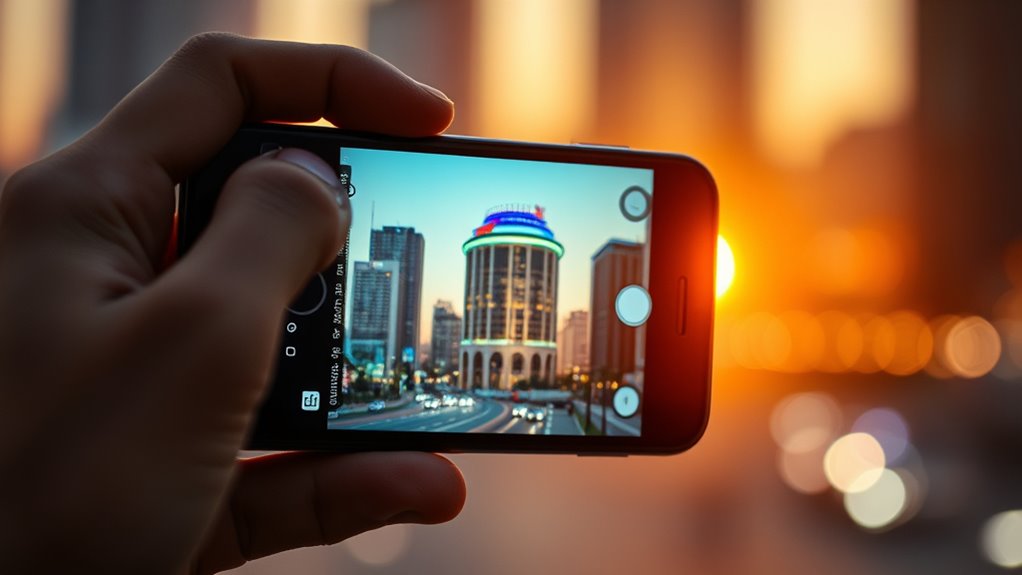
How Do I Shoot in Different Lighting Conditions Effectively?
To shoot effectively in different lighting conditions, use lighting techniques like adjusting exposure and utilizing natural light whenever possible. For low light, enable your smartphone’s night mode and keep your lens clean. In bright conditions, use filters or reflectors to reduce glare. Sensor optimization is key—lock focus and exposure manually if your device allows. These steps help you achieve clear, professional-looking videos across various lighting environments.
What Apps Are Best for Advanced Video Editing on Mobile Devices?
In the spirit of Da Vinci, you’ll want apps like LumaFusion or KineMaster for advanced editing. These video shift apps let you craft seamless scenes, while their color grading tools enhance your footage’s look. They’re user-friendly yet powerful, giving you professional results right on your mobile device. With these apps, you can elevate your videos, making them truly cinematic, no matter where you’re shooting.
How Can I Extend My Smartphone’s Battery Life During Filming?
To extend your smartphone’s battery life during filming, focus on battery conservation and power management. Turn off unnecessary features like Wi-Fi, Bluetooth, and location services, and reduce screen brightness. Use airplane mode if possible, and close background apps that drain power. Keep your phone cool, as heat affects battery performance. These steps help you maximize filming time without sacrificing your device’s performance, ensuring you capture all your shots uninterrupted.
Conclusion
With a few simple tricks, you can elevate your smartphone videos from good to great. Remember, even the most polished footage benefits from a patient touch and a little creativity. Don’t be afraid to experiment and learn as you go—sometimes, the best moments come from unexpected results. Keep practicing, stay curious, and your videos will naturally shine brighter. After all, the key to pro-quality content is just a bit of confidence and a willingness to explore.