
If your smart TV remote isn’t working, start by checking and replacing the batteries, ensuring they’re fresh and correctly installed. Power cycle both your TV and remote to clear glitches, and clear any obstructions that block the remote’s line of sight. Re-pair the remote with your TV or update its firmware for better compatibility. Resetting to factory settings can also help. For more tips and step-by-step guidance, keep exploring this simple troubleshooting guide.
Key Takeaways
- Check and replace batteries to ensure the remote has sufficient power.
- Power cycle the TV and remote to reset system glitches and restore connectivity.
- Clear obstructions and reset the remote’s line of sight for proper infrared signal transmission.
- Re-pair the remote with the TV through settings to fix communication issues.
- Update remote firmware or perform a factory reset if problems persist.
Top picks for "smart remote work"
Open Amazon search results for this keyword.
As an affiliate, we earn on qualifying purchases.
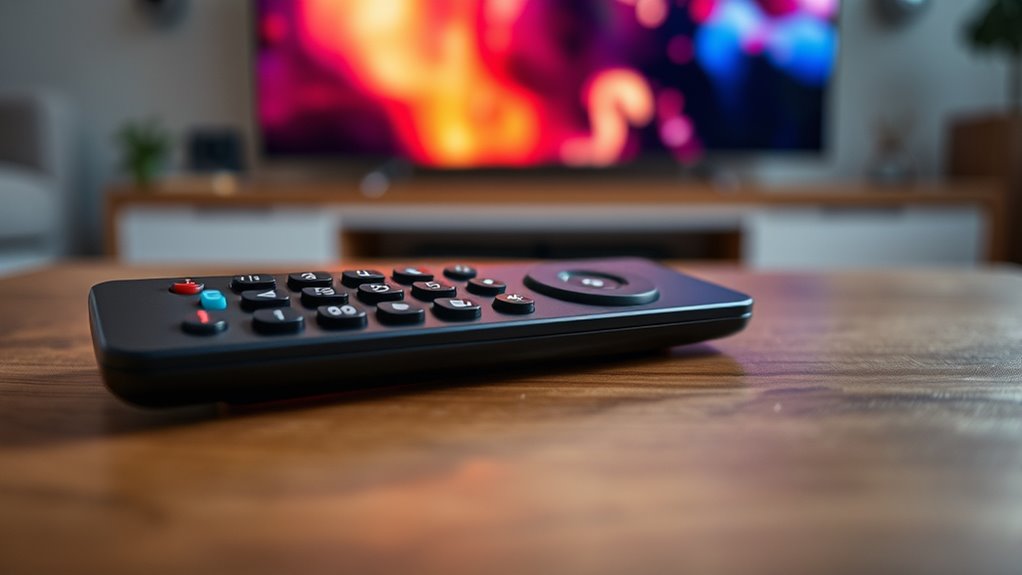
Check and Replace the Batteries
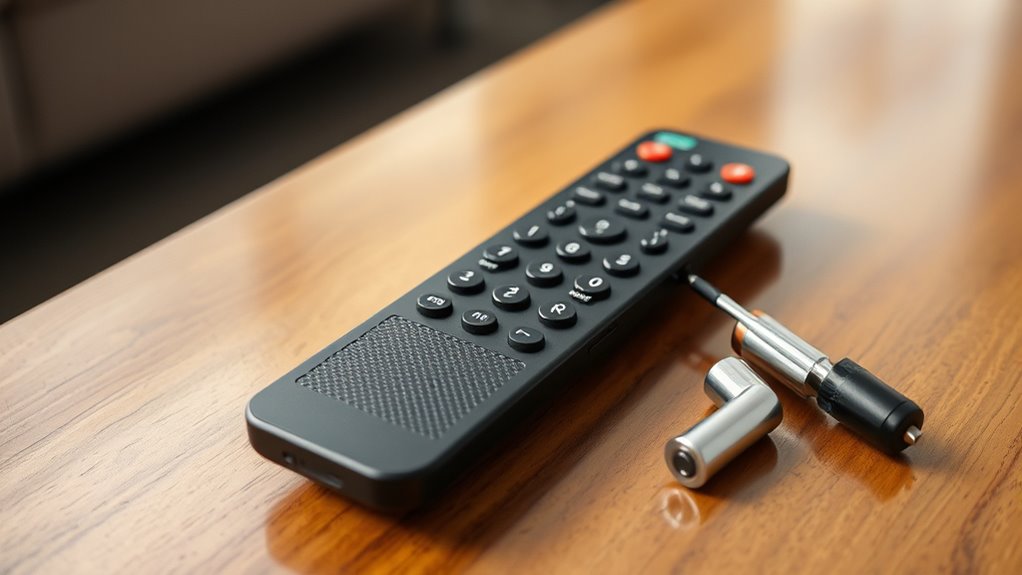
If your smart TV remote isn’t responding, the first step is to check the batteries. Remove the battery compartment cover and inspect the batteries for any signs of corrosion, which can cause poor contact and interrupt signals. Corrosion appears as a white or greenish residue and can hinder remote functionality. Even if the batteries look fine, verify they’re fresh and compatible with your remote, as using incompatible batteries can lead to power issues. Replacing old or corroded batteries with new, compatible ones often solves connectivity problems. Make sure to insert the batteries correctly, aligning the positive and negative terminals. Proper installation and fresh batteries are essential for your remote to function smoothly and avoid unnecessary troubleshooting.
Power Cycle Your Smart TV and Remote

Start by turning off your TV and unplugging it from the power outlet. Wait for about a minute, then reconnect the power cord and turn the TV back on. This simple power cycle can often reset the system and resolve remote connectivity issues. Additionally, performing a system reset can help troubleshoot persistent problems with your smart TV and remote. Resetting your device can also clear temporary glitches that affect remote connectivity and overall performance. For home theaters, ensuring your projector’s firmware is up-to-date can prevent similar connectivity issues with remote controls. Regularly checking your wiring basics can also prevent loose connections that interfere with remote signals. Incorporating smart device maintenance routines can further improve your remote and TV functionality.
Turn Off and Unplug
Sometimes, simply turning off and unplugging your smart TV and remote can resolve connectivity issues. This resets the system and clears minor glitches. While doing this, consider your remote aesthetics—sometimes dirt or debris affecting buttons can cause problems. Also, check your TV placement; placing it near electronic interference or in a tight spot can impact connectivity. To perform a power cycle:
- Turn off your TV and remote, then unplug your TV from the power outlet.
- Wait at least 60 seconds to allow residual power to drain.
- Press and hold the power button on the remote and TV for a few seconds before plugging everything back in. Device interference from nearby electronics can sometimes disrupt wireless signals and should be minimized. Additionally, ensuring your network connection is stable can prevent remote disconnections. Being aware of electromagnetic interference sources can further improve your remote’s performance.
Reconnect and Power On
After turning off and unplugging your TV and remote, it’s time to reconnect and power everything back on. This resets the system and can fix issues with voice control or unresponsive remotes. Proper remote placement is key; place it on a flat, stable surface away from interference. Power cycle your TV by plugging it back in and turning it on. Wait a few moments for the system to initialize. Then, press and hold the remote’s power button for a few seconds to re-establish a connection. If your remote supports voice control, ensure the microphone isn’t obstructed. Ensuring proper remote placement can prevent signal disruptions. To enhance connection stability, consider verifying that your remote and TV are within the recommended security zone for optimal signal transmission. Here’s a quick overview:
| Step | Action |
|---|---|
| Reconnect power | Plug in and turn on your TV |
| Remote placement | Position remote on a flat surface |
| Power cycle remote | Hold power button to reset connection |
| Verify voice controls | Ensure microphone isn’t blocked |
| Check for interference | Keep remote away from other electronic devices that could disrupt signals and radio frequency interference can sometimes cause remote malfunctions |
Clear Obstructions and Reset the Remote’s Line of Sight
If your remote isn’t responding, it’s worth checking for obstructions that might block the signal. The remote sensor needs a clear line of sight to work properly. To improve your remote’s performance, follow these steps:
- Remove any objects blocking the path between the remote and the TV. Even furniture or decorations can interfere.
- Ensure there’s nothing covering the remote sensor on your TV, like dust or dirt.
- Reset the remote by removing the batteries, pressing any button for a few seconds, then reinserting them. This helps clear any glitches.
Maintaining an unobstructed line of sight allows the infrared (IR) signals to transmit smoothly. Clear obstructions, reset, and test your remote for better response.
Re-Pair the Remote With Your TV
To re-pair your remote with your TV, start by checking that your batteries are fresh and properly installed. Next, reconnect the Bluetooth connection if your remote uses it, and reset the remote’s settings if needed. These steps can help restore the connection and get your remote working smoothly again.
Check Remote Batteries
A common reason your remote may not be working is that the remote battery is dead or weak. To fix this, start by replacing the batteries. Here’s what you should do:
- Remove the remote battery cover.
- Take out the old batteries and dispose of them properly.
- Insert new batteries, ensuring correct polarity.
- Check remote compatibility to ensure your remote is compatible with your TV model, as mismatched remotes can also cause issues. Additionally, clean the remote’s contact points to ensure good battery contact and proper functioning.
- Test the remote after replacing the batteries to see if it responds correctly and controls your TV as expected.
Sometimes, a simple battery replacement restores functionality. If your remote still isn’t responding, double-check that the batteries are fresh and seated correctly. Weak or dead batteries are often the culprit, so keeping spare remote batteries handy can save you time. Once you’ve replaced the batteries, test the remote to see if it works smoothly again. If it doesn’t, you might need to re-pair or troubleshoot further.
Reconnect Bluetooth Connection
Even after replacing the batteries, your remote might still not respond if the Bluetooth connection has dropped. To fix this, try re-pairing your remote with your TV. Start by turning off your TV and removing the remote’s batteries or power source. Then, put the remote into pairing mode—usually by holding a specific button or combination. Turn your TV back on and navigate to the Bluetooth settings using another device if necessary. Make certain your remote is compatible with your TV model, as remote compatibility issues can interfere with Bluetooth troubleshooting. Once in pairing mode, select your remote from the device list. If it pairs successfully, your remote should reconnect, improving responsiveness and restoring control.
Reset Remote Settings
If your remote still isn’t working properly after re-pairing via Bluetooth, resetting the remote’s settings can often resolve lingering issues. This step helps refresh remote compatibility and restore default configurations, improving responsiveness. To do this:
- Access your TV’s settings menu and find the remote control options.
- Select “Reset Remote Settings” or “Restore Defaults” to erase any customizations.
- Re-pair the remote with your TV, ensuring it’s correctly recognized and optimized for your setup.
- Keep in mind that modern remote technology can sometimes require a reset to re-establish proper communication with your TV.
- Performing a reset can also help troubleshoot connectivity issues caused by interference or temporary glitches, ensuring your remote remains reliable.
- This process can be especially helpful in cases where interference from other devices disrupts the remote’s signals, ensuring smooth operation.
- Additionally, resetting remote settings can help address issues caused by software glitches, restoring full functionality.
- Understanding how smart remote features interact with your TV can help prevent future connection problems.
Resetting remote settings clears any problematic remote customization and can fix unresponsive buttons or connectivity issues. This process ensures your remote functions smoothly with your TV, saving you frustration and restoring full control.
Update Your Remote’s Firmware or App

Updating your remote’s firmware or app can often resolve connectivity issues and improve its functionality. Start by checking if your remote firmware is up to date—many smart remotes have firmware that can be upgraded through the TV’s settings menu or a companion app. Similarly, ensure your remote app is current, as developers frequently release updates to fix bugs and enhance performance. To update, connect your remote or app to the internet and follow the manufacturer’s instructions, which usually involve downloading the latest version. Keeping your remote firmware and app updated helps maintain compatibility with your TV and ensures smooth operation. Regular updates can prevent many common remote issues, saving you time and frustration.
Reset the Remote to Factory Settings

Resetting your remote to factory settings can often resolve persistent connectivity problems by clearing any glitches or misconfigurations. To do this:
- Locate the reset button or menu option on your remote or TV.
- Follow the manufacturer’s instructions to perform a factory reset, which may involve pressing specific button combinations.
- After the reset, you might need to recalibrate your remote to restore proper function and ensure it communicates correctly with your TV.
- Understanding the emerging trends in nanotechnology can help you stay informed about the latest innovations that might eventually influence remote control technology and connectivity solutions.
- Ensuring your remote’s storage conditions are optimal can also help maintain its performance over time.
This process resets any custom settings, restoring the remote to its original state. Keep in mind, a factory reset can also help fix issues caused by software glitches. Once completed, you may need to reprogram some features, but this often results in better remote calibration and improved connectivity.
Test With a Universal or Alternative Remote
Using a universal or alternative remote to test your TV can quickly identify whether the issue lies with the remote itself or the TV’s reception. If your universal remote works, the problem is likely with your original remote. If it doesn’t respond, the issue may be with the TV’s sensor or internal components. To test this, point the universal or alternative remote at the TV and press a few buttons. Ensure the remote’s batteries are fresh and the remote is compatible with your TV model. If the universal remote controls your TV, you’ll know your remote is faulty and needs replacement. If not, then you should focus on troubleshooting the TV’s sensor or other hardware. Using an alternative remote is a quick way to pinpoint the source of the problem.
Frequently Asked Questions
Why Is My Remote Blinking but Not Connecting?
Your remote blinking but not connecting likely means it’s trying to pair. Make sure you’re within range and the batteries are fresh. Press and hold the pairing button, then wait for the blinking to stabilize. Try using voice commands or opening your streaming apps to test the connection. If it still doesn’t work, reset the remote or re-pair it with your TV. This should resolve the blinking issue and restore control.
How Do I Troubleshoot a Remote That Won’T Turn On?
If your remote won’t turn on, start by replacing the batteries to verify they aren’t dead. Next, check the remote sensor alignment; make sure there’s nothing blocking the sensor on your TV. Sometimes, the remote needs a reset—remove the batteries, press all buttons for a few seconds, then reinsert them. This simple step can fix minor glitches and get your remote working again quickly.
Can Software Updates Cause Remote Connectivity Issues?
Yes, software updates can cause remote connectivity issues. Firmware glitches after an update may disrupt the remote’s functions, and Bluetooth interference can also occur if new software alters signal settings. To fix this, try restarting your TV and remote, updating the firmware again if needed, or removing any sources of Bluetooth interference nearby. These steps can often resolve issues caused by updates and restore proper remote connectivity.
What Should I Do if My Remote’s Buttons Stick?
If your remote’s buttons stick, start by cleaning them gently with a soft, damp cloth or a cotton swab dipped in rubbing alcohol to remove dirt and debris. If cleaning doesn’t work, consider replacing the remote, especially if buttons remain unresponsive or stick frequently. Regular button cleaning helps maintain functionality, but a remote replacement might be necessary if the issue persists, ensuring smooth operation for your TV.
Is There a Way to Test Remote Signal Strength?
Like a detective with a magnifying glass, you can test your remote’s signal strength by using your smartphone camera. Point the remote at the lens and press a button; if you see a flashing light, the infrared sensors are working. This test helps confirm remote compatibility and whether the remote is sending signals properly. If no light appears, your remote may need a replacement or further troubleshooting.
Conclusion
When your smart TV remote hits a rough patch, think of it as a stubborn puzzle waiting to be solved. A quick reset or a fresh battery breathes new life into it, like dawn chasing away night. With patience and a few simple steps, you can restore harmony between you and your screen. Soon, your remote will dance to your commands again, turning tech frustration into a smooth, seamless symphony of control.