To tune your TV’s picture like a pro, start by gathering the right tools and creating a dim, glare-free environment at eye level. Access your TV’s picture menu to adjust brightness, contrast, color, and sharpness carefully, using test patterns or calibration discs for reference. Save your settings and do a final check to make certain overall balance and color accuracy. If you keep exploring, you’ll discover the detailed steps to perfect your calibration process.
Key Takeaways
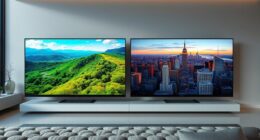
- Gather proper tools, set up a dim, glare-free environment, and position your TV at eye level for accurate calibration.
- Access and familiarize yourself with each picture setting, then save customized profiles for easy future adjustments.
- Adjust brightness, contrast, and color temperature carefully to achieve natural tones and optimal shadow and highlight detail.
- Fine-tune sharpness and motion settings using test patterns, ensuring smooth, natural movement without artifacts.
- Regularly review and update your calibration, using reference materials and tools to maintain picture quality over time.
Gather the Necessary Tools and Prepare Your Space

Before you begin calibrating your TV, it’s important to gather all the necessary tools and prepare a suitable space. Start by verifying your remote controls are nearby, so you can easily access picture settings. You’ll also want a clean, clutter-free area with minimal distractions. Adjust the room lighting to be dim but not completely dark; harsh lights can affect how you perceive picture quality. Turn off any lamps or sunlight that could cause glare or reflections. Having a comfortable viewing position is essential, so position yourself at eye level with the screen. This setup helps you accurately judge colors, contrast, and brightness. Additionally, understanding display calibration fundamentals can help you achieve the best picture quality. Proper setup procedures are key to optimizing your calibration results. Taking the time to prepare your environment ensures more consistent and accurate calibration outcomes. Ensuring proper screen calibration techniques can significantly improve your viewing experience, especially when considering sound and visual harmony for an immersive experience.
Access and Understand Your TV’s Picture Settings
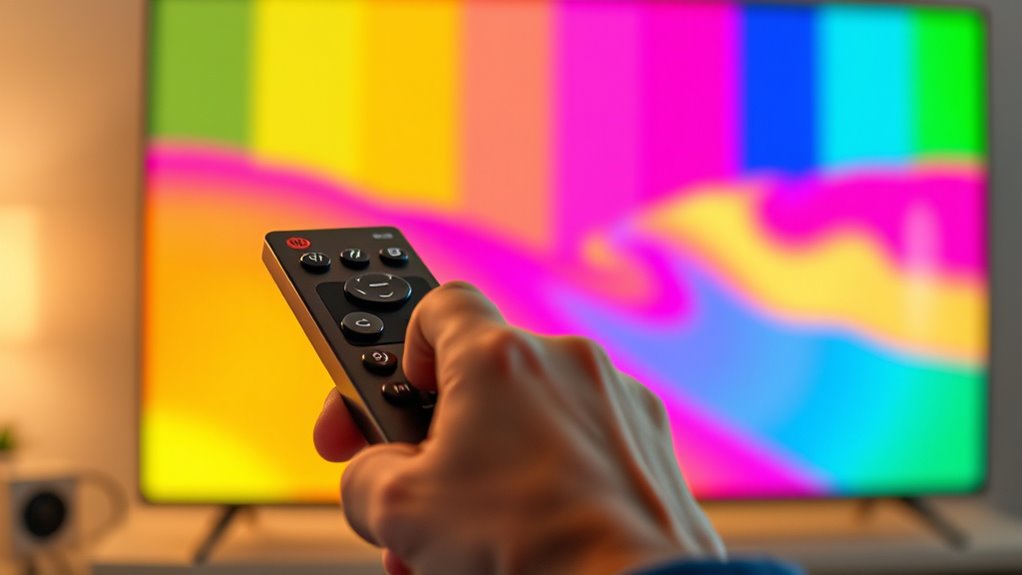
To begin adjusting your TV’s picture quality, you need to locate and access its picture settings menu. Use your remote basics, like the menu or settings button, to open the picture options. Take note that viewing angles can affect how you perceive picture quality; adjust your seating or screen position if needed. Spend some time exploring the available settings—contrast, color, sharpness—so you understand what each one controls. Keep in mind that some TVs have simplified modes or picture presets, which you can switch between to see their effects. Familiarizing yourself with these options helps you make informed adjustments later. Once you understand the layout and purpose of each setting, you’re ready to fine-tune your picture for the best viewing experience. Understanding picture settings is essential for achieving optimal image quality.
Adjust Brightness and Contrast for Optimal Detail
Adjusting the brightness and contrast settings on your TV is essential for revealing details in both dark and bright scenes. Set the brightness so black areas appear true to life without losing detail in shadows, and tweak contrast to enhance brighter scenes without washing out details. Keep in mind that a proper color temperature helps maintain natural tones, making your picture more realistic. Also, consider viewing angles; if you watch from different positions, adjust your settings accordingly to ensure consistent detail and contrast across your viewing space. Avoid overly high contrast, which can cause loss of shadow details, and overly low brightness, which can make dark scenes murky. Fine-tuning these settings helps you achieve a balanced image with ideal detail, regardless of lighting conditions or viewing angles. Additionally, understanding the contrast ratio of your TV can help you optimize these adjustments for the best picture quality. When you understand your TV’s display specifications, you can better tailor your calibration for optimal viewing. Proper calibration can also prevent image burn-in and extend your TV’s lifespan, ensuring a better viewing experience over time. For best results, consider ambient lighting conditions in your room to further refine your settings and achieve a more accurate picture. Taking into account modern display technology can also help you understand the nuances of your screen’s capabilities and limitations.
Set Color, Tint, and Saturation for Vivid and Accurate Colors

Once you’ve set the brightness and contrast to reveal details clearly, refining your color settings will make your picture pop with vibrant and accurate hues. To achieve ideal color accuracy, adjust the color, tint, and saturation carefully. First, set the color temperature to a neutral or warm level to ensure natural skin tones and overall balance. Next, tweak the saturation to avoid overly vivid or dull colors—aim for a lively but realistic look. Finally, fine-tune the tint to correct any color shifts, especially in skin tones or greens. Here are some helpful tips:
Refine color, tint, and saturation for vibrant, natural-looking images.
- Use test patterns or calibration discs for reference.
- Compare colors with real-life objects for accuracy.
- Trust your eyes, but consider a colorimeter for precision.
- For optimal results, understand how TV calibration tools can assist in achieving professional-level accuracy.
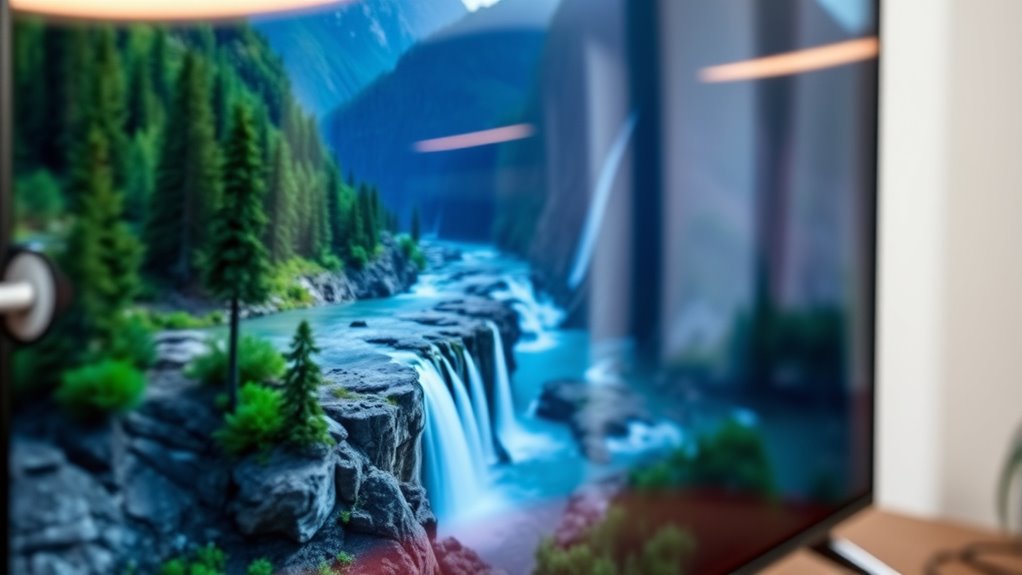
Fine-Tune Sharpness and Motion Settings for Clarity
To improve picture clarity, you need to adjust the sharpness carefully—too much can cause unwanted noise, while too little makes images look soft. Next, optimizing your motion settings can eliminate blurring during fast scenes, giving you a smoother viewing experience. Additionally, understanding Free Floating concepts can help you better calibrate your TV to avoid over- or under-boosting certain picture elements, ensuring a more natural image. Properly configuring these settings can also prevent image distortion and maintain the integrity of the picture’s details, guaranteeing your TV displays crisp, clear images without distractions. Being aware of style influences can aid in selecting calibration settings that match your viewing preferences and environment.
Adjust Sharpness Carefully
Sharpness settings can profoundly impact your TV’s picture quality, but tweaking them too high or too low can result in unnatural images or unwanted noise. Many people fall for sharpness myths that over-sharpen images, making them look artificial. To prevent this, focus on fine-tuning with effective sharpening techniques.
Here are three tips:
- Set sharpness to a moderate level—around 10-20%—to avoid artificial edges.
- Use test patterns to identify when details look natural versus overly enhanced.
- Remember, less is more; increasing sharpness rarely improves picture quality and can add noise.
Adjusting sharpness carefully ensures clarity without sacrificing realism. Keep in mind, subtle adjustments make a big difference, so don’t rush this step.
Optimize Motion Settings
Fine-tuning motion settings is essential for achieving clear, smooth images, especially during fast-paced scenes. Many TVs offer features like motion smoothing and frame interpolation, which can help reduce motion blur and judder. However, these settings can sometimes create the “soap opera effect,” making content look unnatural. Start by turning off or adjusting motion smoothing to see if it improves clarity without sacrificing realism. If your TV has frame interpolation options, experiment with different levels to find a balance between smoothness and artifact. Keep in mind that excessive interpolation can introduce flickering or halos. The goal is to enhance motion clarity without compromising picture quality, so take your time testing different settings until you find what looks best for your viewing preferences. Additionally, understanding how adjusting motion settings can help you identify the most impactful adjustments for your specific TV model. Learning about motion processing features can also assist you in optimizing your display for various types of content.
Save Your Settings and Perform a Final Check
Once you’ve adjusted your settings, make sure to save your calibration to prevent losing your work. Take a few moments to review the picture quality and guarantee everything looks just right. Doing a final check helps confirm your TV is optimized for the best viewing experience. Remember, proper calibration can significantly enhance your visual experience and bring out the best in your TV’s display. Additionally, understanding display calibration techniques can help maintain your settings over time and ensure consistent quality. Familiarizing yourself with at-home calibration tools can also make ongoing adjustments easier and more precise. Using tools that detect passive voice can further refine your writing and improve clarity. Being aware of well-sourced name coverage emphasizes the importance of accurate reference material in maintaining reliable calibration standards.
Save Your Calibration
After completing your calibration adjustments, it’s crucial to save your settings to guarantee they aren’t lost. Many people fall for calibration myths, thinking settings are universal across all display technology. In reality, each TV model responds differently, so saving your specific calibration ensures peak picture quality. To lock in your adjustments:
- Save your settings in the TV’s menu or custom profile.
- Label the profile clearly for easy future access.
- Perform a quick check after power cycling to confirm your calibration holds.
Conduct Final Inspection
With your calibration settings saved, it’s important to verify that everything remains consistent. Check the color temperature to ensure it produces natural, balanced colors without any tint. Adjust if necessary, confirming the overall picture looks accurate across different scenes. Next, review the black levels, ensuring they’re deep enough to provide contrast without losing detail in shadows. Confirm that dark scenes retain detail without appearing washed out or overly crushed. Use a variety of content to test these adjustments, paying attention to subtle differences. Make small tweaks if needed, then save your final settings. Performing this final check guarantees your TV displays excellent picture quality, with precise color temperature and perfect black levels, giving you the best viewing experience possible. Regularly understanding fan culture can also enhance your appreciation of how industry trends influence content presentation. Additionally, consulting calibration guides can help you maintain optimal picture quality over time.
Frequently Asked Questions
Can I Calibrate My TV Without Professional Tools?
Yes, you can calibrate your TV without professional tools. Start by adjusting the picture settings to improve color accuracy and contrast optimization, using built-in calibration options or test patterns available online. Focus on tweaking brightness, contrast, and color settings until images look natural and vibrant. While it may not be perfect, these DIY adjustments can markedly enhance your viewing experience without the need for specialized equipment.
How Often Should I Re-Calibrate My TV?
You should re-calibrate your TV every 6 to 12 months to keep picture quality sharp, as screens can drift over time. Remarkably, a study shows that improper calibration can reduce viewing experience by up to 30%. For maintenance tips, regularly clean your screen and adjust settings after firmware updates or significant changes in lighting conditions. Doing this ensures your picture remains vibrant and accurate without the need for professional tools.
What Are Common Mistakes to Avoid During Calibration?
You should avoid common mistakes like adjusting settings without understanding their impact on picture accuracy and color consistency. Don’t rely solely on auto-calibration tools; manually fine-tune contrast, brightness, and color levels for the best results. Overdoing sharpness or gamma can distort images, so make small changes gradually. Always compare your calibration with real content to make certain your picture looks natural and authentic, preventing overly processed or inaccurate displays.
Does Room Lighting Affect Calibration Results?
Like a painter adjusting their palette, you should know room lighting impacts calibration. Ambient light and screen reflections can wash out contrast and distort colors, making your adjustments less accurate. To get the best results, calibrate in a dimly lit room or turn off lights during the process. This ensures your TV’s picture is tuned precisely, with true blacks and accurate colors, just like a professional setting.
Can Calibration Improve Gaming or HDR Content?
Yes, calibration can considerably improve gaming and HDR content. It enhances gaming performance by sharpening details, reducing input lag, and optimizing contrast for more immersive gameplay. For HDR, calibration fine-tunes brightness, color, and contrast, delivering richer, more accurate visuals. By calibrating your TV properly, you guarantee a better gaming enhancement experience and HDR optimization, making your favorite movies and games look stunning and true to the creator’s intent.
Conclusion
Now that you know how to calibrate your TV like a pro, you’ll enjoy sharper, more vibrant picture quality. Did you know that improper calibration can reduce image accuracy by up to 30%? Taking a little time to fine-tune your settings can make your favorite shows and movies look truly spectacular. So, grab your tools, follow these steps, and transform your viewing experience—it’s easier than you think to achieve professional-level picture quality at home.