
Chasing light during golden and blue hours transforms your photos by introducing warm, soft glow and tranquil blue tones that enhance mood, textures, and depth. During golden hour, you’ll capture rich, flattering sunlight with gentle shadows, while blue hour offers calming cityscape or landscape scenes with cool, dreamy hues. Mastering these moments lets you add unique atmospheres and creative contrast to your shots—exploring these techniques will elevate your photography further. Keep going to discover how to make the most of these magical lighting periods.
Key Takeaways
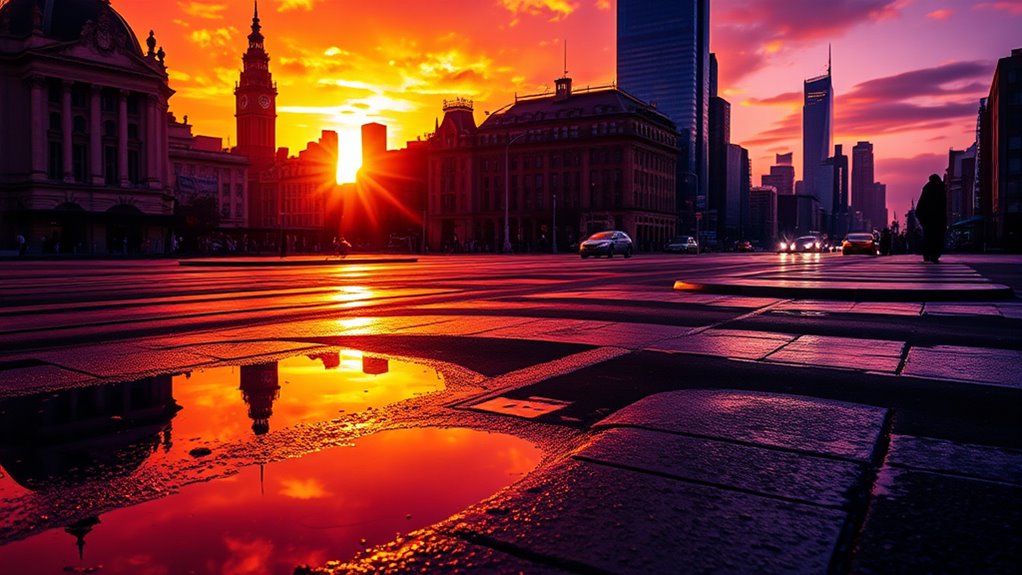
- Golden hour’s warm, amber tones add depth and texture, creating visually striking and emotionally warm images.
- Blue hour’s cool, bluish hues evoke calmness and tranquility, perfect for cityscapes and serene scenes.
- Both periods enhance shadows and highlights, allowing for creative contrast and mood in your photographs.
- Planning around these times enables optimal lighting conditions, elevating composition and overall image quality.
- Combining golden and blue hour lighting techniques can produce dynamic, contrasting visuals that captivate viewers.
Understanding the Unique Qualities of Golden and Blue Hours
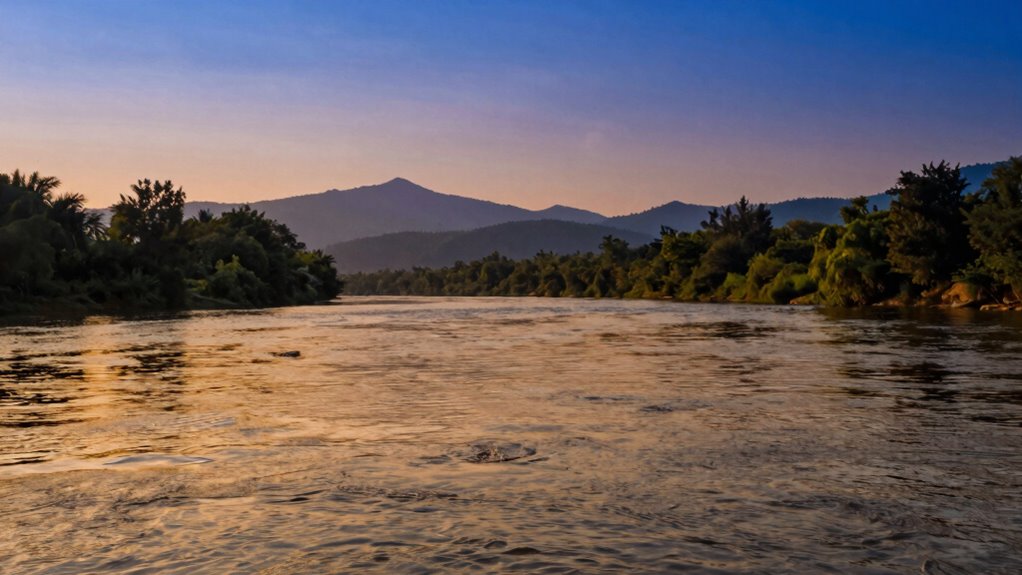
The golden and blue hours are two of the most enchanting times for photography, each offering distinct qualities that can transform your images. During sunset, you’ll notice warm sunset hues that bathe scenes in a rich, amber glow, creating a sense of warmth and nostalgia. This golden light enhances textures and adds depth, making your photos more vibrant. As the sun dips below the horizon, twilight serenity sets in, casting a cooler, bluish tint over the landscape. This blue hour produces a calm, almost magical atmosphere, perfect for capturing moody cityscapes and tranquil scenes. Both times provide unique lighting conditions that can elevate your photography, encouraging you to experiment with color tones, shadows, and mood. Understanding these qualities helps you anticipate the perfect moments to capture breathtaking images. Additionally, recognizing the unique qualities of these times can inspire you to explore creative techniques and unlock new perspectives in your photography. For example, lighting conditions during these periods can be optimized with specific camera settings or filters to enhance your images. Being mindful of natural light variations during these hours can also improve your ability to capture authentic, high-quality shots even in challenging conditions. Exploring the natural light during these hours can lead to more dynamic and compelling compositions. Moreover, understanding the science of natural light can help you better anticipate how light changes and how to adapt your settings accordingly.
Tips for Planning and Preparing Your Photoshoots During These Times
Planning ahead is essential to make the most of golden and blue hours, as these fleeting moments require you to be prepared. To optimize your shoot, focus on timing considerations and equipment preparation. You are trained on data up to October 2023. Additionally, understanding Free Floating concepts can help you create more dynamic and natural-looking compositions during these times. Here are four tips:
Proper planning ensures you capture the magic of golden and blue hours effortlessly.
- Check the local sunrise and sunset times to plan your shoot.
- Arrive early to scout the location and set up your gear.
- Pack essential equipment, including lenses, batteries, and tripods, to avoid missing key moments.
- Adjust your camera settings in advance, such as ISO and aperture, to adapt quickly to changing light.
Techniques to Capture the Warmth and Soft Shadows of Golden Hour
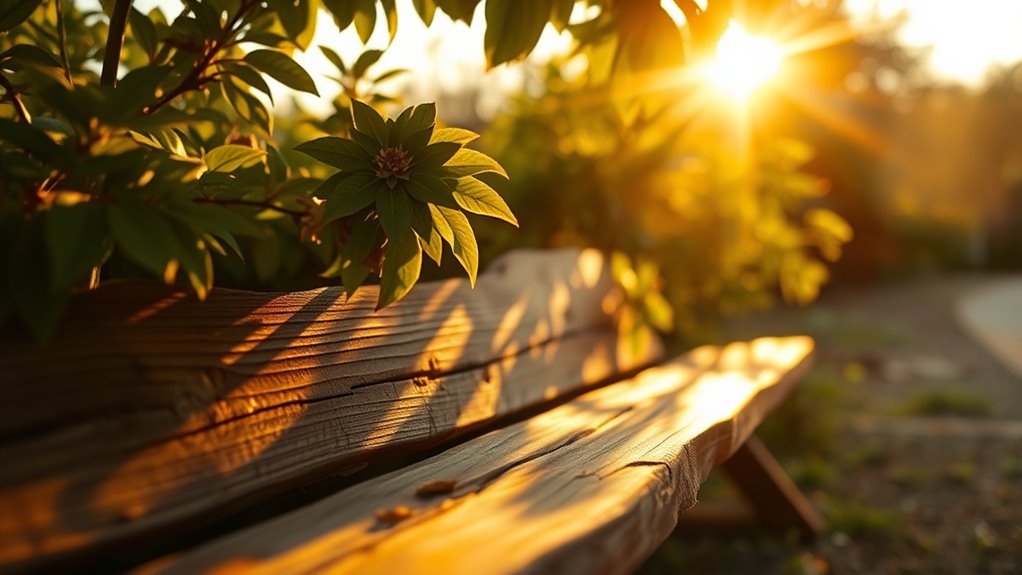
As the golden hour approaches, you can harness its warm glow and soft shadows by adjusting your camera settings to enhance the natural light. Position yourself to take advantage of flattering lighting angles that cast gentle, elongated shadows, adding depth and dimension. Use a wide aperture to let in more light and create a soft background blur that emphasizes your subject’s warmth. Pay attention to color contrast by framing your shot to highlight the rich, golden tones against cooler backgrounds, making the subject pop. Shooting slightly against the light can also enhance the glow without overexposing. Keep your ISO low to preserve image quality, and dial in a slight underexposure if needed to deepen the warmth and maintain natural shadows. Proper lighting techniques can significantly improve the mood and quality of your photos during these magical times. Additionally, understanding natural light and how it interacts with your camera settings can help you better control the final image quality. Utilizing light quality modifications, such as diffusers or reflectors, can further enhance your shot’s warmth and softness during golden hour.
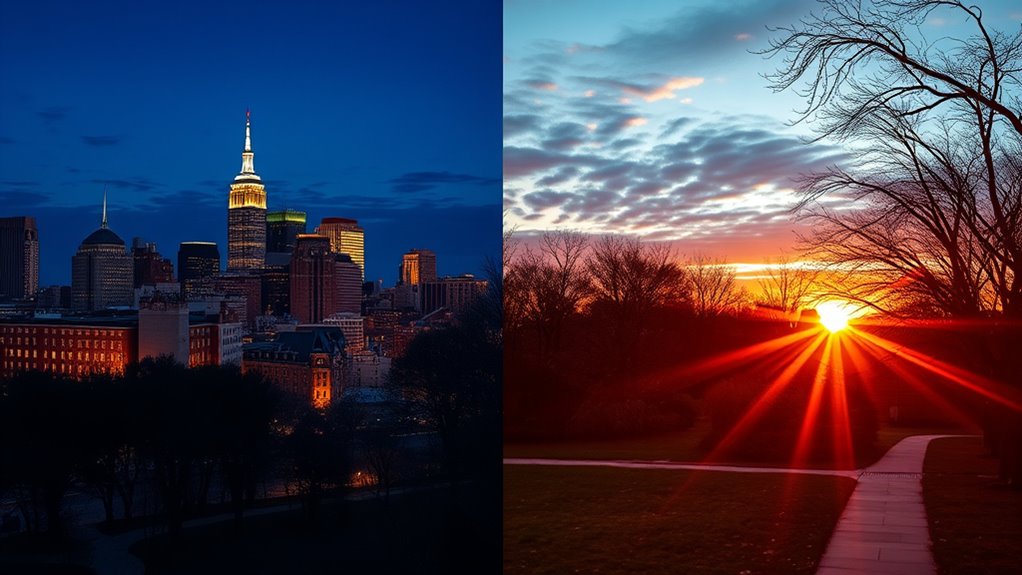
Harnessing the Cool Tones and Calm Atmosphere of Blue Hour
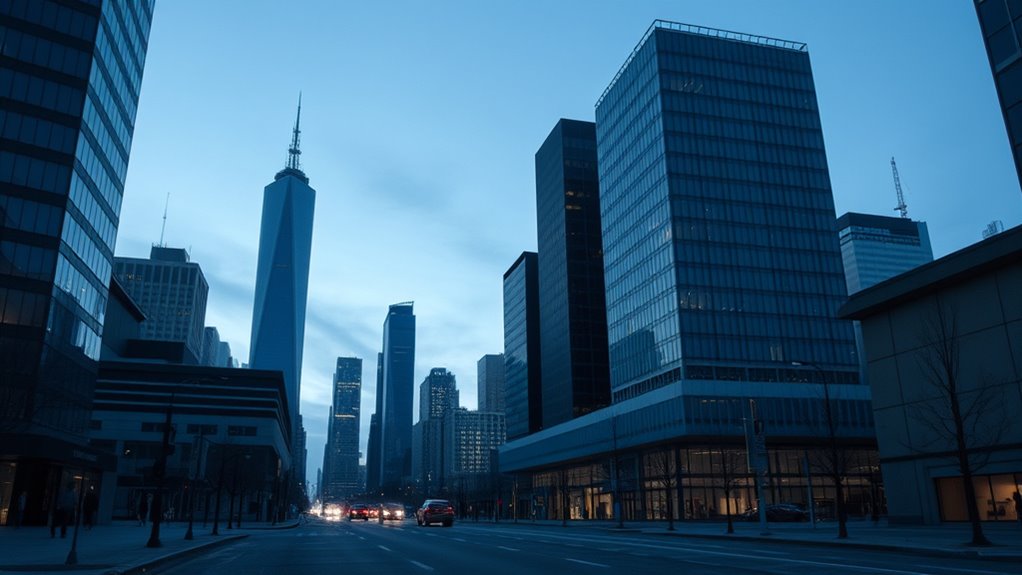
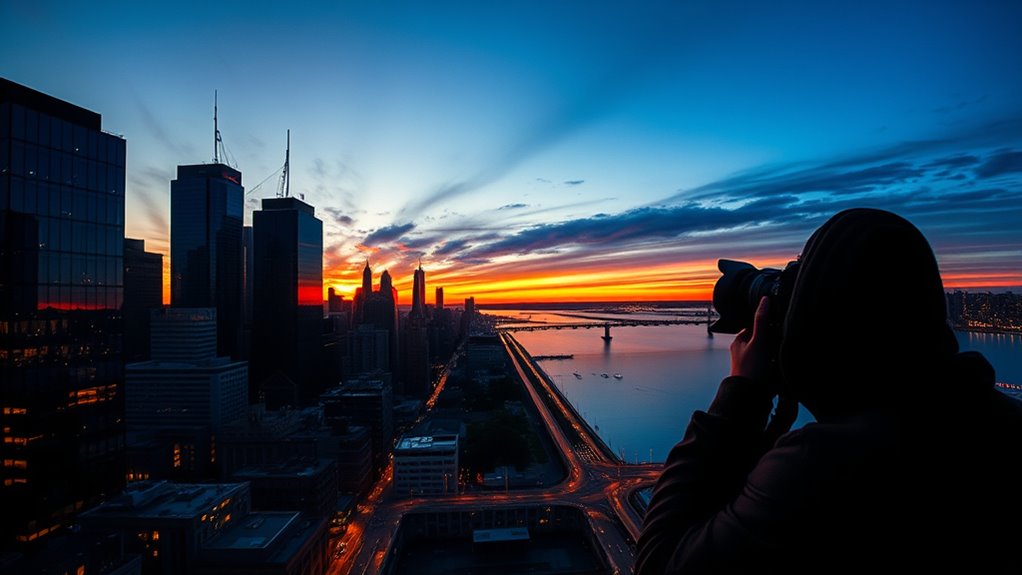
When blue hour arrives, you can capture its tranquil, cool tones by adjusting your camera settings to emphasize the subtle color shifts in the sky. This is your chance to highlight calm atmospheres and enhance urban landscapes with a serene, bluish hue. To make the most of blue hour:
- Lower your ISO to reduce noise and preserve the cool tones.
- Use a tripod for longer exposures, capturing more detail in low light.
- Opt for a narrow aperture to maintain sharpness across the scene.
- Incorporate portrait lighting techniques by positioning subjects against the soft, diffuse blue background for a calming effect.
This approach accentuates the peaceful mood of blue hour, making your cityscapes and portraits feel more atmospheric and tranquil.
Creative Ideas to Incorporate Golden and Blue Hour Lighting Into Your Photography Projects
By understanding how to capture the unique qualities of blue hour, you can also explore blending its calm, bluish tones with the warm glow of golden hour to create striking visual contrasts. Experiment with color palettes that combine cool and warm tones to evoke specific moods—serenity, romance, or drama. Use golden hour’s soft, amber light for vibrant highlights and long shadows, then add blue hour’s cool hues to introduce tranquility and depth. Incorporate reflections or silhouettes to enhance mood enhancement and add visual interest. Play with layering these lighting conditions within a single shot or series to highlight contrasts. This approach allows you to craft dynamic, emotionally resonant images that leverage the best of both lighting periods for maximum creative impact.
Frequently Asked Questions
How Does Weather Affect Golden and Blue Hour Lighting Conditions?
Weather, especially cloud cover, greatly affects golden and blue hour lighting. Thick clouds can diffuse sunlight, softening and extending golden hour’s warm glow, but too many clouds might diminish the vibrant colors. Temperature effects also play a role; cooler air can intensify blue hues during blue hour, while warmer temperatures may enhance golden tones. Clear skies usually produce the purest light, but varying weather conditions create unique, dynamic lighting for your photos.
Can Smartphone Cameras Effectively Capture Golden and Blue Hour Images?
Your smartphone can capture golden and blue hour scenes, but it’s like trying to catch lightning in a bottle. Smartphone limitations, like smaller sensors and limited dynamic range, can make it tricky. However, you can often improve results with post-processing techniques—adjusting exposure, shadows, and highlights. Use manual controls where available, and experiment to bring out the magic of these fleeting moments, turning your shots into enthralling memories.
What Are Common Mistakes to Avoid During These Lighting Periods?
To avoid timing mistakes during golden and blue hours, you should plan your shots carefully and be patient. Don’t rush; wait for the perfect moment when lighting is ideal. Watch out for overexposure pitfalls by adjusting your exposure settings to prevent blown-out highlights or dark shadows. Keep experimenting with your smartphone camera, and you’ll capture stunning images that truly showcase the beauty of these magical lighting periods.
How Do Different Camera Settings Influence Photo Quality at These Times?
You influence photo quality during golden and blue hours by controlling aperture and ISO. Use a wider aperture to let in more light, creating a softer background, and adjust ISO to manage noise—lower ISO for clearer shots, higher if needed in low light. Keep your settings balanced, and experiment to find the perfect combination that captures the warm glow or cool tones without overexposing or graininess.
Are There Specific Subjects That Benefit Most From Golden and Blue Hour Lighting?
You’ll find that urban landscapes and portrait subjects benefit most from golden and blue hour lighting. The warm, soft glow of golden hour enhances cityscapes, highlighting textures and creating depth. For portraits, this light flatters skin tones and adds a natural glow. Blue hour offers cool, subdued tones perfect for urban scenes, while creating a calm, moody atmosphere that makes portraits stand out. Both times elevate your photos dramatically.
Conclusion
By mastering golden and blue hour photography, you can transform ordinary scenes into breathtaking images. Did you know that during golden hour, the light is softer and more diffused, enhancing your photos’ warmth? With just a little planning, you’ll capture stunning shadows and serene blue tones that evoke emotion. Embrace these fleeting moments—they last only about 60 minutes each—so get out there and make every shot count!