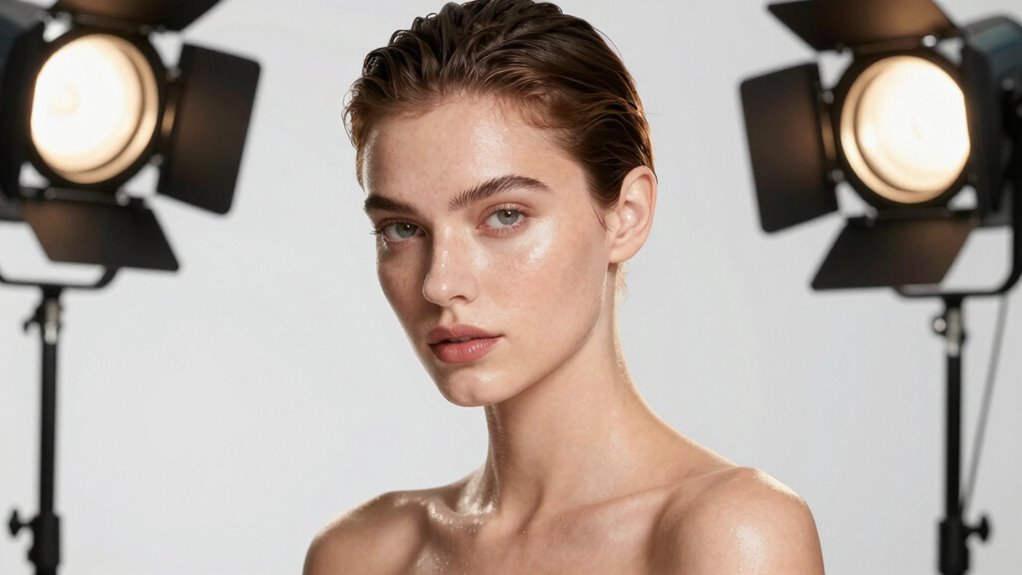

To make studio lighting look expensive, focus on controlling color temperature, diffusion, and placement. Use warm or neutral tones to set the mood, and diffuse your light sources with simple materials to soften shadows and add a professional feel. Position your lights carefully to create depth and dimension, mimicking high-end setups. Perfecting these techniques transforms basic equipment into polished, high-quality images. If you want to reveal even more tips, keep exploring what makes studio lighting truly stand out.

Get the latest gadgets delivered free — and shop member deals
- Fast, free delivery on millions of items
- Access to Prime Big Deal Days deals on October 6–7
- Prime Video, Amazon Music and more included
Key Takeaways
- Use of high-quality, consistent color temperature to create a professional, polished appearance.
- Effective light diffusion techniques that soften shadows and add smoothness.
- Precise light positioning and three-point lighting for depth and dimension.
- Balancing warmth and coolness to enhance mood and subject flattering.
- Strategic control of light intensity and placement to mimic expensive studio setups.
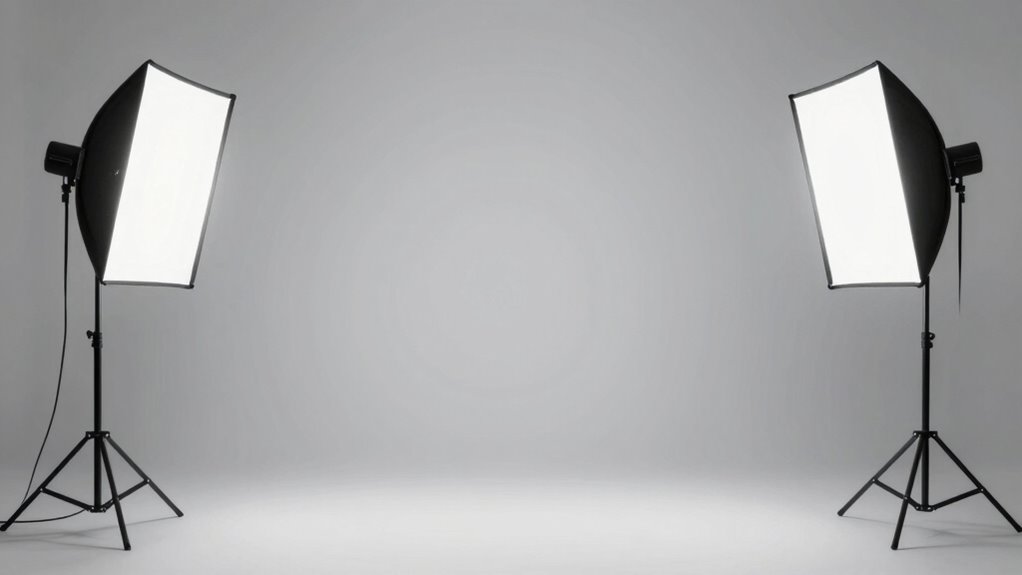
Creating professional-looking photos doesn’t have to cost a fortune, especially when you master studio lighting techniques that look expensive. The secret lies in understanding how to manipulate key elements like color temperature and light diffusion. When you get these right, your images will have a polished, high-end feel without needing expensive gear. Color temperature is essential because it determines the warmth or coolness of your light. By adjusting it properly, you can create a mood that elevates your photos, making them appear more refined and studio-quality. For instance, a warm color temperature (around 3200K) adds a cozy, inviting tone, while a cooler temperature (around 5600K) mimics natural daylight, giving your images a crisp, professional look. Knowing how to balance and modify color temperature ensures your subject is lit with a natural, flattering glow, avoiding harsh or unappealing tones that can cheapen the appearance of your work. Additionally, understanding light diffusion helps you soften shadows and create a more seamless, high-end appearance. Light diffusion is another critical factor that influences whether your photos look high-end or amateurish. Diffusing light softens shadows and spreads illumination evenly across your subject, preventing harsh lines that can make an image feel unpolished. You don’t need expensive diffusers; simple materials like white bedsheets, shower curtains, or even foam boards can disperse light effectively. Proper diffusion creates a smooth, gentle light that enhances textures and details, giving your photos a professional, studio-like quality. Incorporating light positioning techniques, such as adjusting the angle and distance of your lights, further enhances the depth and dimension of your photos. When combined with controlled color temperature and light diffusion, it ensures your subject is beautifully lit, with soft, flattering light that mimics the aesthetics of expensive studio setups. Mastering lighting techniques allows you to achieve a sophisticated look with even basic equipment. The way you position your lights also impacts the perceived quality of your images. Using techniques like the three-point lighting setup, where you have key, fill, and back lights, helps create depth and dimension. When your lighting is well-balanced and diffused, it prevents flat, dull images that look cheap. Instead, your photos will have a dynamic, sophisticated appearance that suggests high production value. These techniques, along with paying attention to color temperature and light diffusion, are essential skills that can transform ordinary equipment into tools that produce extraordinary results. You’ll find that with some practice, these simple adjustments can make your photos look as if they were shot in a professional studio—without the hefty price tag.
As an affiliate, we earn on qualifying purchases.
Frequently Asked Questions
How Much Does High-End Studio Lighting Typically Cost?
High-end studio lighting usually costs between $1,000 and $5,000 per unit. You’ll notice the cost reflects features like adjustable lighting color and excellent power consistency, which guarantee professional-quality images. These lights offer smooth, flicker-free operation and precise control over color temperature, making your shots look polished. Investing in high-end equipment guarantees durability and superior performance, elevating your work without compromising on reliability or image quality.
What Brands Are Considered the Most Luxurious in Studio Lighting?
Think of the most luxurious brands as the crown jewels of studio lighting—Fujifilm, Broncolor, and Profoto lead the way. They boast luxury brand recognition and use premium material quality that feels as refined as silk against your skin. These brands elevate your work, transforming ordinary shots into radiant masterpieces. When you invest in their gear, you’re embracing a symphony of craftsmanship and prestige that makes your lighting truly shine.
How Does Lighting Placement Affect Perceived Expense?
Lighting placement impacts perceived expense by creating a polished, professional look. You should use diffusion techniques to soften shadows, making the setup appear high-end. Pay attention to color temperature, ensuring it matches your scene’s mood, which adds to the perceived quality. Well-placed lights with smooth diffusion and consistent color temperature convey sophistication, making your studio look more expensive and visually appealing.
Can Affordable Lighting Still Look High-End?
Yes, affordable lighting can look high-end with the right techniques. You should focus on adjusting the color temperature to match your scene for a seamless, professional look. Using light diffusion helps soften harsh shadows and creates a more polished appearance. Proper placement and even diffusion elevate the overall quality, making your setup appear more expensive, regardless of the budget. Small investments in these areas can considerably enhance your lighting’s perceived value.
What Accessories Enhance the Expensive Look of Studio Lighting?
Think of accessories as the jewelry that elevates a simple outfit. To make your studio lighting look expensive, add high-quality lighting modifiers like softboxes or beauty dishes, which create a smooth, professional glow. Adjust the color temperature with gels or filters to achieve consistent, warm tones. These accessories refine your setup, giving it a polished, high-end appearance that captivates viewers and makes your images stand out.
adjustable color temperature LED lights
As an affiliate, we earn on qualifying purchases.
As an affiliate, we earn on qualifying purchases.
Conclusion
When you master the subtle interplay of shadows and highlights, it’s no surprise your studio lighting exudes a sense of luxury. Sometimes, it’s the little details—the right diffusion, precise positioning—that unexpectedly elevate the scene. You might find that, in the end, it’s not just the equipment but your keen eye and timing that make your lighting appear truly expensive. After all, sophistication often lies in the art of the seemingly simple, waiting quietly to be discovered.
As an affiliate, we earn on qualifying purchases.
professional photography lighting equipment
As an affiliate, we earn on qualifying purchases.
As an affiliate, we earn on qualifying purchases.
Fall Picks
fall essentials
As an affiliate, we earn on qualifying purchases.