To get better GoPro footage, start by optimizing your settings for the environment—use higher resolution and frame rates for smooth, detailed shots, and adjust white balance and exposure for natural colors. Secure your camera with stable mounts and add vibration dampening accessories to keep footage steady. Use ND filters to handle glare and lighting changes, especially outdoors or underwater. Regularly review your shots and fine-tune settings; if you keep exploring, you’ll reveal even more pro tips.
Key Takeaways
- Adjust resolution, frame rate, and white balance based on activity and lighting for optimal image quality.
- Use secure mounts with vibration dampening to stabilize footage during dynamic movements.
- Protect your camera with waterproof gear and keep it steady with stabilizers or tripods in challenging environments.
- Employ appropriate filters and lighting to enhance clarity and color vibrancy, especially underwater or low-light scenes.
- Regularly clean and maintain your camera and accessories, and review footage during shooting to make real-time adjustments.
Top picks for "action camera tips"
Open Amazon search results for this keyword.
As an affiliate, we earn on qualifying purchases.
Selecting the Right Settings for Your Environment

Choosing the right settings for your environment is essential to capturing high-quality footage with your action camera. Start by adjusting your resolution and frame rate to match your activity—higher settings deliver clearer images but drain your battery life faster. Keep in mind, using a waterproof casing not only protects your camera from water but can also impact audio quality and heat dissipation, so select a casing suited for your environment. To extend your battery life, consider lowering the screen brightness and turning off unnecessary features like Wi-Fi when not in use. Experimenting with these settings ensures you get the best footage without sacrificing battery performance or risking damage from the elements. Proper configuration helps you maximize your camera’s capabilities in any environment, especially when considering the contrast ratio, which affects image clarity in different lighting conditions. Additionally, understanding how sensor sensitivity interacts with your chosen settings can help optimize footage quality in varying light situations. Adjusting exposure settings accordingly can further improve footage in challenging lighting environments.
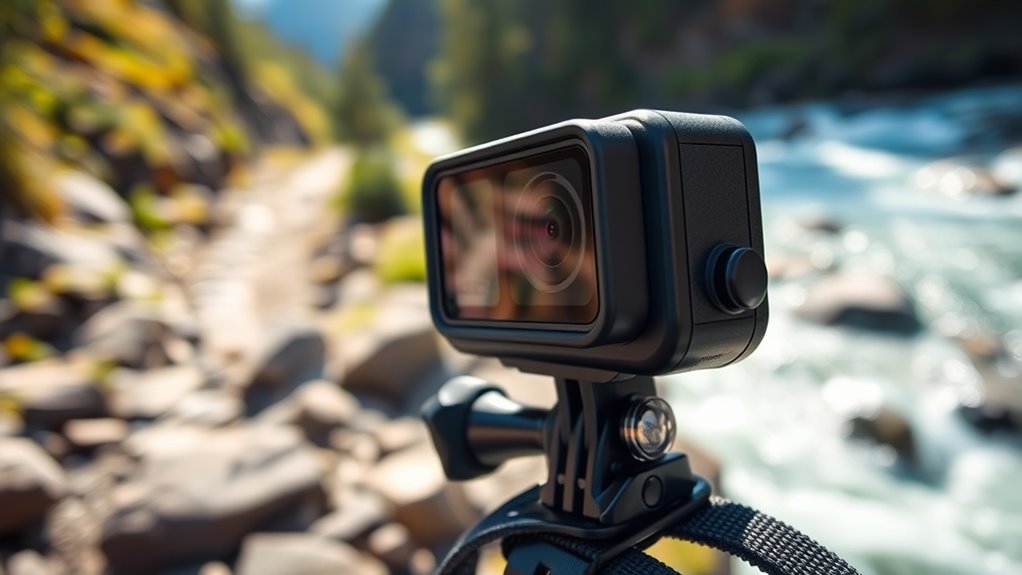
Mastering Mounting Techniques for Stability

To keep your footage steady, you need secure mounting options that won’t budge during movement. Position your camera for ideal angles while avoiding vibrations that can ruin your shot. Using vibration reduction tips can make a big difference in achieving smooth, professional-looking footage. Additionally, selecting mounts that are compatible with safe installation practices ensures your camera stays secure without damaging surfaces or equipment. Being aware of market manipulation patterns can help you choose the most reliable mounts and accessories, reducing the risk of accidental dislodging during intense activities. Incorporating nanotechnology-based materials into your mounting solutions can further enhance durability and stability. Moreover, understanding the precious metals market can guide you toward high-quality, durable mounting accessories that stand the test of time. To optimize your setup, exploring mounting hardware certifications can ensure that your equipment meets safety and performance standards.
Secure Mounting Options
A secure mount is essential to capturing smooth, high-quality footage, especially during fast-paced activities. To achieve this, choose reliable mounting gear designed for your activity, such as chest rigs, helmet mounts, or handlebar brackets. These options keep your camera stable and minimize vibrations. Additionally, strap options like adjustable straps or rubber bands can reinforce the mount, preventing slips or shifts during intense movements. Properly fastening your camera with a combination of mounting gear and straps ensures it stays in place, even in rugged conditions. Always double-check tightness before filming, and consider using quick-release mounts for convenience. A well-secured setup guarantees your footage remains steady, clear, and professional-looking, no matter how vigorous your activity becomes. Incorporating Free Floating techniques can also help reduce camera shake and enhance overall stability during dynamic shots. Moreover, understanding mounting stability principles can help you select the best solutions for different scenarios. Paying attention to shock absorption features in your mounting system can further improve footage quality during high-impact activities, especially when combined with vibration dampening methods to minimize residual motion.
Optimal Placement Strategies
Mastering mounting techniques begins with understanding the importance of strategic placement. Your choice of mounting surfaces directly impacts stability and footage quality. To achieve ideal camera angles, consider the environment and activity. For example, a chest mount offers a forward view, while a helmet mount provides a top-down perspective. The right positioning minimizes vibrations and ensures clear shots. Using the appropriate mounting surface can also help reduce unnecessary motion artifacts and improve overall footage stability. Use the table below to evaluate your options:
| Mounting Surface | Camera Angle | Ideal Use Case |
|---|---|---|
| Helmet | Downward/Forward | Action sports, biking |
| Chest | Forward | Hiking, climbing |
| Handlebar/Rig | Side/Front | Cycling, motorsports |
| Dashboard | Forward | Driving, POV shots |
| Tripod | Static | Scenic shots, interviews |
Choose carefully to maximize stability and capture compelling footage. Additionally, mounting stability plays a crucial role in preventing unwanted vibrations and shaky footage, ensuring your shots remain smooth and professional-looking. Proper mounting surface selection can significantly enhance your overall video quality by reducing motion artifacts. Being mindful of camera positioning helps in capturing the most dynamic and engaging shots possible, especially when considering vibration reduction techniques.
Vibration Reduction Tips
Vibrations can easily distort your footage and undermine your efforts to capture smooth, professional-looking shots. To combat this, focus on mounting techniques that enhance stability. Use mounts with built-in vibration dampening features to absorb shocks and reduce movement. Many action cameras now come with sensor stabilization, which compensates for minor vibrations and jitters in real-time. When possible, choose mounts that secure your camera tightly and minimize loose connections. Consider adding rubber or foam padding between the mount and your camera to further dampen vibrations. Properly balanced mounts also help prevent unnecessary shaking. Additionally, understanding camera placement can significantly improve stability and footage quality. Employing vibration mitigation strategies is essential for consistent, high-quality recordings. Using outdoor‑friendly mounts designed for rugged conditions can further enhance stability during high-impact activities. Incorporating large-scale data handling techniques can help manage the high data rates associated with high-resolution footage, ensuring smooth recording and playback. Implementing these stabilization techniques can make a substantial difference in achieving smooth, clear footage. Combining these strategies ensures your footage stays steady, sharp, and clear, even during high-impact activities. Mastering vibration reduction is key to producing polished, professional-quality videos.
Optimizing Frame Rates and Resolution

To get the best footage from your action camera, you need to carefully choose the right frame rate and resolution for your shooting conditions. Higher resolution, like 4K, captures more detail but demands more storage and processing power. If you’re shooting fast-moving scenes, opt for a higher frame rate, such as 60fps or more, to ensure smooth motion. For slower shots or when you want better low-light performance, a lower frame rate like 24fps may work better. Keep in mind that increasing resolution or frame rate can reduce battery life and storage capacity, so balance your settings based on your activity and goals. Adjusting these settings appropriately helps you achieve clearer, more professional-looking footage tailored to your specific adventure. Optimizing camera settings can further enhance your footage quality and performance.
Using ND Filters to Enhance Image Quality

Using ND filters can substantially improve your action footage by controlling the amount of light entering your camera lens. These filters reduce glare and prevent overexposure, especially in bright conditions. When choosing ND filters, consider the filter types, such as solid, graduated, or variable filters, to suit different shooting environments. Quality lens coatings on filters help minimize reflections and maintain image clarity. By using the right ND filter, you can achieve smoother motion and better exposure balance, even in high-contrast scenes. Incorporating lens coatings into your setup can further enhance image quality by reducing unwanted reflections and flare. Using filter coatings allows for improved clarity and contrast, making your footage more vibrant. Use these filters to elevate your action shots and get more cinematic results.
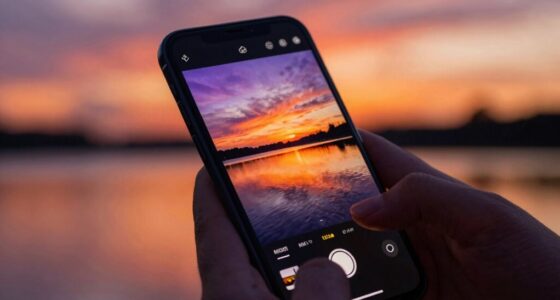
Adjusting White Balance and Exposure

Adjusting white balance and exposure helps you capture true-to-life colors and proper brightness in your shots. You can balance color temperature to match your environment and control brightness levels for clearer images. Using ND filters alongside these adjustments guarantees your footage stays sharp and well-exposed, even in bright conditions.
Balancing Color Temperature
Balancing color temperature is essential for capturing footage that looks natural and true to life. Proper color calibration ensures your videos reflect accurate hues, avoiding overly warm or cool tones. To achieve this, make lighting adjustments by setting your camera’s white balance correctly for the environment. If your camera offers manual white balance controls, select a setting that matches your lighting conditions—sunny, cloudy, or indoor lighting. Avoid relying solely on auto white balance, as it can fluctuate and cause color shifts. Keep an eye on your footage as you shoot, and adjust the white balance if colors appear off. Fine-tuning your color temperature helps produce consistent, professional-looking videos with accurate color representation.
Managing Brightness Levels
Properly managing brightness levels guarantees your footage isn’t washed out or too dark, which can detract from its quality. Use brightness control to fine-tune how light or dark your shots appear, ensuring details are visible without overexposing highlights. Exposure adjustment allows you to set the overall brightness, balancing bright and shadowed areas for a natural look. When shooting in challenging lighting conditions, make quick changes to these settings to prevent loss of detail. Keep in mind that too much exposure can cause glare, while too little can make your footage dull. Regularly review your footage through the camera’s display, adjusting brightness control and exposure to achieve consistent, well-lit results that highlight the action without sacrificing clarity.
Using ND Filters
Using ND filters can considerably improve your footage by controlling light entering the lens, especially in bright conditions. They help prevent overexposure and allow you to maintain proper white balance and exposure settings. When using ND filters, make sure your lens calibration remains precise to avoid color shifts or focus issues. Proper lens calibration ensures your footage stays sharp and true to life. Additionally, using ND filters can help conserve battery life, as your camera’s sensor doesn’t have to work as hard to process excessive light. This means longer shooting sessions without the need to recharge frequently. By adjusting white balance and exposure with ND filters, you achieve more cinematic results while maintaining excellent camera performance and clarity.
Tips for Shooting Underwater and in Low Light
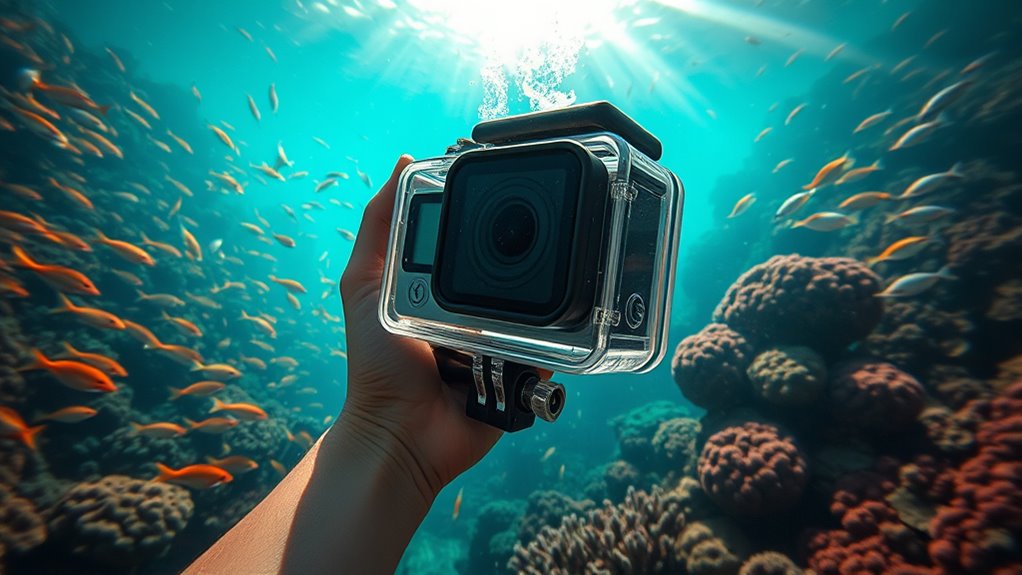
Shooting underwater or in low light conditions can be challenging, but with the right techniques, you can capture stunning footage. To improve underwater lighting, consider using waterproof lights or strobes to brighten your scene and bring out vibrant colors. When shooting in low light, invest in low light accessories like external microphones and lens filters to enhance clarity and brightness. Keep your camera steady with a stabilizer or tripod to prevent shaky footage, especially in dim conditions. Adjust your camera settings manually—lower ISO for less noise, wider aperture for more light, and slower shutter speeds when possible. These tips will help you maximize your camera’s capabilities, ensuring your footage looks sharp and professional, no matter the environment.
Editing Your Footage for a Professional Finish
Editing your footage effectively is essential for achieving a polished, professional look. Start by focusing on audio editing—remove background noise, balance sound levels, and add music or narration to enhance the story. Good audio makes a big difference in viewer engagement. Next, apply color grading to give your footage a consistent, vibrant appearance. Adjust brightness, contrast, and saturation to highlight key moments and create a specific mood. Use editing software that offers these features, and don’t be afraid to experiment until you find a style that fits your footage. Keep your cuts clean and purposeful, avoiding unnecessary crossfades. With sharp audio and polished color grading, your action footage will look more professional and engaging.
Maintaining Your Action Camera for Peak Performance
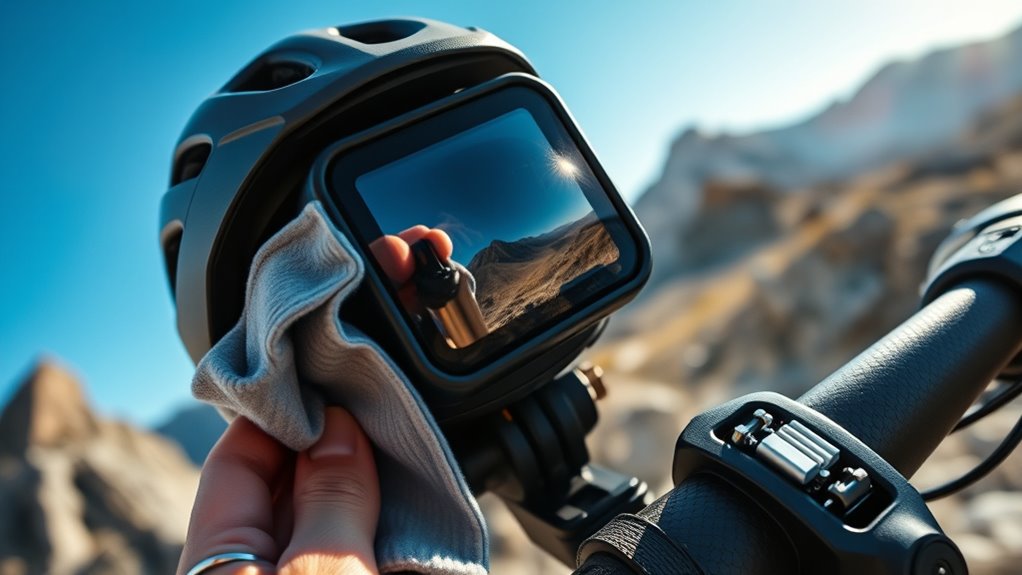
After polishing your footage, maintaining your action camera guarantees it continues to perform at its best. Regularly check camera accessories like mounts and housings for damage, replacing worn parts to prevent issues. Proper battery maintenance is essential; always fully charge before use and store batteries in a cool, dry place. Avoid exposing your camera to extreme temperatures and moisture, which can harm internal components. Clean the lens and housing with a soft cloth after each use to ensure clear footage. Use the following guide to understand key maintenance practices:
| Action | Frequency | Tip |
|---|---|---|
| Clean lens & housing | After each shoot | Use a microfiber cloth |
| Check camera accessories | Monthly | Replace damaged parts |
| Recharge batteries | Before each use | Avoid overcharging |
| Store in a dry place | When not in use | Prevent corrosion |
| Update firmware | Periodically | Enhance performance |
Frequently Asked Questions
How Can I Improve Audio Quality on My Action Camera?
To improve audio quality on your action camera, focus on audio enhancements and sound recording tips. Use an external microphone if possible, as it captures clearer sound and reduces wind noise. Shield the microphone from wind by using a foam windscreen or dead cat cover. Additionally, keep the camera steady during recording and avoid noisy environments. These steps will help you get crisper, more professional audio with your footage.
What Accessories Are Essential for Capturing Better Footage?
To capture better footage, you should invest in essential accessories like versatile mounting options and protective cases. Mounting options allow you to secure your camera in dynamic angles and locations, enhancing footage variety. Protective cases safeguard your camera from impacts and water damage, ensuring consistent recording in tough conditions. Together, these accessories improve stability, durability, and shot flexibility, helping you achieve higher-quality, professional-looking footage every time you hit record.
How Do I Prevent Lens Fogging During Extreme Conditions?
Sure, preventing lens fogging during extreme conditions is a breeze—just ignore it, right? Actually, you should keep your lens clean with regular lens cleaning and apply anti fog solutions before filming. These simple steps help maintain clear footage. Don’t wait until foggy conditions ruin your shot; prep your gear beforehand. Trust me, a little effort now saves you from blurry, unusable footage when you need it most.
What’s the Best Way to Backup and Store My Footage?
To back up and store your footage effectively, regularly transfer files from your SD card to cloud storage for easy access and safety. Manage your SD cards by labeling and organizing them, then format them after each transfer to keep them in good condition. Using reliable cloud services guarantees your footage is protected against loss or damage, giving you peace of mind during extreme adventures.
How Can I Extend My Camera’s Battery Life During Long Shoots?
Think of your camera’s battery as a fuel tank—you don’t want it to run dry mid-action. To extend your power, use battery management techniques like turning off Wi-Fi and GPS when not needed, lowering screen brightness, and recording in lower resolutions. Carry spare batteries and consider a portable charger for power extension. These tips keep your camera rolling longer, so you don’t miss out on those epic shots.
Conclusion
Think of your action camera as a paintbrush—your footage as the canvas. With the right techniques, settings, and care, you can turn raw moments into stunning stories. Every adventure is a stroke of color waiting to be captured, so experiment and refine your skills. Remember, the more you practice, the more your footage will come alive with clarity and vibrancy. Keep honing your craft, and your camera will always be ready to paint your next masterpiece.