
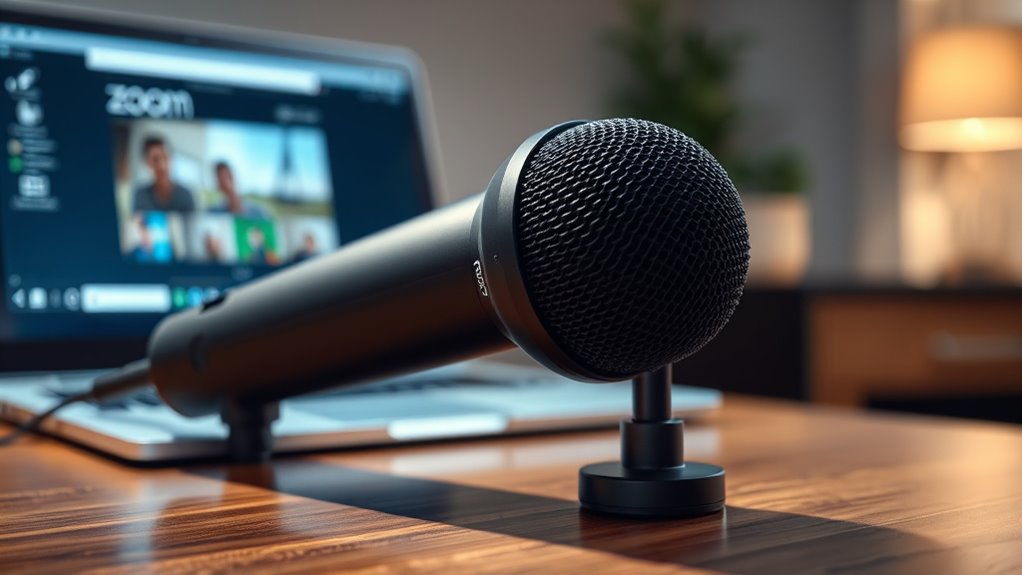
To make your Zoom mic sound expensive, choose a quality microphone like a USB or dynamic model, and position it about 6 inches from your mouth at or slightly below mouth level. Reduce background noise with soundproofing, use noise suppression features, and add a pop filter to eliminate harsh sounds. Fine-tune your settings in Zoom and explore affordable software tools to enhance clarity. Keep your environment quiet and consistent to maintain professional sound—more tips await if you continue exploring.
Key Takeaways
- Choose a high-quality microphone (USB, dynamic, or condenser) and position it 6-12 inches from your mouth for clear sound.
- Optimize your environment with soundproofing, acoustic panels, and eliminate external noise sources.
- Enable noise suppression and use EQ plugins or filters to enhance clarity and reduce harshness.
- Apply real-time noise reduction tools like Krisp and use compression to balance volume levels.
- Maintain consistent mic placement, control ambient noise, and regularly update audio settings for professional sound.
Turtle Beach Stealth 600 Wireless Gaming Headset for Xbox, PS5, PC, Mobile
Memory Foam Cushions with Glasses-Friendly Technology
As an affiliate, we earn on qualifying purchases.
Choosing the Right Microphone for Clearer Sound

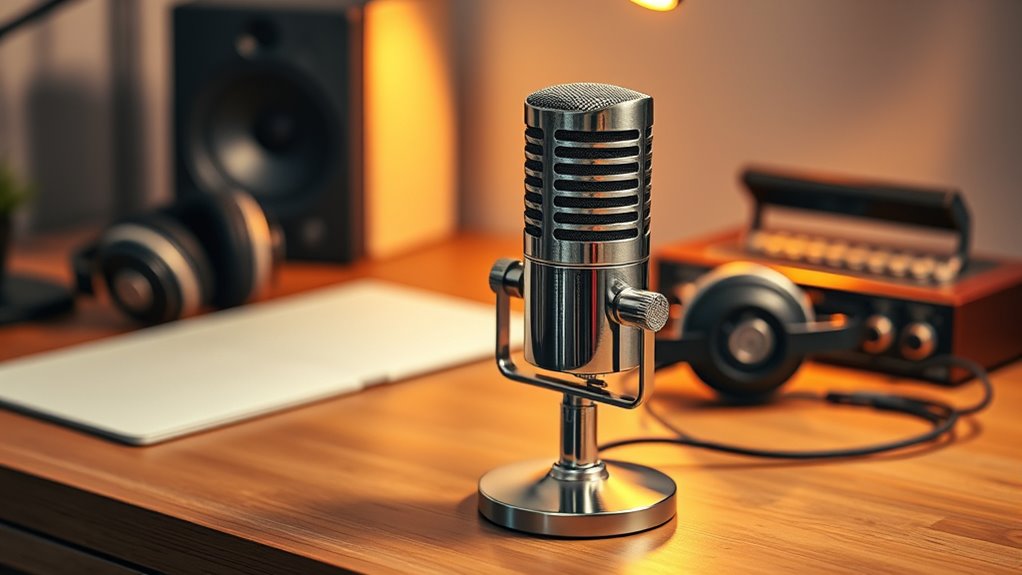
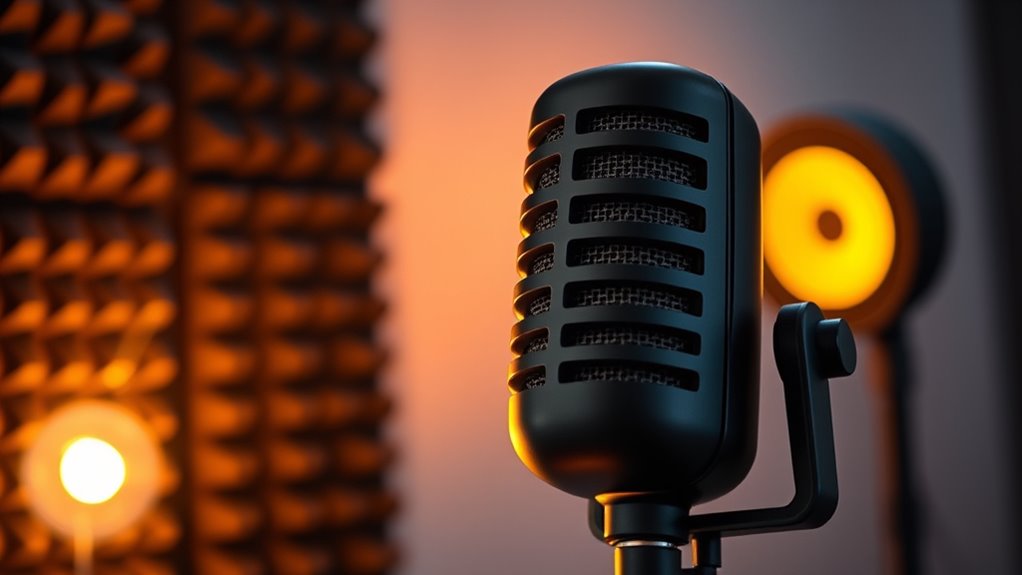
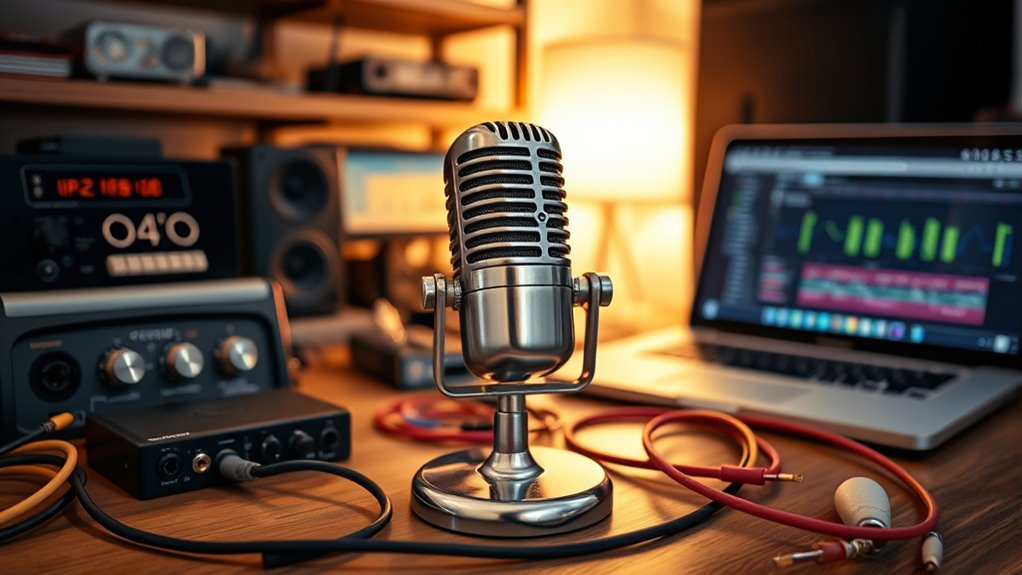
Choosing the right microphone is essential for guaranteeing your Zoom meetings sound clear and professional. Different microphone types, such as USB, dynamic, or condenser mics, offer varying sound quality. USB microphones are convenient and easy to use, providing good sound clarity for most situations. Dynamic microphones are durable and handle loud sounds well, making them ideal for noisy environments. Condenser microphones capture more detail and deliver superior sound quality but may require extra setup. When selecting a microphone, consider where you’ll be using it and your budget. The right choice will help eliminate background noise and guarantee your voice comes through crisp and natural. Investing in the appropriate microphone type enhances your audio quality and makes your meetings more engaging. For example, understanding sound mechanics can help you make more informed decisions about equipment and personal branding. Additionally, appreciating microphone technology can lead to better choices tailored to your specific needs. Recognizing how free floating elements and design aspects influence microphone performance can further optimize your audio setup.
Ozeino 2.4GHz Wireless Gaming Headset for PC, Ps5, Ps4 - Lossless Audio USB & Type-C Ultra Stable Gaming Headphones with Flip Microphone, 40-Hr Battery Gamer Headset for Switch, Laptop, Mobile, Mac
【Amazing Stable Connection-Quick Access to Games】Real-time gaming audio with our 2.4GHz USB & Type-C ultra-low latency wireless connection....
As an affiliate, we earn on qualifying purchases.
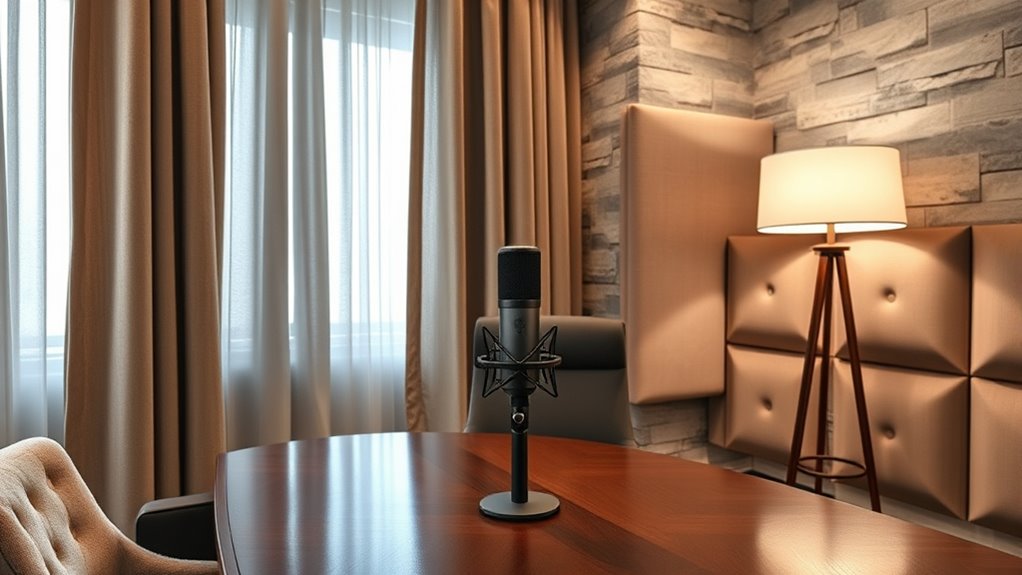
Positioning Your Microphone for Optimal Voice Capture
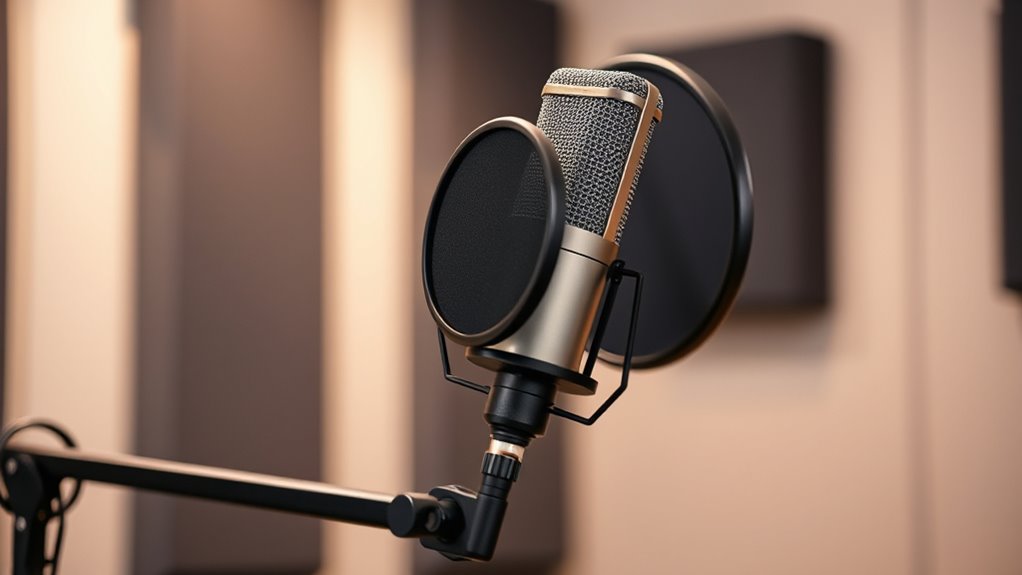
Proper microphone placement guarantees your voice is captured clearly and naturally during Zoom calls. To optimize voice proximity, position the microphone about 6 to 12 inches from your mouth, ensuring it’s not too close or too far. Keep the microphone at or slightly below mouth level to prevent unwanted pops and breathing noises. Angle it slightly upward or downward to find the sweet spot that captures your voice without distortion. Avoid placing the mic directly in front of your mouth, which can cause plosive sounds, or too far away, which reduces clarity. Consistent microphone placement helps maintain even audio levels and reduces the need for post-editing. By paying attention to voice proximity and positioning, you’ll ensure your voice sounds professional and polished during every Zoom meeting. Attention to attention to detail in microphone placement is essential for achieving high-quality sound. Additionally, using appropriate microphone settings can further enhance your audio clarity and reduce background noise. Regularly checking your auditory feedback can help you fine-tune your setup for optimal sound quality. Incorporating smart audio management features available in some microphones can automatically adjust gain and noise reduction to improve your sound. Being aware of security zone info can help you understand the environment for optimal equipment setup and avoid disruptions.

Logitech G321 Lightspeed Wireless Bluetooth Gaming Headset, Dynamic Comfort and fit, 16 kHz Boom mic, 20+ hrs Battery, PC, PS4, PS5, Nintendo Switch, Mobile - Black
Dynamic comfort and fit: Wireless headset with mic that’s engineered for lightweight comfort (210 g) with thick headband,...
As an affiliate, we earn on qualifying purchases.
Reducing Background Noise and Echoes
Have you noticed background noise or echoes disrupting your Zoom calls? To improve clarity, consider soundproofing techniques like adding rugs, curtains, or foam panels to absorb sound. These methods help minimize external noise and reduce reflections that cause echoes. Using echo cancellation features available in many conferencing apps can further clean up your audio, actively filtering out lingering echoes. Keep your microphone away from reflective surfaces such as windows or hard walls, which amplify sound waves. Turning off other devices that emit noise and closing unnecessary applications also helps maintain a quiet environment. Additionally, understanding acoustic treatment can help you optimize your space for better sound quality. Exploring sound absorption techniques, such as placing soft furnishings strategically, can further enhance the effectiveness of your setup. Understanding room acoustics and how to modify them with affordable solutions can provide long-term improvements. Paying attention to soundproofing methods can significantly reduce unwanted noise infiltration from outside sources. Incorporating soundproofing techniques like sealing gaps and adding mass to walls can further enhance your audio environment. By combining soundproofing techniques with effective echo cancellation, you’ll create a clearer, more professional audio experience for your Zoom meetings.

Logitech G733 Lightspeed Wireless Gaming Headset, Suspension Headband, Lightsync RGB, Blue VO!CE Mic, PRO-G Audio – Black, Gaming Headset Wireless, PC, PS5, PS4, Switch Compatible
Personalize your Logitech wireless gaming headset lighting with 16.8M vibrant colors. Enjoy front-facing, dual-zone Lightsync RGB with preset...
As an affiliate, we earn on qualifying purchases.
Using Basic Audio Enhancements and Filters

To enhance your Zoom audio quickly, you can apply basic sound enhancements and filters available within your conferencing app or device. Start by enabling built-in noise suppression to reduce unwanted sounds. Use a pop filter to minimize plosive sounds that can distort your voice, especially if you’re speaking directly into the microphone. Position your microphone on a sturdy stand to avoid handling noise and keep it at an ideal distance from your mouth. Many apps also offer EQ adjustments to boost clarity and reduce harshness. These simple tools improve your sound quality without complex setups. By leveraging these basic enhancements, your voice will sound cleaner and more professional, giving your meetings an upscale feel without investing in expensive equipment. Additionally, understanding proper microphone placement can significantly impact your audio quality by reducing background noise and capturing clearer sound. Incorporating support breakfast tips such as choosing the right environment can also help ensure your audio remains crisp and distraction-free during important calls. Regularly updating your audio settings ensures you continue to benefit from the latest improvements in sound quality technology, such as affordable audio enhancement software that can further refine your microphone output. For example, selecting a flat iron bike as a metaphor for maintaining a balanced audio profile can also help you achieve a smoother sound.
Managing Your Environment for Better Acoustics
Your environment plays a crucial role in achieving clear Zoom audio. To minimize background noise and echoes, consider soundproofing techniques like sealing gaps, using draft stoppers, or adding heavy curtains. Acoustic treatment options such as foam panels, rugs, or bookshelves filled with books can absorb unwanted sound reflections. Position your microphone away from noisy appliances or windows, and choose a quiet space for meetings. Keeping your environment acoustically optimized reduces the need for extensive digital filtering later. Simple adjustments can make a significant difference in audio clarity, giving your voice a more professional, expensive feel. By managing your environment effectively, you create a sound-friendly space that enhances your overall Zoom experience. For optimal results, consider Acoustic treatment options that are designed to improve sound quality in your space. Additionally, selecting the right microphone placement can further enhance your audio clarity and reduce ambient noise. Incorporating soundproofing techniques can further elevate your audio quality by preventing unwanted noise from entering your microphone.
Leveraging Free and Affordable Audio Software
You can markedly improve your Zoom audio with free EQ plugins and noise reduction tools that are easy to find online. Affordable compression software helps balance your voice levels without breaking the bank. Exploring these options lets you upgrade your sound quality without costly equipment or subscriptions.
Free EQ Plugins
Free EQ plugins offer an accessible way to enhance your audio quality without breaking the bank. They allow you to shape your sound, making your voice clearer and more professional during Zoom calls. By using these tools, you can improve your audio branding, ensuring your voice stands out positively. Many free EQ plugins are compatible with a wide range of microphones, so you don’t need expensive gear to get great sound. These plugins are easy to install and use, providing customizable controls to fine-tune your voice. Whether you want to reduce muddiness or add brightness, free EQ plugins give you the flexibility to craft a polished audio profile effortlessly. Leveraging these tools can make your mic sound more expensive and professional, elevating your overall Zoom experience.
Noise Reduction Tools
Noise reduction tools are essential for ensuring clear, professional-sounding audio during Zoom calls, especially when background noise is unavoidable. They leverage techniques like dynamic noise suppression and advanced sound filtering to minimize distractions. Using free or affordable software, you can dramatically improve your mic quality without expensive equipment.
Here are three effective options:
- Krisp – Offers real-time noise cancellation with dynamic noise suppression, ideal for busy environments.
- Voicemeeter Banana – Combines advanced sound filtering with customizable audio routing, perfect for tailoring your sound.
- Audacity – Free software that provides noise reduction features to clean up recordings or live audio.
Affordable Compression Software
After optimizing your audio with noise reduction tools, the next step is to guarantee consistent volume levels during your Zoom calls. Affordable compression software helps you manage your microphone’s dynamic range, preventing sudden loud sounds or inaudible whispers. Many free or low-cost options can do this effectively, even if you don’t have a professional setup. When choosing software, consider how it works with your microphone’s polar patterns—whether cardioid, omnidirectional, or bidirectional—to optimize sound quality. These tools can smooth out volume fluctuations, making your voice sound more polished and consistent. With the right compression software, you’ll sound more professional without breaking the bank, giving your Zoom calls an “expensive” audio quality.
Fine-Tuning Your Microphone Settings in Zoom

To guarantee your microphone captures your voice clearly during Zoom meetings, it’s important to fine-tune your settings. Proper microphone placement and audio calibration are key. First, position your mic close to your mouth, about 1-2 inches, to avoid background noise and ensure clarity. Second, use Zoom’s audio settings to run the audio calibration process, which helps optimize input levels. Third, check your microphone level in Zoom’s audio options, adjusting the input volume so your voice sounds natural without distortion. These steps ensure your microphone is set correctly, reducing echoes and background noise while making your voice sound professional and expensive. Remember, small adjustments can make a big difference in your overall audio quality.
Tips for Consistent, Professional Audio Quality
To guarantee your Zoom calls sound professional and consistent, start by investing in a quality microphone that captures clear audio. Keep ambient noise levels low to prevent distractions, and adjust your audio settings for ideal sound quality. These simple steps make a big difference in how your conversations come across.
Invest in a Quality Mic
Investing in a quality microphone is one of the best ways to guarantee your audio sounds professional and consistent during Zoom calls. A good mic not only improves sound clarity but also reduces the need for frequent microphone maintenance. When choosing, consider doing a brand comparison to find one that matches your budget and needs.
Here are three tips to help you select the right mic:
- Look for reputable brands known for durability and sound quality.
- Read reviews to gauge real-world performance.
- Prioritize microphones that are easy to maintain and clean, ensuring long-term use.
Control Ambient Noise Levels
Once you’ve chosen a quality microphone, maintaining clear audio also means managing the noise environment around you. To achieve this, consider installing soundproof curtains, which effectively block out external sounds and reduce echo. They’re a simple, affordable way to improve ambient sound control in your space. Keep your environment quiet by turning off or relocating noisy appliances and closing doors to minimize background noise. If you work in a noisy area, use noise-canceling features on your microphone or headset to further suppress ambient sounds. Regularly check your surroundings before calls to ensure minimal disruptions. By controlling ambient noise levels, you create a more professional audio environment that enhances your voice clarity and makes your Zoom conversations sound expensive.
Set Optimal Audio Settings
Are your audio settings optimized for clear, professional sound during every Zoom call? To guarantee consistent quality, start by selecting the right Microphone type—whether dynamic or condenser—to suit your environment. Next, adjust your input levels to avoid distortion or background noise. Consider acoustic treatment, like adding soft materials or foam panels, to reduce echo and improve sound clarity. Finally, use Zoom’s audio settings to enable “Suppress background noise” and “Automatically adjust microphone volume.” These steps help create a stable, professional audio experience. Remember, proper setup isn’t just hardware—it’s also about optimizing your environment and settings for the best results. With these tips, your microphone will sound polished and consistent every time you join a call.
Frequently Asked Questions
How Can I Test My Microphone Quality Before Important Zoom Calls?
You can test your microphone quality before important Zoom calls by using built-in audio testing features or recording yourself with your preferred app. Speak clearly and listen for clarity, background noise, or distortion. Consider microphone upgrades if the sound isn’t satisfactory. Regular audio testing guarantees your mic sounds professional, so you’re ready for any vital call. This proactive step helps you identify issues early and make necessary improvements.
What Are Common Mistakes That Degrade Audio Quality During Zoom Meetings?
Don’t let background noise or poor microphone positioning ruin your Zoom call. You might be talking into the wrong part of your mic or overlooking background distractions. Keep your microphone close and at an appropriate angle, and mute when not speaking. Also, avoid noisy environments and echoes. These common mistakes can make your audio sound cheap, but with attention to detail, you can sound professional and clear every time.
Can I Use Multiple Microphones Simultaneously for Better Sound?
Yes, you can use a dual microphone setup for better sound, but it requires managing simultaneous audio channels. You’ll need an audio interface or mixer that supports multiple inputs and allows you to select or blend microphones. Keep in mind, this setup can be complex, and unless properly configured, it might cause echo or phase issues. For straightforward improvements, consider using a high-quality single mic instead.
How Do I Troubleshoot Audio Issues When Zoom Doesn’t Recognize My Mic?
If Zoom doesn’t recognize your mic, don’t assume it’s broken—check your microphone placement first; it might be muted or connected incorrectly. Confirm you’ve selected the right audio interface in Zoom’s settings. Sometimes, updating your drivers or restarting your computer fixes recognition issues. Prioritize a good audio interface for better sound. These steps can resolve most issues and make your mic sound expensive during Zoom calls.
Are There Specific Microphone Brands Recommended for Professional Zoom Audio?
For professional Zoom audio, consider microphone brands like Shure, Rode, and Audio-Technica. These brands are known for their high-quality, reliable professional audio gear that enhances your sound clarity. Choosing a condenser or dynamic mic from these brands can make your voice sound more polished and expensive. Invest in good accessories like a pop filter or boom arm to further improve your setup and guarantee clear, professional results on Zoom.
Conclusion
Think of your microphone as the voice that carries your confidence. When you invest a little effort—like adjusting your position or reducing background noise—it’s like polishing a gemstone, making your sound truly shine. Remember, consistent good audio is like a steady heartbeat—reliable and reassuring. With these simple tips, you’ll turn your Zoom calls into a professional showcase, ensuring your voice sounds as valuable as the message you’re sharing.