
To look great on your webcam without buying a ring light, focus on using natural light by positioning yourself near windows during the day, and diffuse direct sunlight with sheer curtains. Add reflectors or white surfaces to bounce and soften the light. Use household items like lamps with diffusers or DIY softboxes, and adjust your camera settings for proper exposure. Keep shadows minimal by balancing light sources, and if you keep exploring, you’ll find more tips to perfect your setup.
Key Takeaways
- Maximize natural light by positioning near windows and diffusing direct sunlight with sheer curtains.
- Use reflective surfaces like white walls or paper to bounce light onto your face evenly.
- Adjust indoor lighting for soft, diffused illumination with diffusers or bounce techniques.
- Position existing lamps slightly above eye level at a 45-degree angle for flattering, shadow-free lighting.
- Experiment with DIY diffusers and reflectors to soften shadows and enhance light quality without extra equipment.
Use Natural Light Effectively
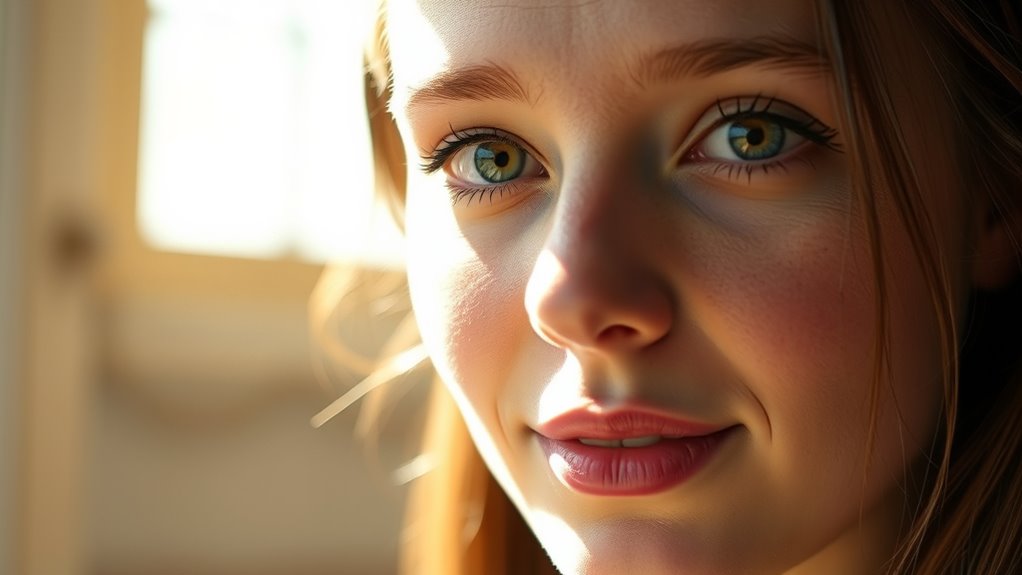
Have you ever wondered how to make your webcam look more professional without extra equipment? Natural light is your best friend for achieving a polished look. Position yourself near a window with soft, diffused sunlight to illuminate your face evenly. Avoid direct sunlight, which can create harsh shadows and overexposure. Instead, aim for indirect natural light or use sheer curtains to soften the glow. If natural light isn’t enough, incorporate artificial lighting to fill in shadows and maintain consistent brightness. Combining natural light with strategic artificial lighting helps create a balanced, flattering appearance on camera. Remember, the goal is to enhance your features naturally, so experiment with different times of day and light sources to find what works best. Additionally, understanding the importance of lighting quality ensures you get the most professional-looking results. Paying attention to lighting conditions can significantly improve your overall webcam appearance, making your video presence more engaging and polished. To optimize your setup, consider positioning yourself at an ideal lighting angle that minimizes unflattering shadows. Using proper light placement can further enhance your overall appearance and ensure your face is evenly lit, especially when you consider natural versus artificial light techniques to balance your lighting environment.
Position Your Light Sources Strategically

Once you’ve found the right natural light setup, the next step is to position your artificial light sources effectively. Proper light placement is key to achieving a balanced, flattering look on camera. Place your light slightly above eye level and angle it toward your face to create natural shadow control, avoiding harsh shadows that can be be unflattering. Use multiple light sources if necessary, positioning them to fill in shadows without overpowering your face. Keep the light at a 45-degree angle from your face to ensure even illumination and a professional appearance. Adjusting your light placement helps you control shadows, reducing uneven lighting and enhancing your overall webcam image. Focus on positioning to create a soft, natural glow that highlights your features. Strategic light placement is essential for achieving the best results with minimal equipment. Additionally, experimenting with different light angles can help you find the most flattering setup for your unique features. Incorporating adjustable lighting options allows you to fine-tune your setup for optimal color accuracy and image quality.
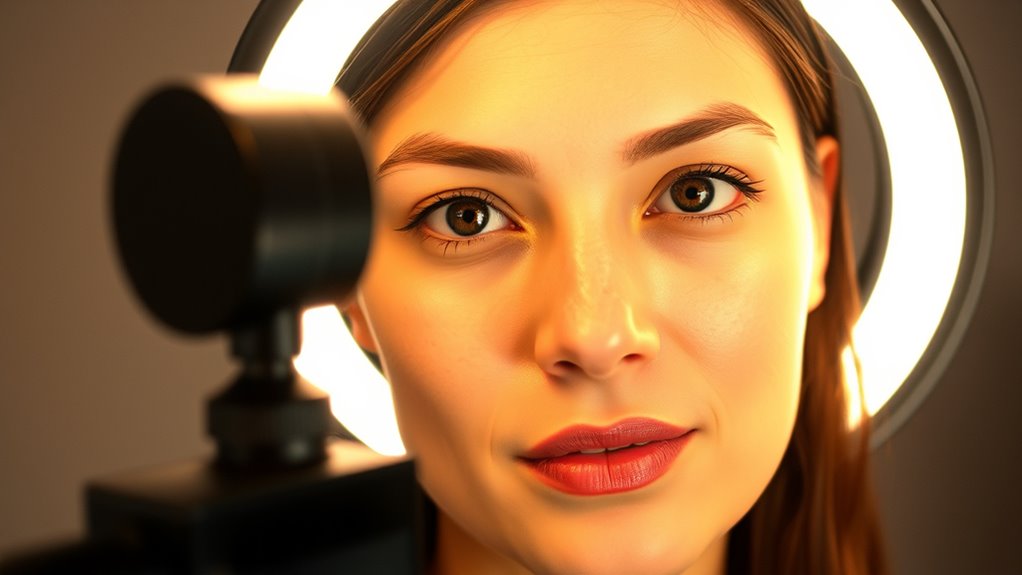
Choose the Right Artificial Lighting Options

Choosing the right artificial lighting options is essential for creating a professional and flattering webcam setup. You want lights with adjustable color temperature to match your environment—warmer tones for a cozy look, cooler tones for a more neutral appearance. This helps prevent unflattering color casts and ensures your skin tone looks natural. Additionally, consider light diffusion; soft, diffused light reduces harsh shadows and minimizes blemishes. Using diffusers or softboxes spreads light evenly, making your face appear smooth and balanced. Avoid overly harsh or direct lighting, which can create unflattering shadows. Selecting lights with adjustable brightness and color temperature gives you more control, allowing you to customize your setup for the best possible webcam quality. Properly managing your lighting setup can also prevent unwanted glare and reflections that may interfere with your image quality. Incorporating lighting techniques can further enhance your overall appearance and professionalism on camera. Ensuring your lighting is energy-efficient not only benefits your environment but also provides consistent performance during extended use. Incorporating proper light placement can significantly improve the overall effect of your lighting, making your image look more natural and polished.
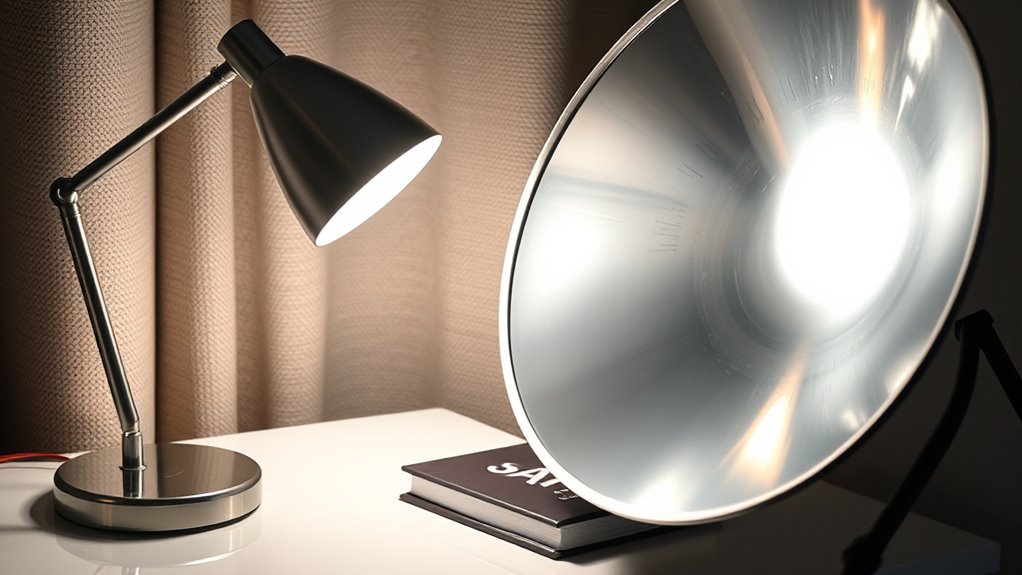
Diffuse Harsh Lights for a Softer Look
Harsh, direct lighting can create unflattering shadows and emphasize blemishes on your face. To improve your webcam setup, you need to diffuse harsh lights, which softens shadows and produces a more flattering look. Here are four effective ways to do this:
- Use a softbox or diffuser over your light source
- Place a white sheet or shower curtain in front of the light
- Bounce light off a reflective surface like a white wall or paper
- Incorporate a lampshade or translucent material to scatter the light
Additionally, employing Free Floating lighting techniques can help distribute light evenly across your face, further enhancing your appearance on camera. These methods help you diffuse harsh lights, transforming sharp, unflattering illumination into a gentle, even glow. Properly diffused lighting can also prevent hot spots and reduce eye strain for viewers, making your video look more professional. Using diffusion materials can dramatically improve the quality of your lighting setup by softening the light source itself. This simple change can dramatically enhance your appearance on camera without extra equipment. Incorporating diffusion techniques can also help create a more natural and balanced lighting environment, elevating your overall video quality. Exploring different lighting options and experimenting with placement can further optimize your setup for the best results.
Adjust Your Camera Settings for Better Exposure

Adjusting your camera settings is a quick and effective way to improve your webcam image quality. Start by optimizing your camera angle to ensure your face is well-centered and evenly lit, reducing shadows and glare. Check your lens selection; a lens with a wider aperture can let in more light, enhancing exposure in low-light conditions. Adjust exposure settings manually if possible, increasing brightness without overexposing highlights. Use the camera’s contrast and saturation controls to fine-tune the image, making sure your skin tones look natural. Avoid auto settings that might fluctuate as lighting changes. Small tweaks to your camera angle and lens choices can make a significant difference, helping you look clear and professional on camera without additional lighting equipment. Proper camera setup is essential for achieving consistently good image quality. Additionally, understanding your camera’s exposure controls can help you make precise adjustments tailored to your environment.
Enhance Lighting With Reflectors and Surfaces
Using reflective surfaces can greatly improve your webcam lighting by bouncing light onto your face. Positioning these surfaces correctly guarantees even, flattering illumination without harsh shadows. You can experiment with different angles and distances to find the most effective reflection for your setup. Choose the right reflectors based on your setup to get the best light enhancement. Incorporating smart lighting adjustments can further optimize your setup for a natural look. Additionally, understanding light diffusion techniques can help you achieve softer, more even lighting for a professional appearance. To maximize effectiveness, consider the color temperature of your reflectors to match your ambient light and avoid unnatural hues.
Use Reflective Surfaces Effectively
Reflective surfaces can dramatically improve your webcam lighting by bouncing light onto your subject, creating a more even and natural look. By strategically placing reflective surfaces, you enhance the light bounce and reduce shadows. Here are four ways to use them effectively:
- Use white walls or large sheets of paper as bounce surfaces to diffuse light evenly.
- Place a mirror or reflective panel opposite your light source to maximize light reflection.
- Incorporate metallic or foil surfaces for a brighter, more direct light bounce.
- Position reflective surfaces at different angles to control light spread and intensity.
Positioning for Optimal Light
To achieve the best lighting for your webcam, you need to carefully position your reflectors and surfaces to direct light where it’s needed most. Start by adjusting the angle of your reflectors to bounce light onto your face evenly, avoiding harsh shadows. Experiment with angle adjustments until the light softens your features naturally. Pay attention to height positioning; place reflectors slightly above eye level to mimic natural light, reducing unflattering shadows. Keep the surfaces close enough to reflect sufficient light without creating glare. Consistently reposition and fine-tune the angle and height until you find a setup that highlights your best features. Proper positioning ensures your face is well-lit, making your video look professional and polished.
Choose the Right Reflectors
Choosing the right reflectors is essential for achieving balanced, natural-looking light on your face. The key is selecting reflector materials that bounce light effectively, like white foam boards or silver surfaces, to create a soft, natural glow. Proper reflector positioning guarantees the light fills shadows without overexposing. To enhance your setup, consider these tips:
- Use lightweight reflector materials for easy adjustment.
- Position reflectors at a 45-degree angle to your face for even coverage.
- Adjust reflector distance to control light intensity.
- Experiment with different surfaces to achieve your preferred look.
Create a DIY Lighting Setup on a Budget

You can make a great lighting setup without spending much by using natural light from windows. DIY diffusers, like a white sheet or plastic bag, soften harsh shadows, while adjusting your light sources guarantees even illumination. Experiment with light placement to find the best angle and brightness for your webcam.
Use Natural Light
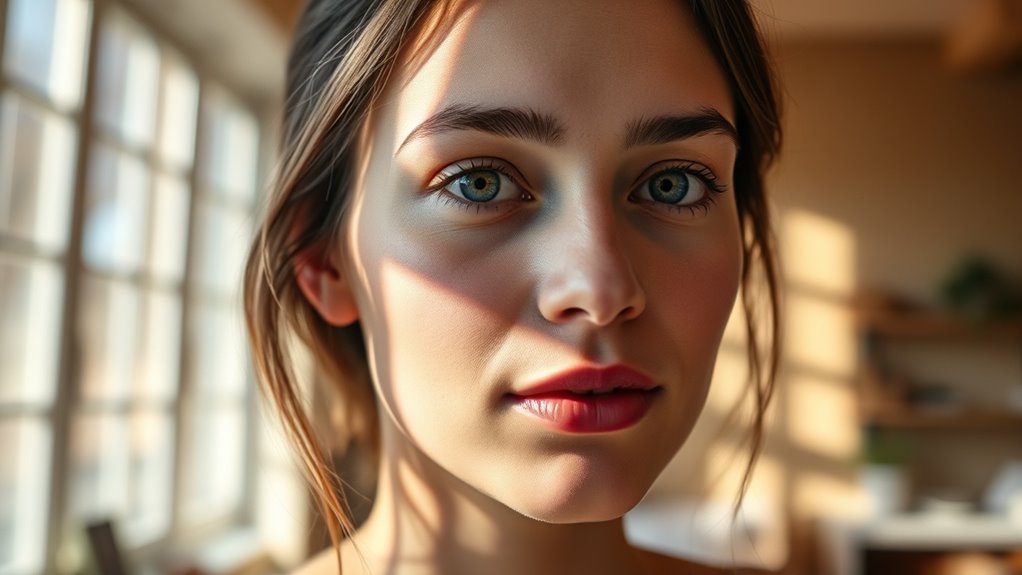
Natural light is one of the most accessible and cost-effective ways to illuminate your webcam setup. It enhances lighting aesthetics and offers a natural, flattering glow. To make the most of it, position yourself near a window, ideally facing the light to avoid shadows. Consider the time of day, as sunlight’s color temperature varies—morning and late afternoon offer warm tones, while midday provides cooler light. Here are some tips to optimize natural light:
- Use sheer curtains to diffuse harsh sunlight.
- Adjust your position based on the sun’s movement.
- Reflect light with white surfaces or inexpensive reflectors.
- Avoid direct sunlight that causes glare or uneven lighting.
Using natural light creates a balanced, professional look without extra costs, making your setup both functional and visually appealing.
Employ DIY Diffusers
To soften and evenly distribute light for your webcam setup without spending much, DIY diffusers are a smart solution. You can create a simple DIY diffuser using inexpensive materials like white plastic, parchment paper, or fabric stretched over cardboard or wireframes. These homemade softboxes help reduce harsh shadows and glare, providing a more flattering light. For a more effective homemade softbox, attach the diffuser material in front of your light source, ensuring the light spreads evenly across your face. This approach not only improves your video quality but also saves money compared to commercial lighting gear. Experiment with different materials and setups until you achieve the desired softness, making your webcam appearance professional and well-lit without breaking the bank.
Optimize Light Placement
Ever wondered how to make the most of your lighting setup without spending a fortune? Proper light positioning is key to achieving a professional look. Start by placing your light slightly above and in front of you, pointing downward to minimize shadows. Use natural reflectors like white walls or posters to bounce light and create even illumination. Adjust the angle and distance to avoid harsh shadows and ensure your face is well-lit. Experiment with different positions until shadows are controlled and your face is evenly illuminated. Here are some tips:
- Position your light at eye level or slightly above.
- Use household objects as reflectors.
- Keep the light at a 45-degree angle.
- Avoid placing lights directly behind you.
This approach guarantees balanced light and ideal shadow control within a budget.
Minimize Shadows and Glare
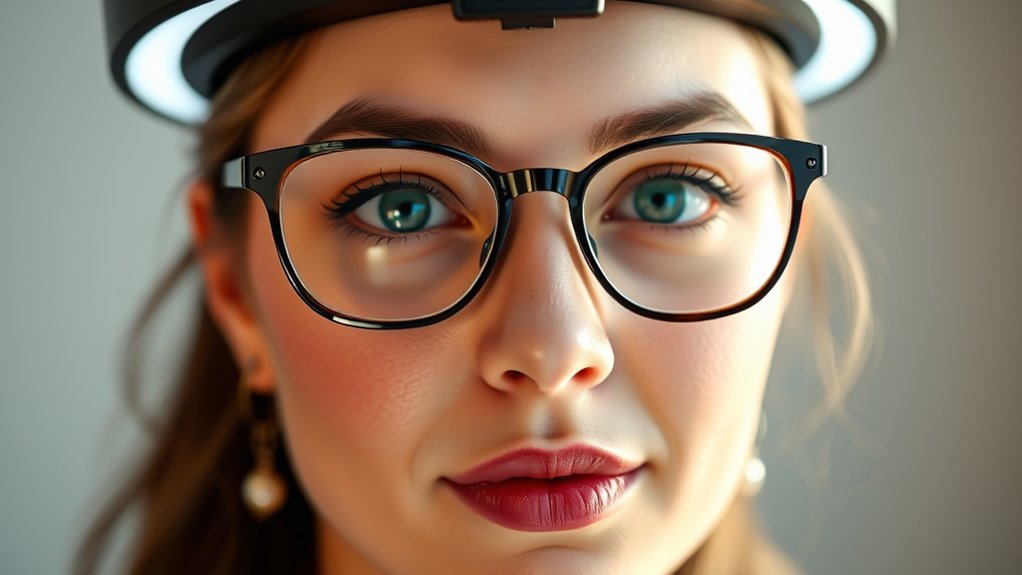
Minimizing shadows and glare is essential for achieving clear, professional-looking webcam footage. To reduce shadowing, position your light source slightly above and in front of you, ensuring even illumination across your face. Use diffusers or bounced light to soften harsh shadows and avoid unflattering dark areas. For glare elimination, keep light sources at a comfortable angle to prevent reflections on glasses or shiny surfaces. Adjust your screen brightness if needed, as excessive brightness can cause unwanted glare. Consistent, diffused lighting not only enhances your appearance but also prevents distracting reflections and shadows that can undermine your video quality. Focus on shadow reduction and glare elimination to create a balanced, flattering setup that looks great on camera without the need for expensive lighting equipment.
Optimize Your Background and Environment
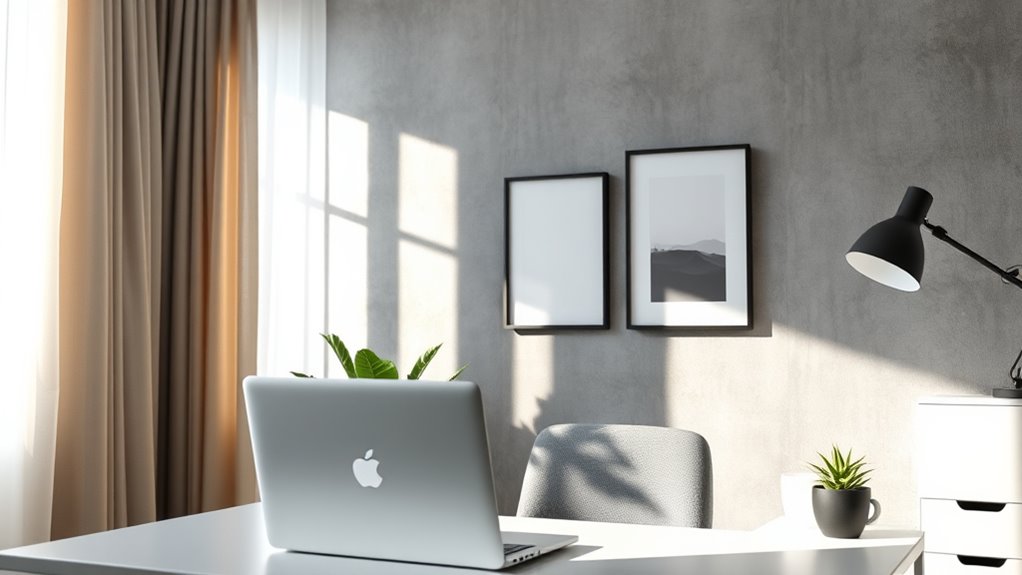
Your background plays a crucial role in how professional and polished your webcam footage looks. A cluttered or distracting background can divert attention from what you’re saying. To optimize, focus on background organization by removing unnecessary items and keeping your space tidy. Consider adding plants or simple decor to create a welcoming vibe. Reducing ambient noise ensures your audio stays clear, so close windows, mute notifications, and use soft furnishings to absorb sound. Here are four tips to refine your environment:
A tidy, clutter-free background with good lighting enhances your professional webcam presence.
- Declutter regularly for a clean background
- Use neutral or solid-colored backgrounds
- Minimize ambient noise sources
- Position yourself in well-lit, distraction-free zones
These steps help you look more professional and keep viewers focused on you.
Maintain Consistent Lighting Conditions

To keep your video clear and professional, you should aim for consistent lighting conditions. Relying on natural light can be helpful, but make sure it stays steady throughout the day. Controlling indoor lighting guarantees your webcam captures your image evenly, no matter the time.
Use Natural Light
Natural light can be a great way to achieve consistent, flattering illumination for your webcam setup. Using natural sunlight or outdoor lighting helps you avoid harsh shadows and uneven tones. To make the most of this, consider these tips:
- Schedule your calls during times when natural light is steady, like late morning or early afternoon.
- Position yourself near windows to maximize natural sunlight exposure.
- Use sheer curtains to diffuse direct sunlight and prevent glare.
- Be mindful of weather changes and cloud cover, which can alter outdoor lighting conditions quickly.
Control Indoor Lighting
Have you ever noticed how inconsistent lighting can make your webcam image look unprofessional or distracting? To control indoor lighting effectively, focus on maintaining consistent conditions. Adjust the color temperature of your lights to match your environment, ideally around 5000K to 6500K for natural-looking skin tones. Avoid sudden changes in light color, which can create a jarring effect. Additionally, pay attention to light direction—position your light source so it illuminates your face evenly, reducing shadows and glare. Using diffusers or bouncing light off walls can help soften harsh shadows. By managing both color temperature and light direction, you ensure your webcam captures a clear, balanced image, giving your video a polished and professional appearance without extra equipment.
Frequently Asked Questions
How Can I Improve Lighting Without Natural Light at Night?
To improve your lighting at night without natural light, adjust your light source to a warmer color temperature to create a soft, inviting glow. Use diffusers or bounce light off surfaces to spread it evenly and reduce harsh shadows. Position your light at a slight angle, avoiding direct glare. This setup enhances your webcam image, making you look clear and professional without needing a ring light.
What Are the Best Inexpensive Artificial Lighting Options for Webcams?
You can improve your webcam lighting with budget lighting options and DIY solutions. Try using inexpensive LED desk lamps or clip-on lights to evenly illuminate your face. Adjust the brightness and position them to reduce shadows. DIY solutions like diffusing a regular lamp with a white cloth or paper can soften the light. These affordable options help you look professional without spending much, ensuring clear, well-lit video calls.
How Do I Prevent Reflections and Glare on My Screen?
To prevent reflections and glare on your screen, position your light source at a 45-degree angle, adjust brightness levels, and use matte screens or anti-glare filters. You can also control reflections by reducing ambient light, changing your monitor’s tilt, or adding a diffuser to soften harsh light. These steps help you minimize screen glare and reflection control, ensuring clear visibility and comfortable viewing during your video calls.
Can I Use Household Items to Create Effective Lighting Setups?
Yes, you can use household items to create effective lighting setups. Try DIY lamps using lampshades or bulbs, and use household reflectors like white poster boards, aluminum foil, or white walls to bounce light evenly. Place these reflectors opposite your light source to reduce shadows and glare. Adjust the distance and angle of your DIY lamps to achieve soft, flattering lighting that enhances your webcam appearance without investing in expensive equipment.
How Do I Maintain Consistent Lighting Throughout Different Times of Day?
To maintain consistent lighting throughout different times of day, you should focus on controlling lighting consistency and color temperature. Use adjustable light sources like lamps with dimmers or color temperature controls to match your natural light. Keep your setup steady by using consistent angles and distances, and consider using neutral-colored curtains or diffusers to minimize changing ambient light. This way, your webcam lighting remains uniform regardless of the time.
Conclusion
You can look great on camera without investing in a ring light by mastering natural light and strategic positioning. Believe it or not, soft, diffused lighting creates a more professional appearance than harsh artificial lights. Experiment with your environment and camera settings to find what works best. It’s a myth that expensive equipment is always necessary—sometimes, simple DIY solutions and understanding light are the keys to a polished, flattering webcam setup.